If you turn the key and get nothing but a click, I know the feeling. It is the automotive equivalent of your coffee maker blinking “descale” at 6 a.m. Annoying, confusing, and suddenly very urgent.
The good news: starter motors are one of those repairs that sound scary but often boil down to a few bolts and two cables. The tricky part is diagnosis, because batteries, cables, grounds, relays, and ignition switches can all impersonate a bad starter. And on some vehicles, access is the real boss fight.
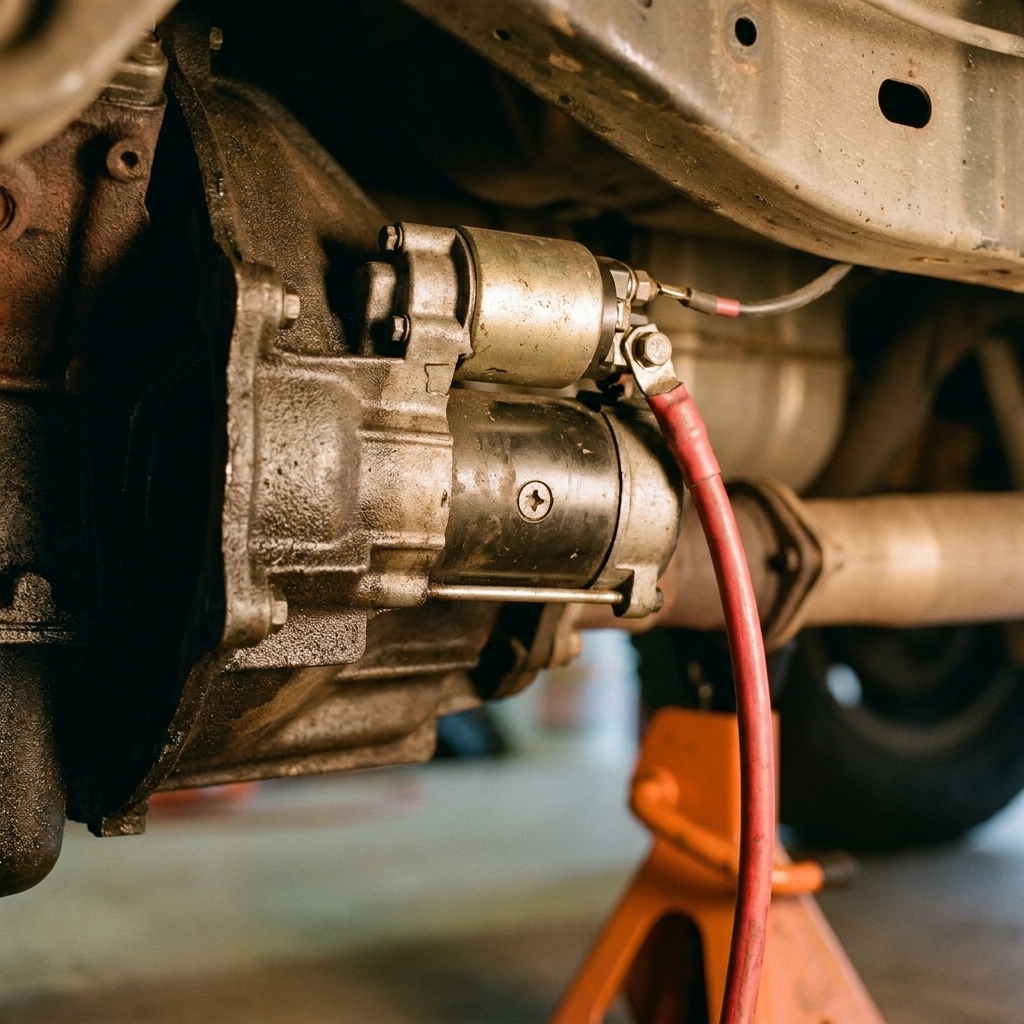
Let’s walk through the warning signs, a few simple checks to avoid guessing, and a beginner-friendly replacement process you can do in a driveway.
What the starter does
Your starter is a small but powerful electric motor that spins the engine fast enough for it to start running on its own. When you turn the key or press the start button, power flows to the starter solenoid (a heavy-duty switch). The solenoid shoves a small gear (the pinion) into the flywheel or flexplate, then the motor cranks the engine.
When something in that chain fails, you get the classic “lights on, engine off” situation.
Signs of a bad starter
Starters usually give you clues before they quit completely. Here are the patterns I saw most often in the shop.
1) Single click, no crank
You turn the key and hear one solid click, but the engine does not turn over. That click is often the starter solenoid trying to do its job, but the motor itself cannot spin.
2) Rapid clicking
This is the machine-gun click click click. Most of the time it is low battery voltage or poor battery connections. Less commonly, it can happen if the starter is drawing excessive current because it is failing internally.
3) Slow cranking with a good battery
The engine turns over, but it sounds tired, like it is cranking through molasses. If the battery tests good and the connections are clean and tight, a worn starter can cause slow cranking.
4) Intermittent starting
Starts fine all week, then randomly does nothing in a parking lot. Intermittent failures are common with worn solenoid contacts, heat-soaked starters, or internal brushes that have reached the end of their life.
5) Grinding noise when starting
A harsh grind can mean the starter gear is not engaging correctly with the flywheel. Sometimes that is a failing starter drive. Sometimes it is missing or incorrect mounting hardware. Either way, stop cranking it. Grinding can damage the flywheel, and that gets expensive fast.
6) Starter stays engaged
If you hear a high-pitched whirring after the engine fires, or the starter seems to keep running, shut the engine off if it is safe to do so. A stuck solenoid or electrical issue can burn up the starter and wiring.
7) Smoke or hot electrical smell
Not common, but serious. A shorted starter or overheated cable can smoke. This is a stop-and-inspect moment, not a “try one more time” moment.
Quick checks first
As a former mechanic, this is where I try to protect you from the classic parts cannon approach. Do these checks first.
Check the battery connections
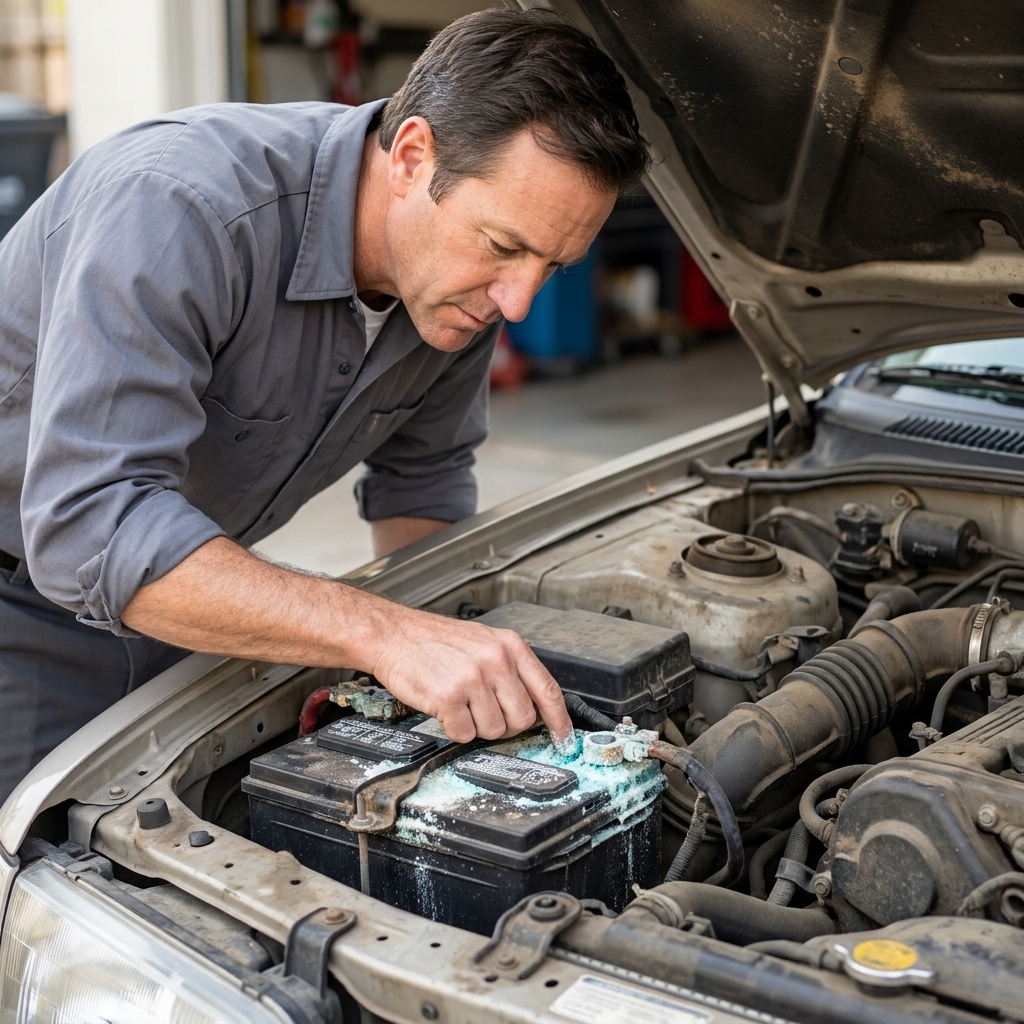
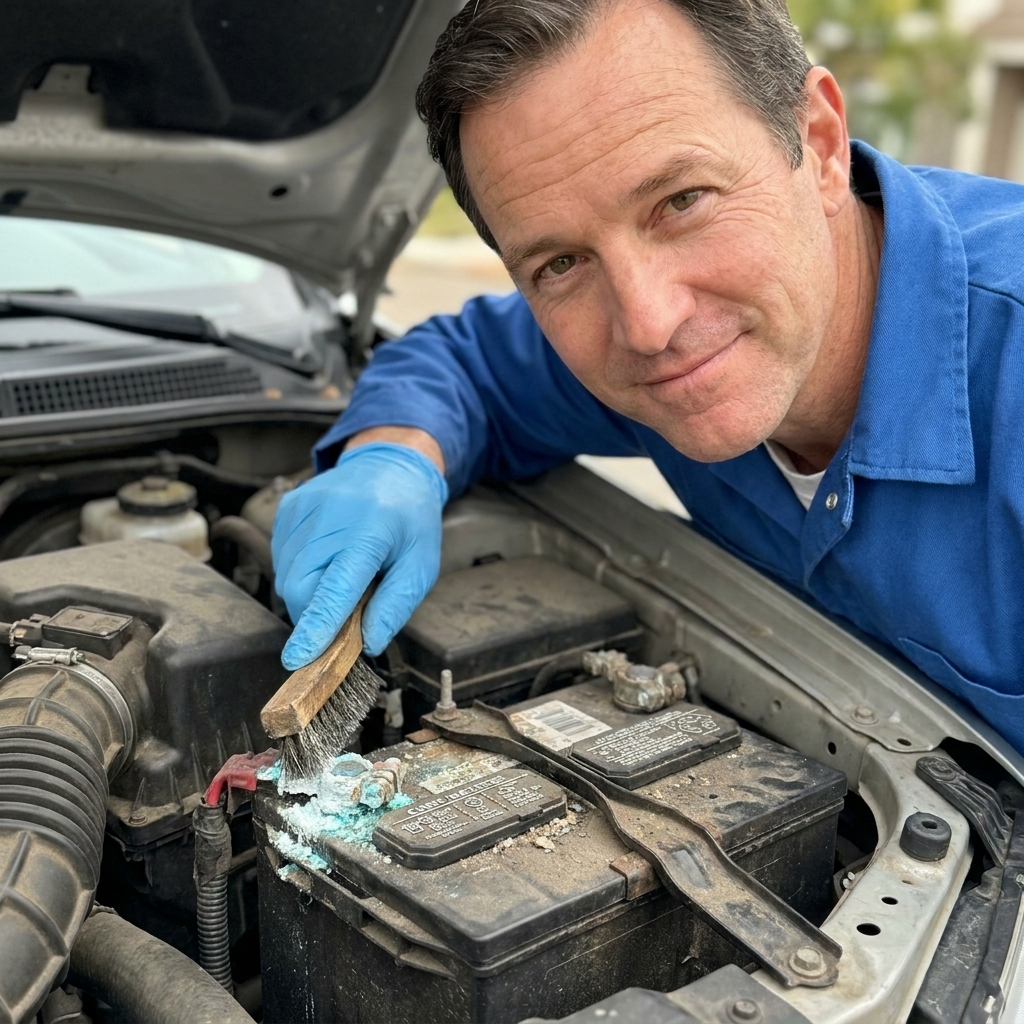
- Look for corrosion on the terminals, loose clamps, or swollen cables.
- Try to twist the terminal by hand. If it moves, it is too loose.
- Clean and tighten before replacing anything.
Check the grounds
A weak ground can mimic a bad starter. Look at the negative battery cable connection to the body, plus the engine-to-chassis ground strap. If either is loose, green, crusty, or oil-soaked, fix that first.
Listen to what happens
- No sound at all can point to a dead battery, bad connection, blown fuse, bad starter relay, neutral safety switch, clutch switch, ignition switch issue, or a push-button start input that is not being seen (brake pedal switch, clutch switch, or key fob issue).
- One click often points to starter or solenoid issues, but it can also be low voltage.
- Fast clicks often point to low voltage or bad connections.
Try a jump start, but interpret it correctly
If a jump start makes it crank normally, your starter might be fine and the battery or charging system might be the real problem. If a jump start changes nothing, that does not automatically prove the starter is bad, but it moves it higher on the suspect list.
Verify Park or Neutral
Sounds silly until you have been there. If it is an automatic, try starting in Neutral. A failing range switch (neutral safety switch) can cause a no-crank.
Push-button start quick reminder
If you have a start button, make sure the key fob battery is not dead and that the car is actually seeing the brake pedal (or clutch pedal) input. If the security or immobilizer light is flashing, check the owner’s manual before you start throwing parts at it.
Tap test (use with caution)
On some older starters, gently tapping the starter body with a long extension or small hammer while someone turns the key can temporarily wake up worn brushes. If it suddenly cranks after a tap, that is a strong hint the starter is on borrowed time.
Better test: voltage at the battery and starter
If you have a multimeter, you can avoid guessing:
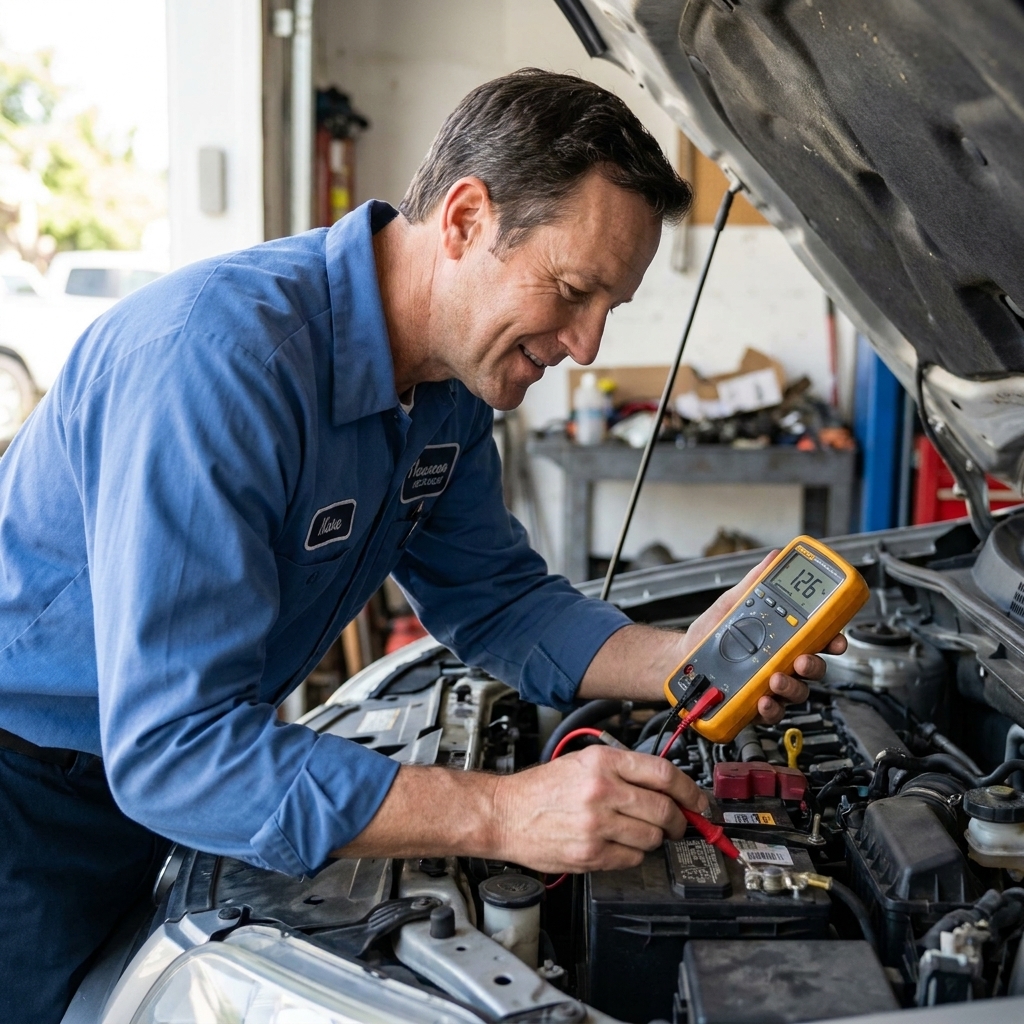
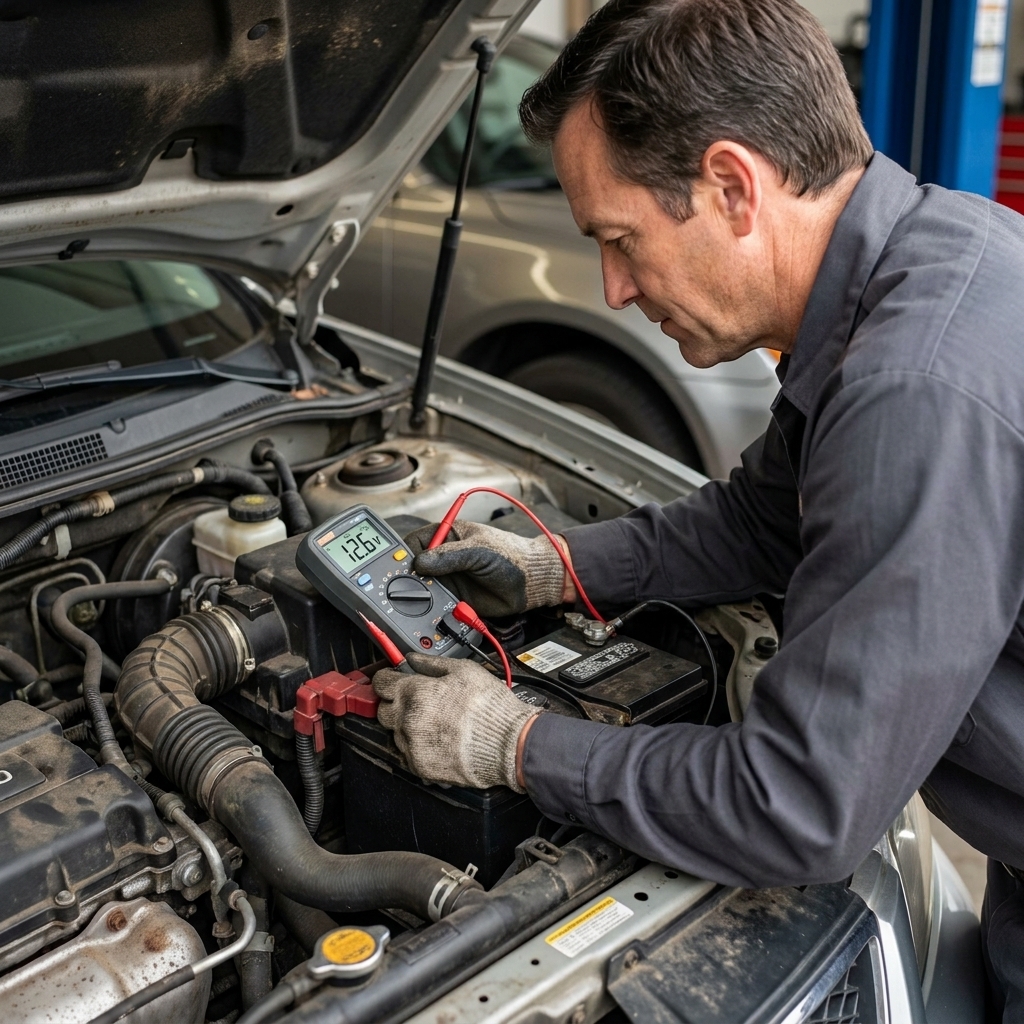
- Battery voltage with the car off is typically about 12.6 volts for a fully charged battery at normal temps. Seeing roughly 12.4 to 12.7 volts is a common healthy range.
- While cranking, voltage should generally stay above about 9.6 volts as a rule of thumb. In cold weather, cranking voltage can dip lower, and battery condition and rating matter too.
- At the starter main terminal, you should see near battery voltage while attempting to crank. If the battery is strong but voltage at the starter is low, suspect cable, ground, or connection issues.
If you are not comfortable testing, that is fine. Just know that a free battery and charging test at many parts stores is a good first stop.
Rule out a locked-up engine
Rare, but worth one sentence: if the engine cannot be rotated by hand at the crank pulley bolt (with proper precautions), stop. A starter cannot crank an engine that is mechanically stuck.
Tools and parts
Every car is a little different, but most starter jobs use the same basics.
Tools
- Socket set (metric and SAE if you are not sure)
- Ratchet and extensions (a long extension often saves the day)
- Wrench set
- Torque wrench (recommended)
- Jack and jack stands or ramps (never rely on the jack alone)
- Wheel chocks
- Safety glasses and gloves
- Small wire brush or sandpaper for cleaning connections
- Multimeter (optional but helpful)
Parts and supplies
- Replacement starter motor (and solenoid if it is separate)
- New starter mounting bolts if your vehicle calls for one-time-use bolts (check your service info)
- Battery terminal protectant spray (optional)
- Dielectric grease (optional, used sparingly and not on contact surfaces)
- Penetrating oil for crusty bolts
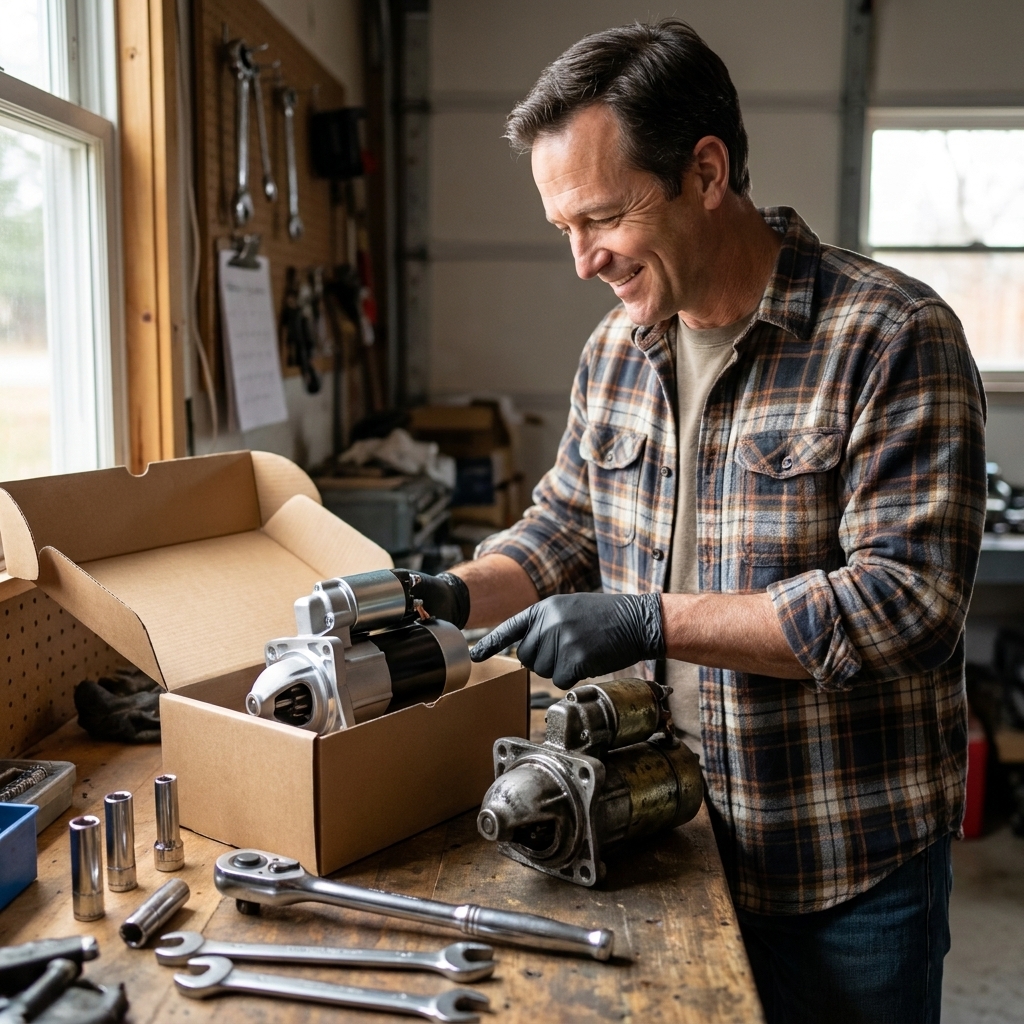
Pro tip from the land of missing 10mm sockets: take a photo of the wiring on the starter before you touch anything. It costs nothing and saves a lot of second guessing.
Disconnect the battery
Starters have a direct battery feed. That big cable is live power. If your wrench bridges it to ground, you will get fireworks you did not ask for.
- Turn the ignition off and remove the key.
- Disconnect the negative battery terminal first.
- If you want extra safety, disconnect the positive too, but negative-first is the must-do.
Starter replacement steps
This is the general process used on many front-engine cars and trucks. Your exact access may vary depending on whether the starter sits up top, down low, or tucked behind an exhaust pipe that seems personally offended by your presence.
1) Find the starter
Most starters mount where the engine meets the transmission (bellhousing area). Look for a small motor with a smaller cylinder attached to it (the solenoid) and a thick battery cable going to it.
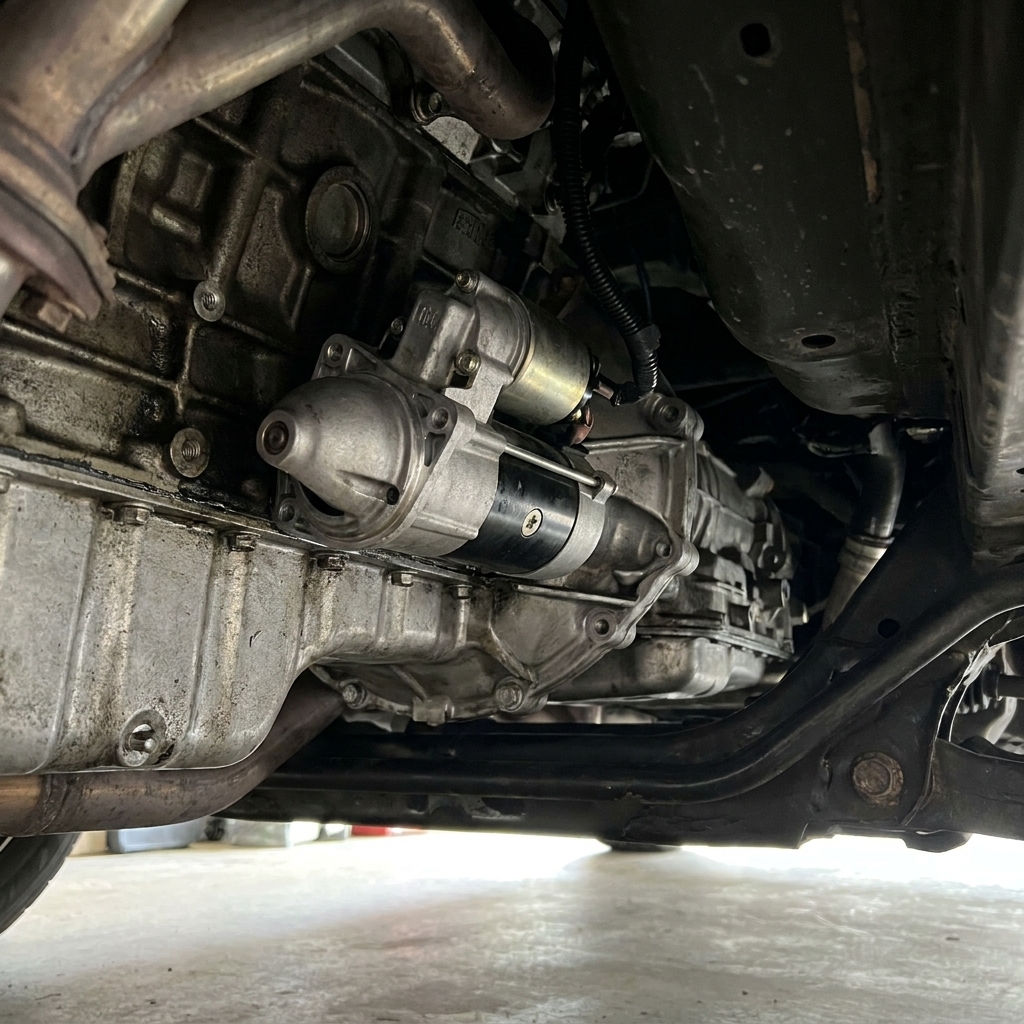
2) Raise the vehicle if needed
- Park on level ground.
- Chock the wheels.
- Lift at approved jack points and set it securely on jack stands.
- Give the vehicle a firm shake test before you get underneath.
3) Remove anything blocking access
Some cars have splash shields underneath. Others need an air box, intake tube, or brace removed from above. Occasionally an exhaust heat shield or pipe is in the way. Take your time and keep bolts organized.
4) Label and remove the wiring
You will typically see:
- Main battery cable on a large stud with a nut.
- Signal wire on a smaller terminal (often a push-on connector or small nut).
Remove the nut for the main cable and set the cable aside so it cannot flop back onto the stud.
5) Remove the mounting bolts
Most starters use two or three bolts. Support the starter with one hand as you remove the last bolt. They are heavier than they look when you are under a car.
6) Compare the new starter to the old one
Before installing, match them up:
- Mounting ears and bolt holes line up
- Electrical terminals are in the same general position
- Nose length and gear position look the same
If anything looks off, pause and verify the part number.
7) Install the new starter
- Position the starter and hand-thread the bolts first to avoid cross-threading.
- Tighten the bolts evenly.
- Torque to spec if you can. If you cannot, snug is not a spec. A factory service manual (or reputable service info like AllData) is your best friend here.
8) Reconnect the wiring
- Clean the cable end if it is crusty or burned.
- Reconnect the signal wire.
- Reconnect the main battery cable and tighten the nut firmly, but do not overdo it and strip the stud.
If you use battery terminal protectant, apply it after the connection is clean and tight. If you use dielectric grease, use a light smear around the outside to slow corrosion, not on the metal-to-metal contact surfaces.
9) Reinstall shields and lower the vehicle
Make sure nothing is left dangling near the exhaust, axle, or belts.
10) Reconnect the battery and test
- Reconnect the negative terminal last.
- Start the car. You should get a strong, confident crank.
- Listen for any grinding or abnormal noises. If you hear grinding, stop and recheck mounting and part match.
Common mistakes
- Forgetting the battery: this is the big one. Disconnect it first.
- Mixing up the wires: take a photo and label if needed.
- Cross-threading a starter bolt: always start bolts by hand.
- Ignoring corroded cables or grounds: a new starter cannot overcome bad power delivery.
- Not supporting the starter: dropping it can crack housings or damage wiring.
- Buying the cheapest unit available: remanufactured starters vary wildly. If you can, buy a quality reman from a reputable brand or OEM, and keep the receipt for the warranty.
When it is not the starter
If you replace the starter and still have a no-crank, do not panic. The most common culprits after that are:
- Weak battery or failed battery under load
- Bad battery cables or poor grounds
- Blown starter fuse or faulty starter relay
- Neutral safety switch or clutch safety switch issue
- Ignition switch or start-button circuit issue
- Security or immobilizer issue (often accompanied by a flashing security light)
- Engine mechanical problem (rare, but possible)
If the engine will not turn by hand with a wrench on the crank pulley bolt (with proper precautions), stop and get help. A locked engine is a different conversation.
FAQ
Can I drive with a bad starter?
If it starts, it will usually drive fine. The problem is that you cannot trust it to restart after you shut it off. If you suspect the starter is failing, avoid unnecessary stops until you fix it.
How long does starter replacement take?
On an easy-access vehicle, 30 to 90 minutes is realistic for a first-timer with basic tools. On a tightly packaged car, it can take a few hours, especially if shields, braces, or exhaust parts are in the way.
Do I need to replace the starter relay too?
Not automatically. If the relay is known-good and you have power at the starter signal terminal during a crank attempt, the relay is usually not your issue. Relays are cheap though, and some are easy to swap for testing.
It clicks once but starts if I try again. Is that the starter?
It can be. It can also be a borderline battery connection, a weak battery under load, or a ground problem. Check and clean the terminals and grounds first, then test battery voltage while cranking. Intermittent starter solenoid contacts are also common.
Do I need starter shims?
Most modern vehicles do not use starter shims, but some specific applications still do. If your vehicle calls for shims, follow the factory procedure exactly. Incorrect engagement can cause grinding and flywheel damage.
Wrap-up
A starter motor failure can feel like your car is suddenly haunted, but the symptoms follow patterns. Once you confirm the battery, cables, and grounds are healthy, replacing the starter is often a very doable DIY job.
If you get stuck mid-job, the best move is to stop, take a breath, and go back to basics: battery disconnected, wiring photo, bolts started by hand, and everything tight and clean. Cars reward patience more than brute force. Trust me, I learned that the hard way in a cold garage with classic rock on the radio and a missing 10mm.