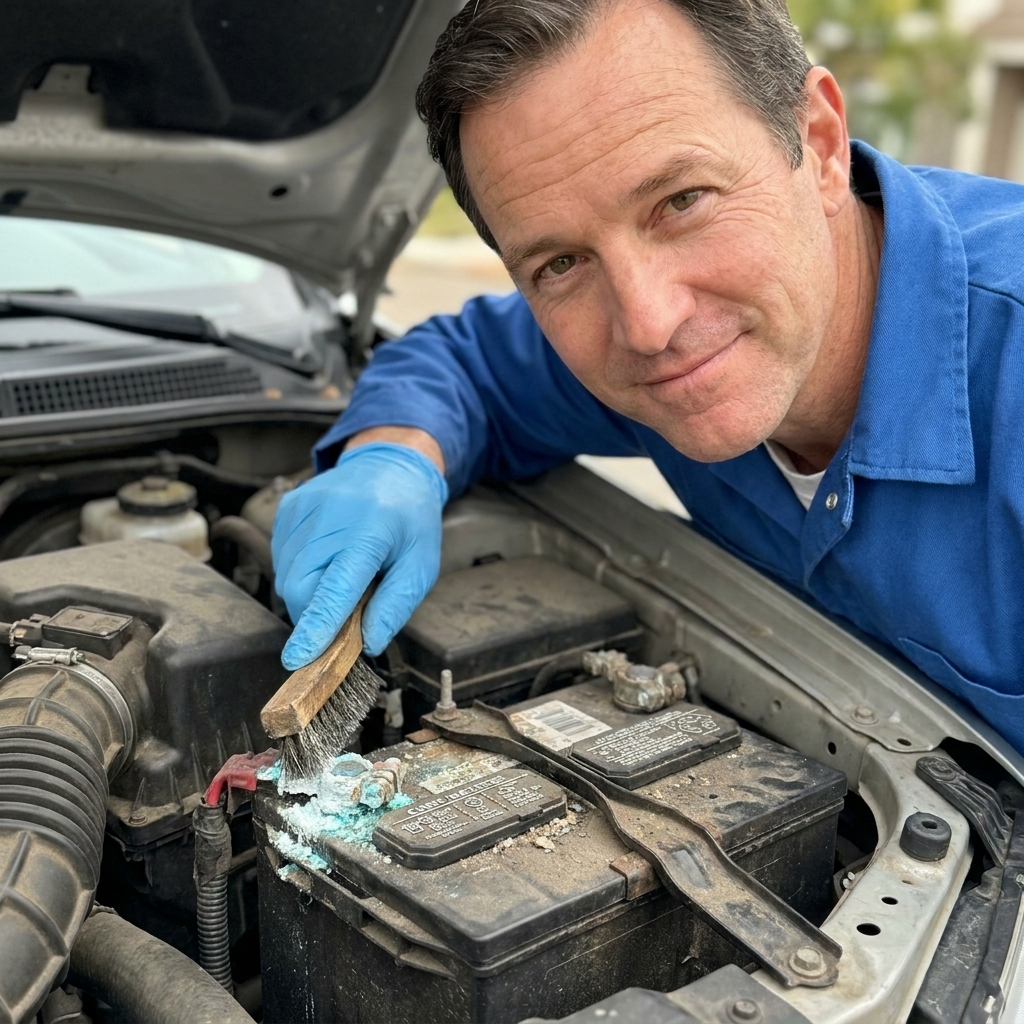
If your car is slow to crank, has intermittent electrical issues, or acts like it has a “bad battery” one day and a “fine battery” the next, pop the hood and look at the battery terminals. That fuzzy blue-green or white crust is corrosion, and it can choke off the electrical connection like scale in a water pipe.
The good news: cleaning battery terminal corrosion is one of the cheapest, most satisfying DIY wins in the driveway. You can neutralize the contamination, scrub the terminals clean, and get your starting power back using mostly household stuff.
What battery corrosion is and why it happens
Terminal corrosion is usually caused by a mix of battery fumes or mist, tiny electrolyte seepage, and normal chemical reactions at the connection. On older flooded lead-acid batteries, that can include acid vapor and hydrogen venting during charging. Many modern sealed and AGM batteries can still corrode at the terminals too, often from small amounts of venting under heavy charge, minor leakage at the post seal, or corrosion migrating from the cable end.
What you see on the outside is not just “acid.” It is often a mix of sulfate salts and corrosion products. The fluffy white can include lead compounds. The blue-green often involves copper corrosion products from the cable end. Either way, it is bad news for electrical contact.
Signs you should clean the terminals
- Slow crank, click-no-start, or intermittent starting problems
- Headlights that dim when you hit the starter
- Random electrical glitches like radio resets
- Visible crusty buildup on the terminal, clamp, or cable end
- Battery looks “new,” but the car still struggles to start
Corrosion increases resistance. Resistance creates heat. Heat and resistance steal voltage from the starter and everything else that wants clean power.
Safety first
Battery terminals are simple, but you are working around acid, high current, and (sometimes) flammable gas. A wrench that bridges positive to ground can turn into a welding rod in a heartbeat.
- Wear eye protection. A splash of acid or baking soda solution in the eye is a bad day.
- Wear gloves. Nitrile is fine. Mechanic gloves are fine. Just cover your skin.
- Work in a ventilated area. Batteries can vent hydrogen gas, which is flammable.
- No smoking, no open flames, no sparks near the battery.
- If your battery case is cracked, bulging, or leaking liquid, do not clean it. Replace it.
Negative off first, negative on last
When disconnecting a battery, always remove the negative (-) cable first. When reconnecting, install the negative (-) cable last. This reduces the chance of accidentally shorting the positive terminal to metal with your tool.
Quick warning about resets
Disconnecting the battery can reset the clock, radio presets, and some vehicle memory functions. If that matters to you, look up whether your vehicle supports a memory saver and use one properly. Otherwise, plan on setting a few things again afterward.
Tools and supplies
You do not need a fancy kit, but it helps to have the right basics.
You will want
- Baking soda (sodium bicarbonate)
- Clean water (warm is nice)
- Small brush (old toothbrush works) or a battery terminal brush
- Wrenches/sockets for the terminal clamps (often 8mm, 10mm, or 13mm)
- Rags or paper towels
- Spray bottle or small cup
- Optional: dielectric grease or battery terminal protectant spray
- Optional: petroleum jelly (in a pinch)

Step-by-step: neutralize and clean
This is the method I used in the shop and still use at home. It is quick, controlled, and it stops the chemical mess instead of just smearing it around.
1) Shut the car off and set up
- Key out of the ignition, lights off, accessories off.
- If the battery is under a cover, remove it and set it aside.
- Take a quick photo of cable routing if anything looks confusing.
Battery location note: Some vehicles hide the battery in the trunk, under a seat, or behind panels. Access varies, but the cleaning steps are the same once you are at the terminals.
Terminal type note: Most batteries are top-post, but some are side-post. The disconnect order and cleaning approach is the same, but the hardware and access will look different.
2) Mix your neutralizing solution
Mix 1 tablespoon of baking soda into 1 cup of water. You can scale that up if you have a lot of crust.
Baking soda is a base. Battery contamination around lead-acid terminals is often acidic, so baking soda is a safe first choice. When they meet, the fizzing you see is the neutralization reaction.
3) Disconnect the battery cables (negative first)
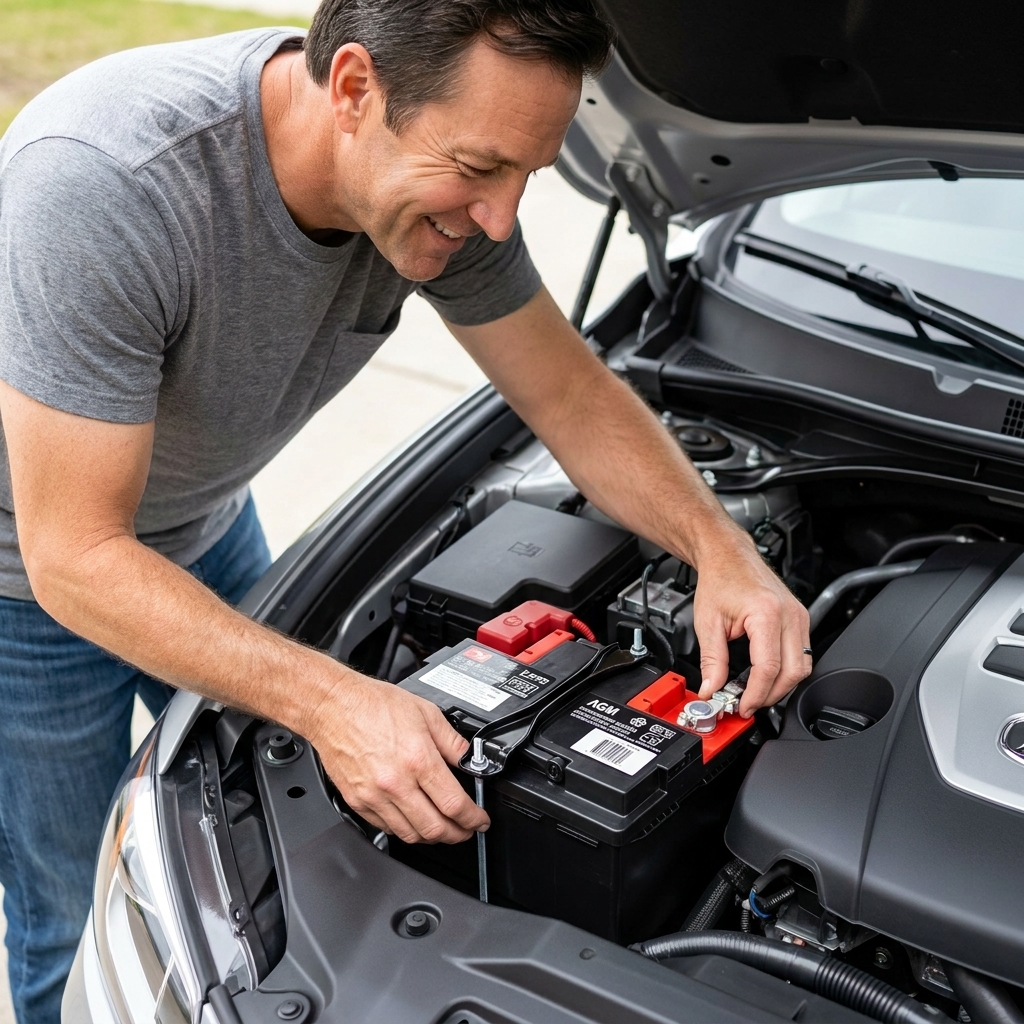
- Loosen the negative (-) terminal clamp and lift it off. Tuck it to the side so it cannot flop back onto the post.
- Loosen the positive (+) clamp and remove it.
If the clamp is stuck, do not pry with a screwdriver like you are opening a paint can. Wiggle gently while lifting. A terminal puller is ideal if it is really seized.
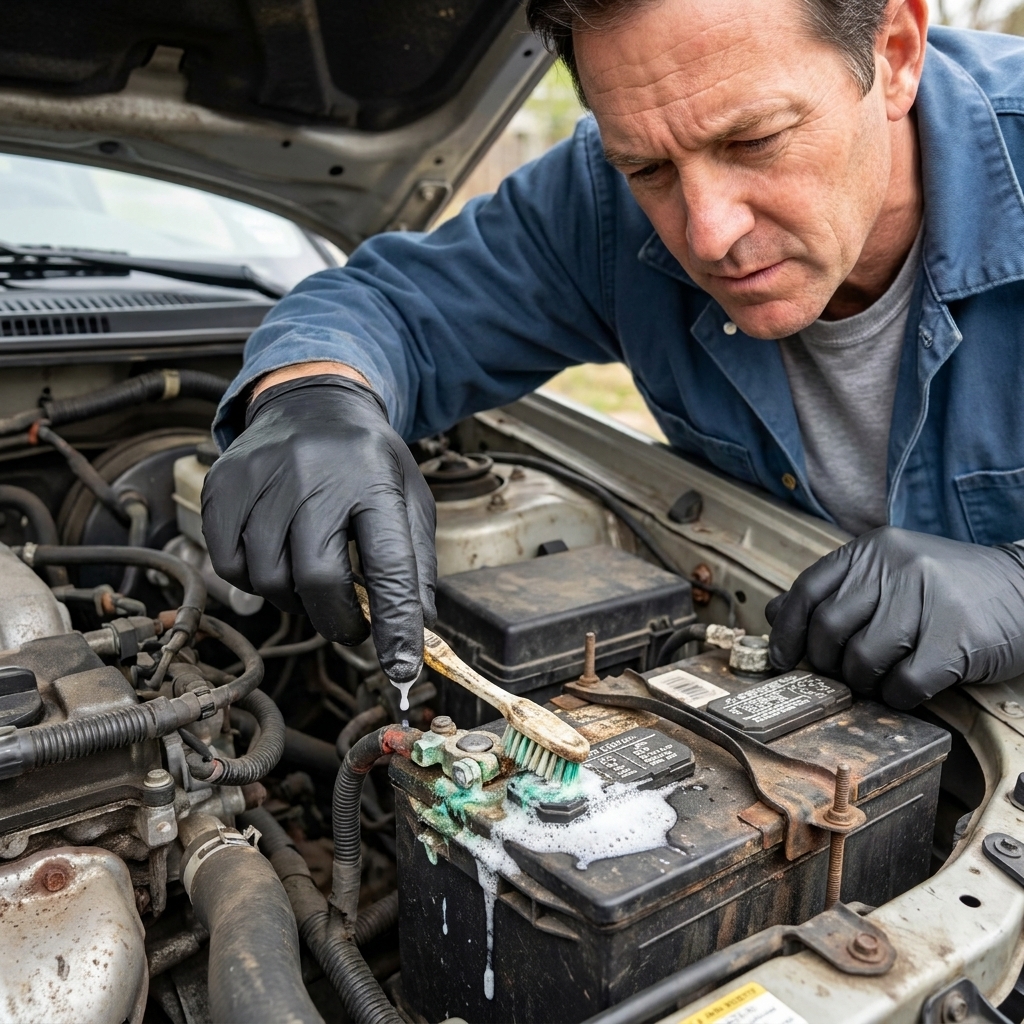
4) Apply the baking soda solution
Pour or spray the solution onto:
- The battery posts
- The inside and outside of both terminal clamps
- The crusty areas on the cable ends
Let it fizz for 30 to 60 seconds. That fizzing is doing work for you.
5) Scrub until you see clean metal
Use a toothbrush or terminal brush and scrub:
- Battery posts: you want clean lead showing, not dull crust
- Terminal clamps: especially the inside surface that actually touches the post
- Cable ends: if corrosion has crept into the cable end, scrub what you can see
If the corrosion is thick like a winter salt layer, repeat the solution and scrub again. Patience beats brute force here.
Rinse and dry
Once the metal is clean, rinse the area with a small amount of clean water. You are not pressure-washing the engine bay. You are just flushing away the baking soda and loosened corrosion.
If you have a serviceable battery with vent caps, avoid dumping water into the vent openings. Keep the rinse controlled and on the outside surfaces you just cleaned.
Then dry everything thoroughly with rags or paper towels. Moisture left on the connection can invite more corrosion later.
Check the battery tray
If your battery sits in a tray, look underneath. Residue can corrode hold-down hardware and sheet metal. Wipe the area with a lightly damp rag, then dry it.
Reinstall and protect
1) Reconnect the cables (positive first)
- Install the positive (+) clamp first and tighten it.
- Install the negative (-) clamp last and tighten it.
The clamp should be snug enough that you cannot rotate it on the post by hand. Do not overtighten and crack the clamp or damage the post. Snug and solid wins.
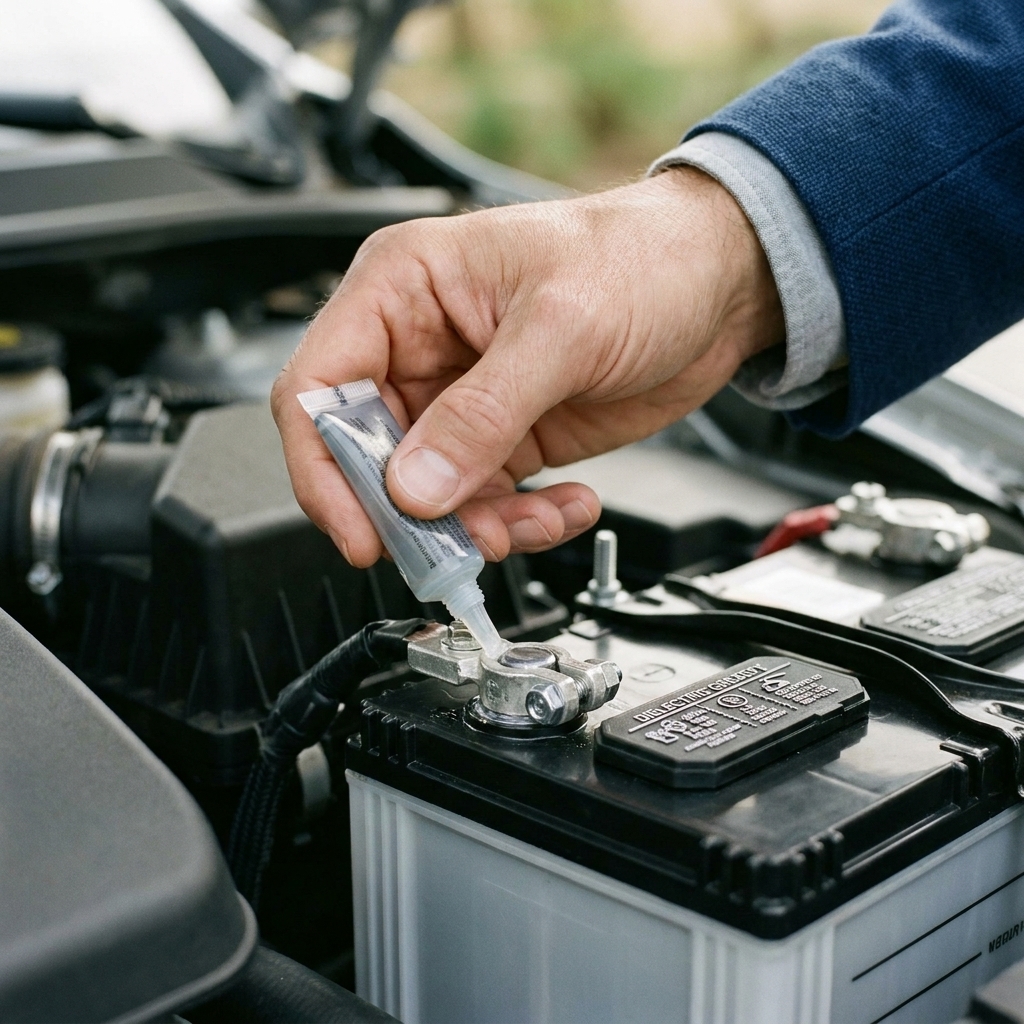
2) Add corrosion protection
You have a few good options:
- Battery terminal protectant spray: purpose-built, easy, clean
- Dielectric grease: apply a thin layer around the base of the post and on the outside of the clamp after it is tight
- Petroleum jelly: not my first choice, but it works in a pinch as a moisture barrier
Important: you want clean metal-to-metal contact first. Do not coat the post in grease and then hope electricity will negotiate a treaty through it. Tight connection first, protectant second.
Household items: what works
Baking soda and water
This is the gold standard for neutralizing typical lead-acid battery contamination on the outside of the battery. Cheap, effective, and predictable.
Can you use vinegar?
Vinegar is an acid. It can be useful for some types of deposits, and it is often mentioned for cleaning alkaline corrosion on household batteries. Around car battery terminals, the contamination is often acidic, so baking soda is the safer default. If you experiment with anything acidic, rinse thoroughly and dry, and do not mix chemicals together.
Can you use Coca-Cola?
Yes, it can help dissolve corrosion because it is mildly acidic, but it leaves sticky residue that attracts dirt. If you use it, you must rinse thoroughly. I would still rather you use baking soda and water.
What not to do
- Do not scrape aggressively with a knife. You can damage the post or clamp.
- Do not let metal tools bridge between positive and any metal part of the car.
- Do not ignore corrosion that keeps coming back quickly. That is a clue, not a cosmetic issue.
When cleaning is not enough
Sometimes the crust you see is just the beginning.
Replace the terminal ends if:
- The clamp is cracked, stretched, or will not tighten properly
- The cable strands are green, powdery, or swollen under the insulation
- The cable end is badly pitted and will not clean up
Consider battery or charging tests if:
- Corrosion returns within a few weeks
- The battery is more than 3 to 5 years old and you have starting issues
- You see signs of overcharging (strong sulfur smell, battery case swelling, or electrical problems that overvoltage can contribute to)
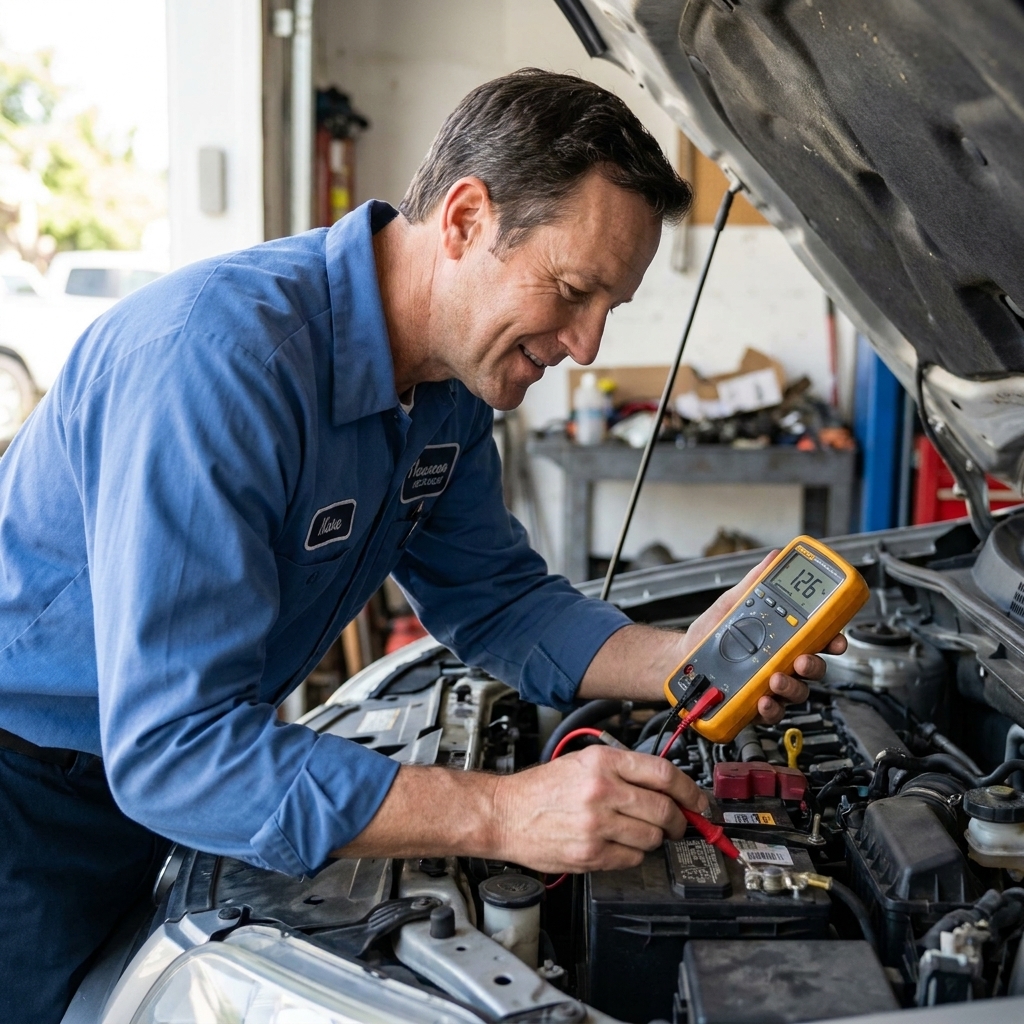
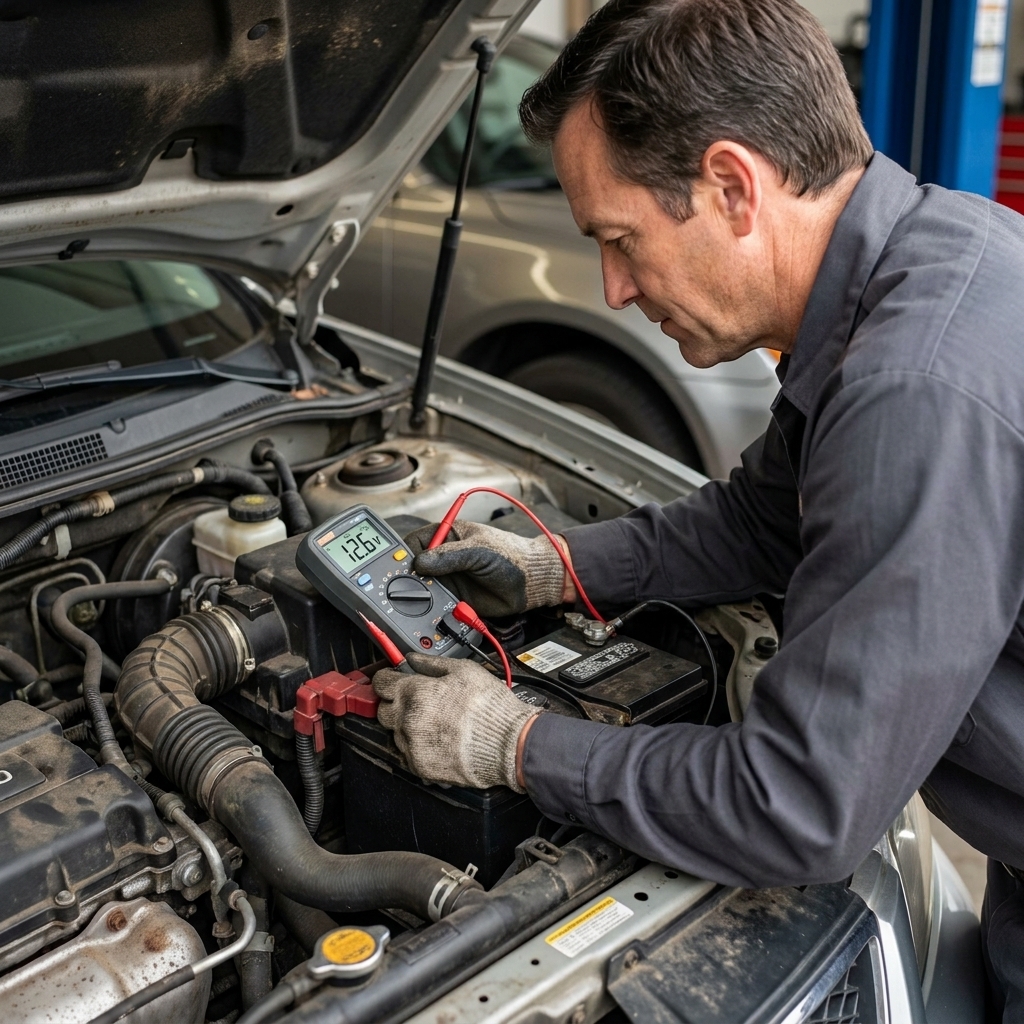
A parts store test is a decent starting point, but a proper charging system check with a multimeter is better if you want answers.
If it will not start after
- Double-check that both clamps are fully seated and tight. Loose clamps cause most “it got worse” moments.
- Make sure you did not swap cables or leave a terminal sitting crooked on the post.
- Look for hidden corrosion where the cable enters the terminal end.
- If you have a battery sensor on the negative cable, confirm it is connected correctly and not damaged.
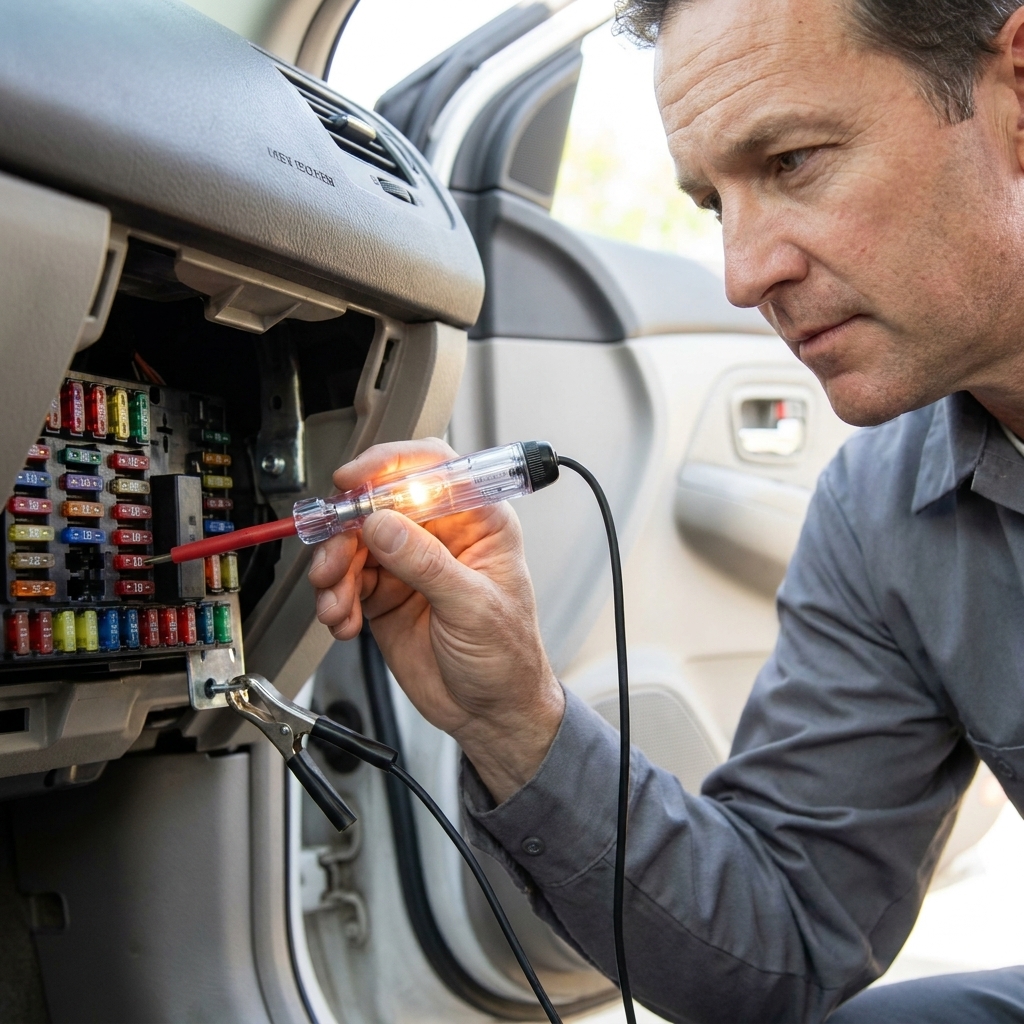
- If you blew a fuse while working (it happens), check the main fuses near the battery.
Quick checklist
- Make sure terminals are tight and clean
- Use terminal protectant spray or a thin coat of dielectric grease after tightening
- Confirm the battery is securely clamped down. Vibration kills batteries and connections
- Clean residue in the tray area and keep it dry
- If you have a serviceable battery with caps, keep electrolyte at the correct level using distilled water only
FAQ
Is battery terminal corrosion dangerous?
It can be. The corrosion itself is not going to leap at you, but batteries contain acid and can produce flammable gas. Wear eye protection, keep sparks away, and disconnect negative first.
Do I need to disconnect the battery to clean corrosion?
For a proper job, yes. You want to clean the inside of the clamps and the posts thoroughly, and that means removing the cables.
Why is there more corrosion on the positive terminal?
It is common for the positive side to show more buildup due to the chemistry at that terminal and because many vehicles have more hardware stacked at the positive post. Loose connections make it worse on either side.
Will this fix a no-start?
If the no-start is caused by high resistance at the battery connection, cleaning can absolutely bring a car back to life. If the battery is weak, the starter is failing, or there is a deeper electrical issue, cleaning helps but may not be the whole cure.
How often should I clean battery terminals?
Check them at every oil change. Clean them any time you see buildup. In many cars, once a year is plenty if the charging system is healthy and the terminals are protected.
Wrap-up
Corroded terminals are one of those problems that look intimidating until you handle them once. Neutralize with baking soda and water, scrub to clean metal, rinse, dry, and protect the connection. It is simple maintenance that can prevent a tow truck call and make your battery live a little longer.
If you want to level up, grab a basic multimeter next and learn to check battery voltage and alternator output. That is another driveway skill that pays you back fast.