I grew up holding a flashlight for my grandpa while he fought with headlight bulbs in a drafty garage. Years later, I was the guy in the shop watching customers get sold “premium” halogens when what they really needed was better light placement, clean lenses, and a bulb installed correctly.
If your car came with halogen headlights, a quality LED bulb upgrade can be a legit improvement: whiter light, less power draw, and better visibility when the housing and bulb design actually work together and you aim them properly. The key is doing it without hacking the factory harness. No Scotch-Loks. No mystery splices. Just a clean, reversible install that does not turn your dash into a Christmas tree.
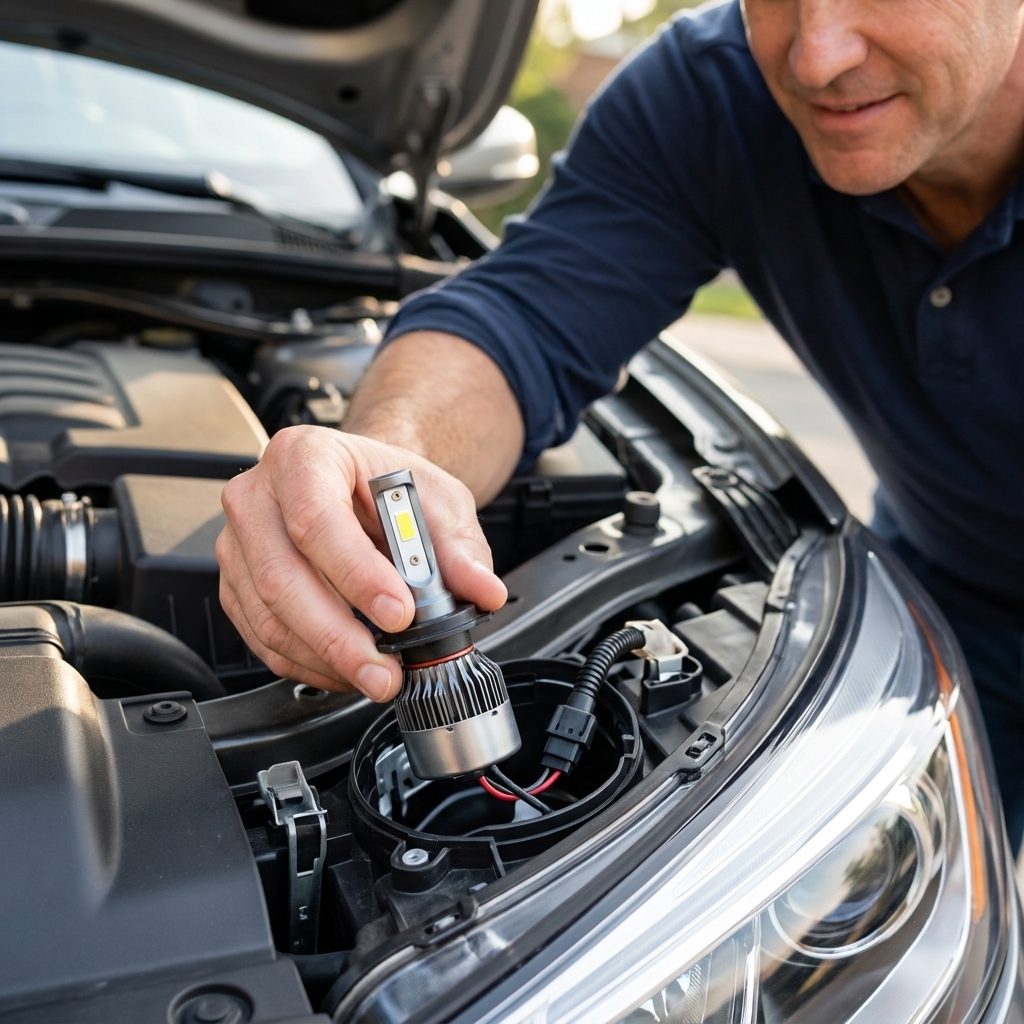
Legal note
Quick reality check: in a lot of places, LED “drop-in” bulbs installed in a headlamp designed and certified for a halogen filament are not technically street-legal. In the U.S., for example, headlamps are certified as a system under FMVSS 108, and swapping only the light source can put you out of compliance even if it looks fine to you.
I am not here to play lawyer, but I am here to keep you out of trouble. Check your local laws and inspection rules before you buy. If you cannot run them legally where you live, stick with high-quality halogens, restore the lenses, or consider a proper projector retrofit.
Before you buy
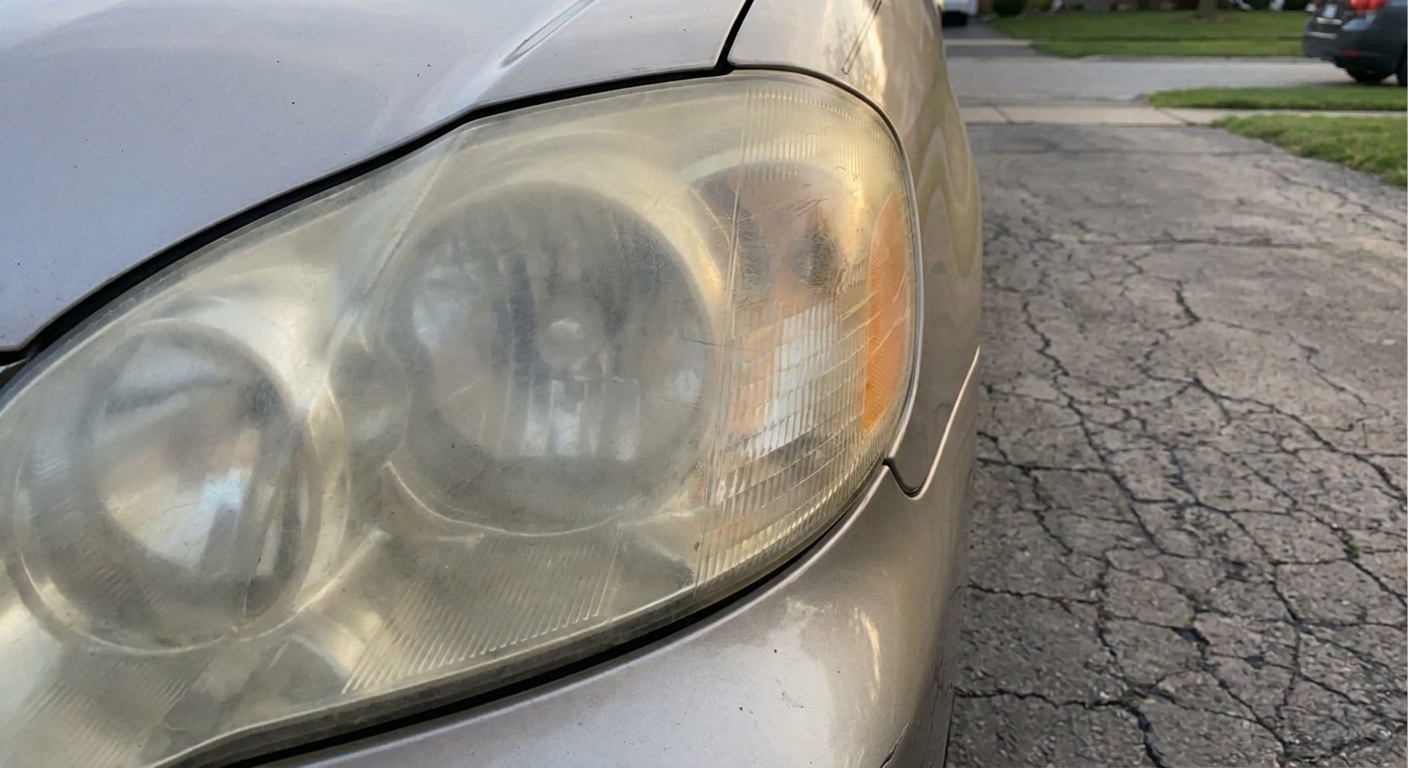
Here’s the honest truth: LED bulbs work best when the headlight housing can control the beam. Some housings do that well, others scatter light and create glare for oncoming traffic. Also, not every LED retrofit outperforms a good halogen. Results vary a lot by housing and bulb design.
Projector vs reflector housings
- Projector housings (a lens at the front) tend to produce a cleaner cutoff with LEDs, especially when the LED chips match the halogen filament position.
- Reflector housings (open bowl reflector, no front lens) can still work, but they are more sensitive to bulb design and alignment. A bad LED bulb in a reflector can look “bright” up close while throwing light everywhere except down the road.
If you are constantly getting flashed after the upgrade, that is a sign of glare, not “other drivers being dramatic.” It can also get you pulled over or fail inspection depending on where you live.
Confirm the bulb type
Look in your owner’s manual, a reputable parts catalog, or the printing on the old bulb. Common types: H11, 9005, 9006, H4, H7, 9012.
Important: some cars use separate bulbs for low and high beams. Others use a dual-filament halogen like H4 for both. Many LED replacements for dual-beam setups use a moving shield or multiple emitters, and that quality varies a lot.
Pick a bulb that is worth the hassle
A few practical buying tips that save headaches:
- Look for LED bulbs that advertise filament-accurate chip placement, not just huge lumen numbers.
- Be suspicious of “too good to be true” marketplace brands with wild lumen claims and no beam pattern info.
- Make sure you have a return policy. If the pattern is messy in your housing, you want an easy exit.
- Pay attention to thermal management. Fans and heat sinks need space and airflow behind the bulb.
Tools and parts
- Correct LED bulb set for your low beams (and high beams if you are doing both)
- Nitrile gloves (keeps skin oils off bulbs and helps grip)
- Small flat screwdriver or trim tool (for clips and covers)
- 10mm socket set (because it always turns into a 10mm job)
- Flashlight or headlamp
- Zip ties (for securing a small driver box if your kit has one)
- Electrical contact cleaner (optional, helpful on older connectors)
If your car is known for bulb-out warnings or flicker, consider LEDs that include CANbus support, or plan for load resistors. More on that below.

Safety first
- Turn the lights off and remove the key.
- Let the old halogens cool. A halogen bulb can burn you quickly.
- Do not touch glass halogen bulbs with bare fingers. If you reuse them later, skin oil creates hot spots and shortens life.
- Secure the car on level ground with the parking brake set.
- If access is tight near a cooling fan, disconnect the negative battery terminal. Modern fans can kick on when you do not expect it.
Step-by-step swap
1) Get access
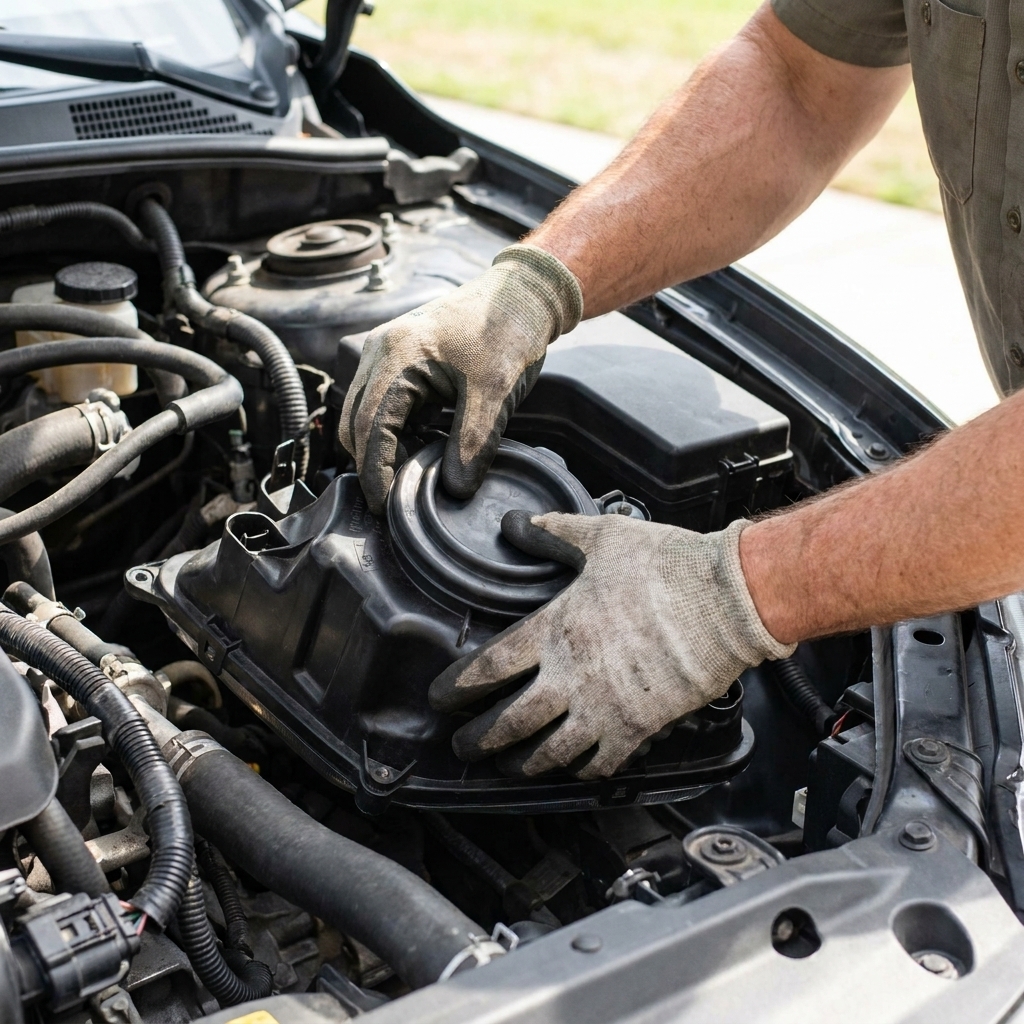
On many cars you can reach behind the headlight from the engine bay. Some make you go through the fender liner, remove a battery, or pull intake ducting. And yes, some models basically require removing the bumper or the whole headlamp assembly.
- Pop off any rear dust cap or cover.
- If a wiring harness is clipped to the housing, release the clip gently instead of yanking on the wires.
If it looks like you are about to break a tab, stop and pull up a model-specific guide. Snapping plastic in a tight corner turns a 20-minute bulb job into a Saturday.
2) Unplug the connector
Press the lock tab and pull straight back. If it is stubborn, wiggle the connector body, not the wires.
3) Remove the halogen bulb
Most halogen bulbs come out one of two ways:
- Twist-lock base: rotate the bulb counterclockwise about a quarter turn, then pull out.
- Wire spring clip: release the clip and swing it away, then pull the bulb out.
Take a second to note the bulb’s orientation. That matters with LEDs.
4) Set the LED orientation
For the best beam pattern, the LED emitters need to mimic the position of the halogen filament.
- On most housings, you want the LED chips to face left and right (3 o’clock and 9 o’clock), not up and down.
- Many good LED bulbs have an adjustable collar so you can clock the bulb correctly.
If your kit has a separate driver box, figure out where it will sit so it will not rattle, melt, or interfere with the dust cap.
5) Install the LED bulb
- Insert the LED bulb into the housing in the same orientation the halogen came out.
- Lock it in place by twisting or re-latching the spring clip.
- Make sure it is fully seated. A bulb that is not seated will throw a messy beam and may leak moisture.
6) Plug it in (polarity sometimes matters)
Halogens do not care about polarity. LEDs often do.
- Plug the factory connector into the LED’s pigtail.
- Before reassembling everything, turn the headlights on.
- If the LED does not light up, turn the lights off, unplug it, flip the connector 180 degrees (if the design allows), and try again.
7) Tidy wiring and reinstall the dust cap
Keep wiring away from moving parts and hot parts.
- Use zip ties to secure any driver module so it cannot bounce around.
- If the headlight has a dust cap, reinstall it. This keeps moisture out.
If the dust cap will not fit: do not leave it off long-term. Look for a low-profile LED bulb, a kit designed for sealed housings, or a purpose-made extended dust cap for your vehicle.
Flicker and warnings
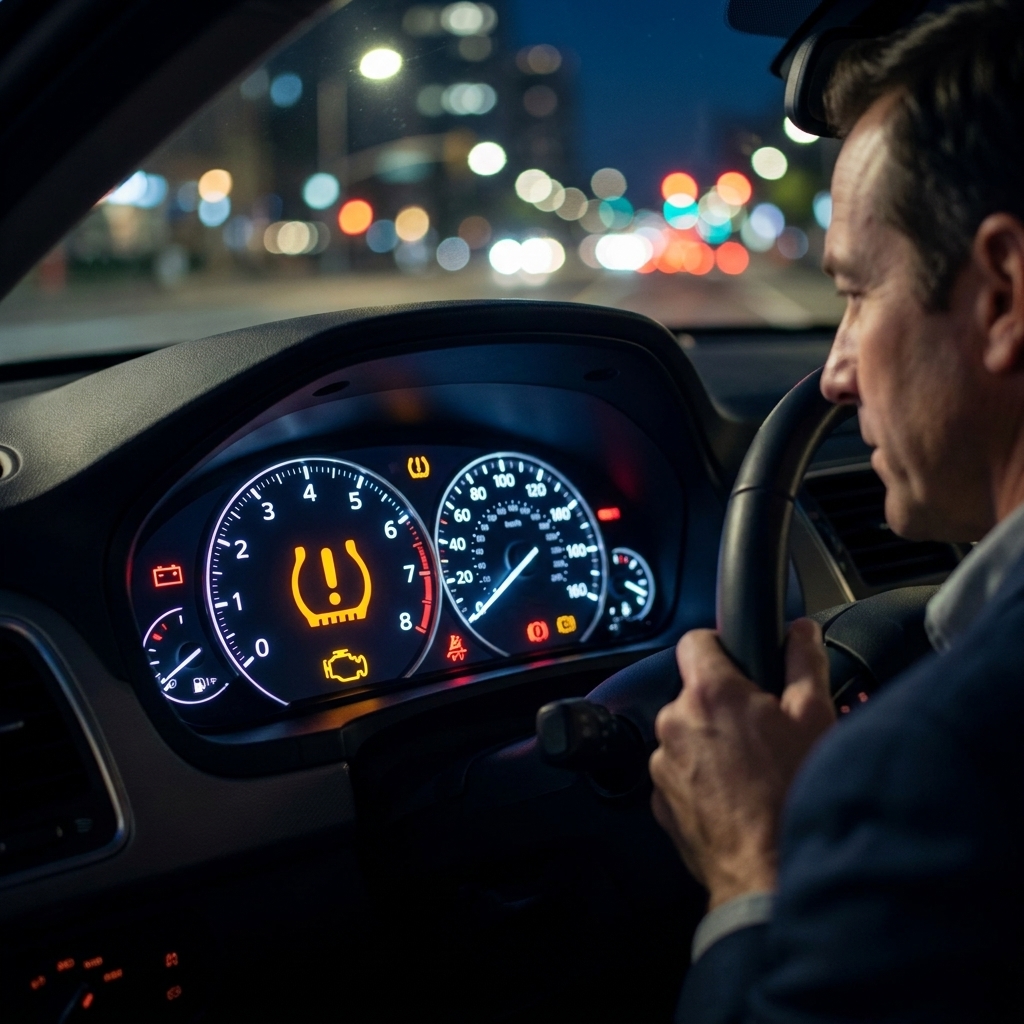
This is where people get frustrated. It is not your fault and it is not always the bulb’s fault either. Many cars monitor headlight circuits using diagnostic pulses, PWM (pulse width modulation), and current checks. LEDs respond differently than halogens, so you can get flicker or warning messages.
Symptom: LED flickers or pulses
- Likely cause: PWM or bulb monitoring pulses.
- Fix: try a CANbus-compatible LED kit first. If flicker remains, you may need an anti-flicker module or decoder designed for your bulb type.
Symptom: dash says “bulb out” but the LED works
- Likely cause: the vehicle does not see the expected electrical load or response.
- Fix: CANbus decoder, or a load resistor harness made for your application.
Load resistors
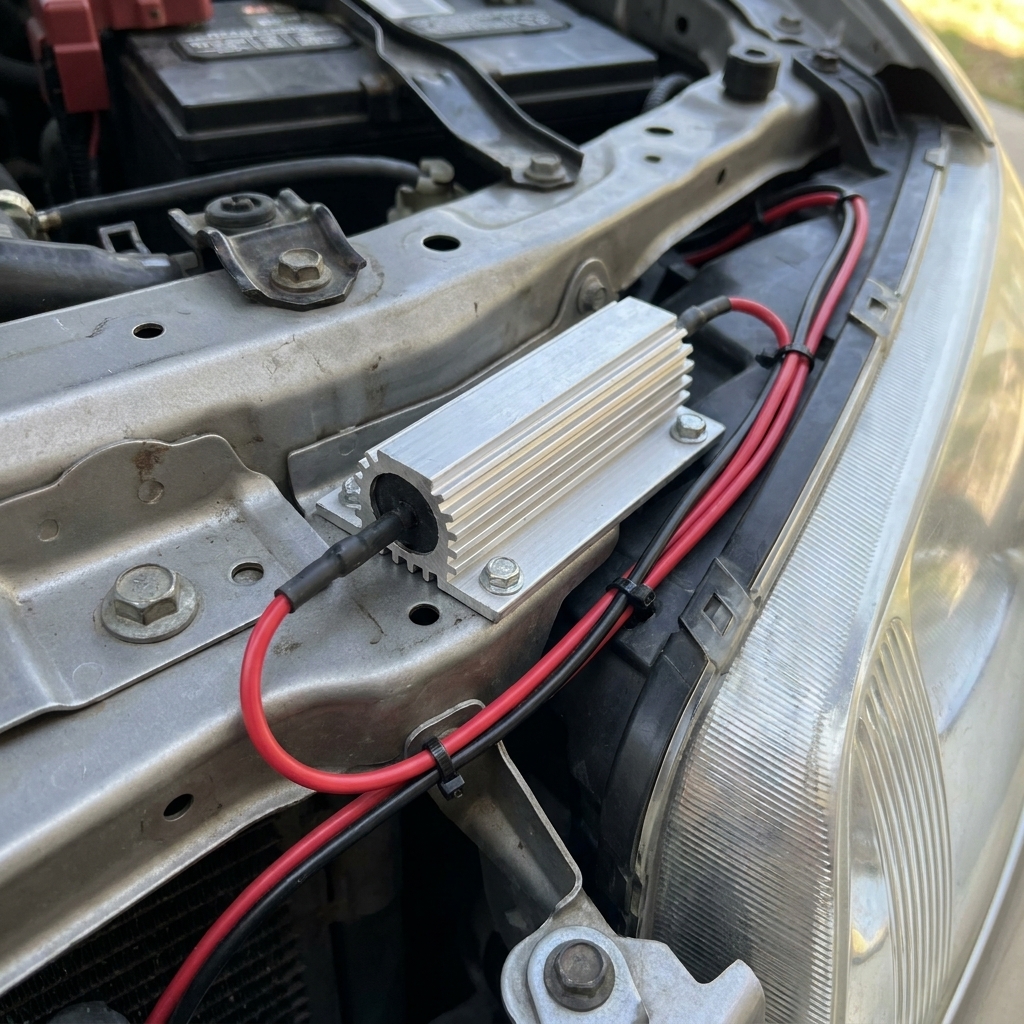
Load resistors get hot. Like, “touch it once and you will remember it forever” hot. If you use them, mount them to metal away from plastic, wiring, and anything flammable, and use a bolt or metal bracket. Do not zip tie a resistor to a harness and call it good.
Aim the headlights
Even a perfect bulb can look terrible if the aim is off. LEDs can make poor aim more obvious because the cutoff is sharper and the color is whiter.
Quick driveway method
- Park on level ground about 25 feet from a flat wall or garage door.
- Make sure tires are properly inflated and the car has a normal load of fuel.
- Turn on low beams.
- The top of the beam cutoff should generally land a bit below headlight height at the wall.
Rule of thumb: many setups end up around 2 inches of drop at 25 feet, but it varies by vehicle and headlamp design. Use that only as a starting point. Your best answer is the aiming spec in the service manual or manufacturer procedure.
Your car will have vertical adjustment screws and sometimes horizontal. Use small turns and adjust both sides evenly.
Common mistakes
- Buying the brightest-sounding bulb. Lumens on a box do not guarantee a good beam pattern on the road.
- Assuming LED always means better. Some drop-in LEDs perform worse than a quality halogen in the same housing.
- Installing the bulb rotated wrong. LED chip orientation matters.
- Leaving the dust cap off. Moisture fogs lenses, corrodes reflectors, and kills bulbs early.
- Loose seating. If the bulb is not fully locked, the pattern will be blotchy and glare goes up.
- Ignoring aiming. The road stays dark, and everyone else gets blinded.
What to expect
A good LED upgrade should give you:
- Cleaner, whiter light output (often 5000K to 6000K)
- Better near-field visibility and clearer signs
- Lower power draw than halogen
It should not give you:
- Random flicker
- Bulb-out warnings you ignore forever
- Glare that makes other drivers flash their high beams at you
One more nuance: cooler color temperature does not automatically mean you see farther, and very cool light can add backscatter in rain, fog, and snow. If you drive a lot of bad weather miles, do not chase the bluest bulb on the shelf.
If you install everything correctly and the beam still looks messy, the housing may simply not play nice with retrofit LED bulbs. In that case, your best upgrade can be high-quality halogens, restored lenses, or a proper projector retrofit.
FAQ
Do I need to disconnect the battery?
Not always. If you can access the bulb without getting near the cooling fan or exposed power terminals, you can usually leave it connected. If space is tight or you are working around a fan shroud, disconnect the negative terminal for peace of mind.
Will LEDs melt my headlight housing?
Quality LED bulbs usually put less heat forward than halogens, but they still make heat, and they concentrate it in the heat sink or fan area behind the bulb. If airflow is poor or components are packed tight under the dust cap, heat can cook nearby plastic, wiring, or the LED driver over time. And load resistors mounted wrong can absolutely melt things.
Why are my new LEDs dimmer than expected?
Most often it’s one of three things: the bulb is not seated fully, the LED chips are clocked wrong, or the housing optics do not focus that bulb design well. Verify seating and orientation first. Then aim. Then consider a different LED design.
Can I upgrade just my low beams?
Yes. Low beams do most of the work. If your high beams are separate bulbs, you can leave them halogen if you want fewer variables. If you drive rural roads, upgrading both can be nice, but get the low beams right first.
Do I need an anti-flicker harness?
Only if your vehicle’s electrical system causes flicker or warning lights with LEDs. Start with a reputable LED kit designed for your vehicle and bulb type. Add decoders only if you have a real problem to solve.
Wrap-up
Swapping halogens to LEDs is one of those upgrades that can feel like a cheat code when it’s done right. Better visibility, less strain at night, and no more “are my headlights even on?” moments. Keep it clean, keep it reversible, and take the extra 10 minutes to aim the beams. That’s the part most people skip, and it’s the part that makes you look like you know what you’re doing.