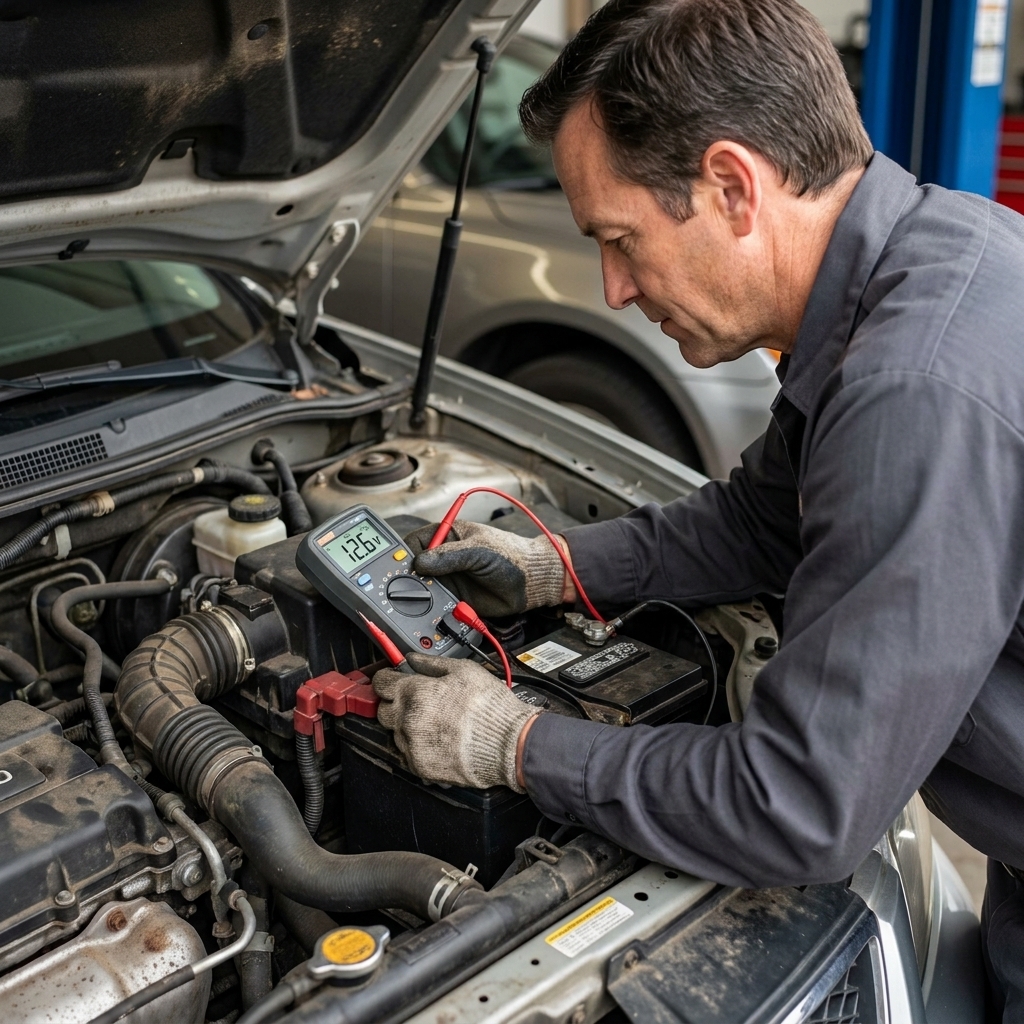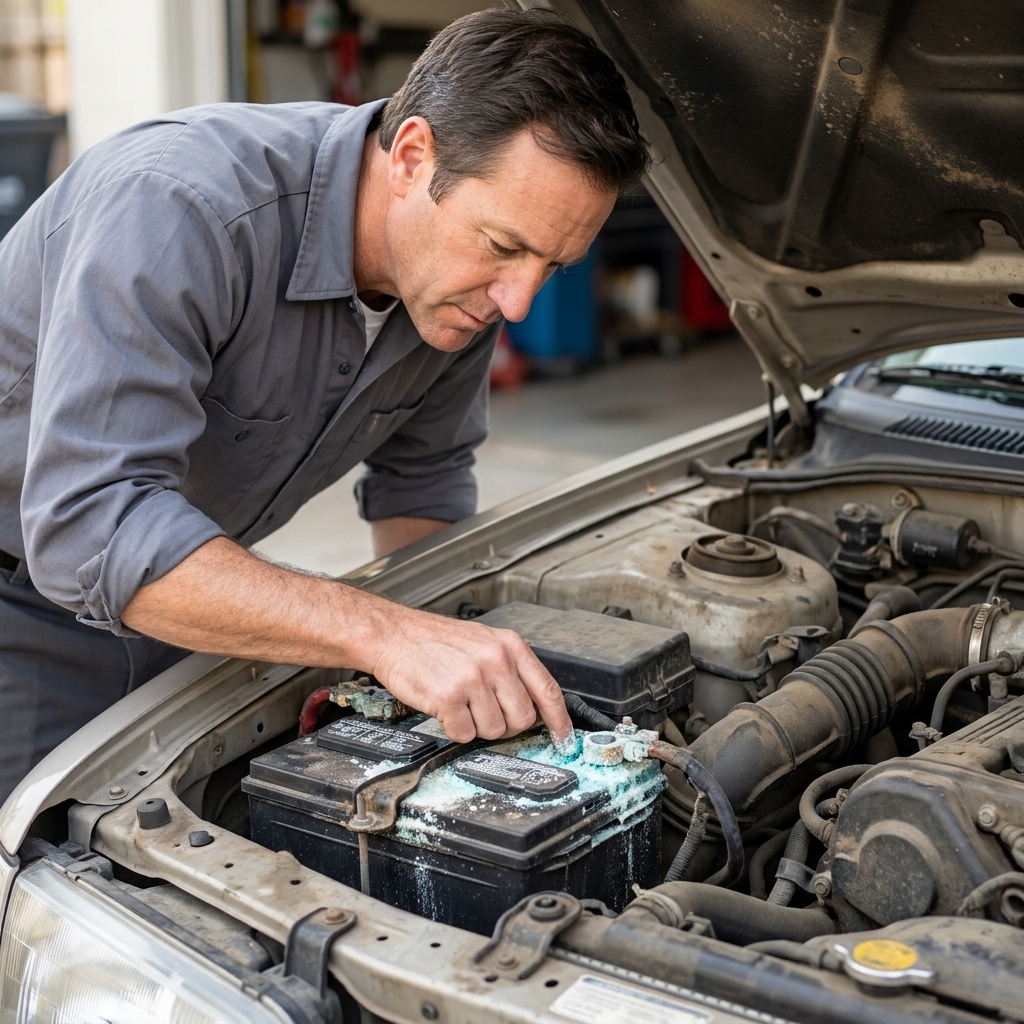
If something electrical suddenly quits, your car is often doing you a favor. A fuse blows to protect the wiring, the switch, and the pricey modules from turning into toasted plastic. The good news is a fuse is one of the cheapest, fastest fixes you can do in your driveway, no intimidation required.
I will walk you through a method I used in the shop for quick, confident answers: find the fuse panels, identify the right circuit, verify the fuse with a test light, and replace it safely. Five steps to find and replace a fuse, plus a few quick gotchas.
Before you start: what you need
- Owner’s manual (or the fuse box cover legend)
- Fuse puller (often clipped inside the fuse box) or needle-nose pliers
- Replacement blade fuses (assorted pack is perfect)
- 12V test light (my preferred tool for this job)
- Optional: flashlight, small mirror, and a pair of safety glasses
Safety note: If you smell burning plastic, see melting, or a wire is hot to the touch, stop. A fuse that keeps blowing can mean a short circuit or a component pulling too much current. Replacing fuses over and over is like putting bigger bandages on a leak. Fix the leak.
Step 1: Confirm the symptom
Start with one dead feature: power outlet, radio, blower fan, headlight, power locks, or a specific interior light. The more specific you are, the faster you will land on the right fuse.
Examples of common fuse-fed circuits:
- 12V socket/cigarette lighter (often blows after a coin or cheap charger shorts inside)
- Radio/audio (sometimes has a separate memory/backup fuse)
- Blower motor (can be fuse, relay, resistor, or the motor itself)
- Power windows (often protected by a larger fuse or circuit breaker)
Write down what does not work and what still works. That clue matters. If the entire dash is dead, you may be looking at a main fuse, a fusible link, or even a battery connection issue instead of a small blade fuse.
Step 2: Find the fuse panels
Most modern vehicles have at least two fuse panels:
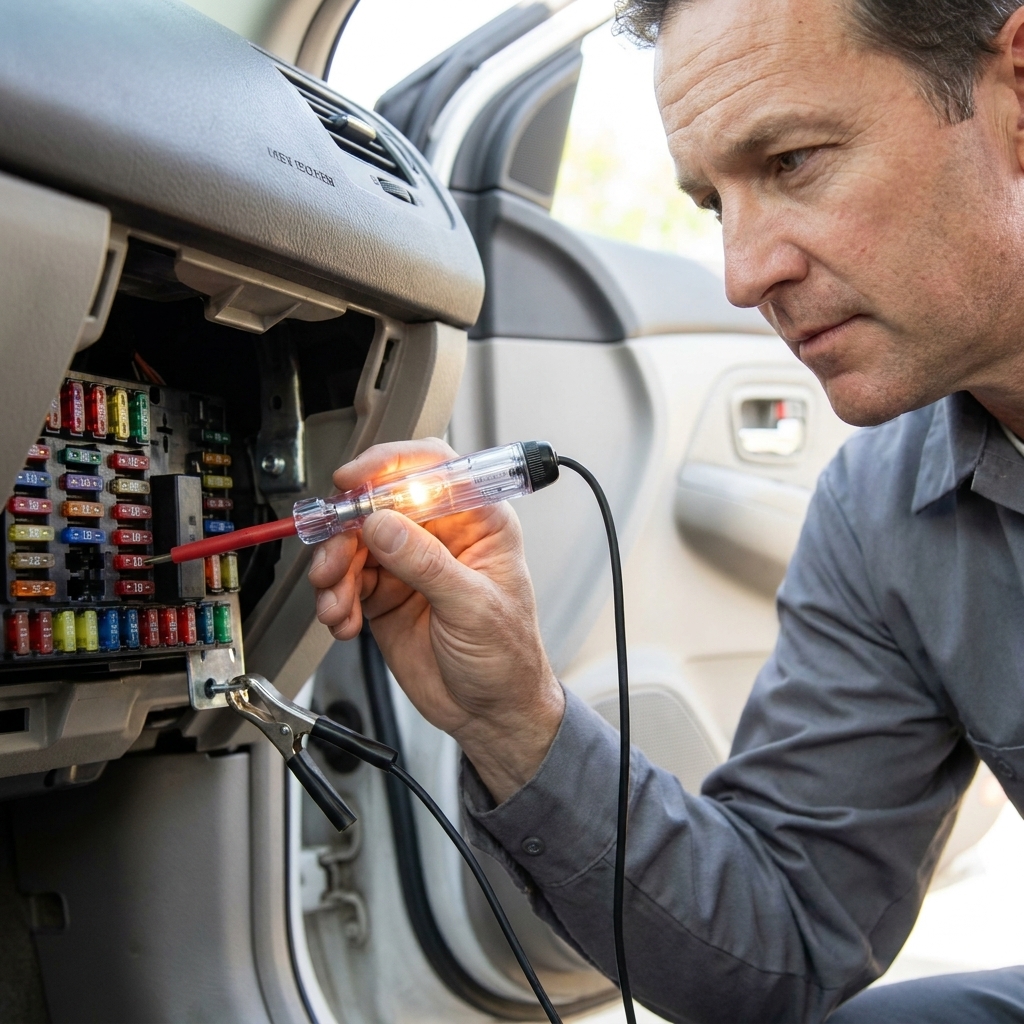
- Interior fuse panel: usually under the dash near the driver’s knees, behind a small panel, or at the side of the dashboard when the driver’s door is open.
- Under-hood fuse box: near the battery, along a fender, or close to the engine bay’s main power distribution area.
Some vehicles also have additional panels (common spots are the trunk/cargo area or under a rear seat). If you cannot find the fuse listed in the manual where you expect it, there may be another box.
Remove the cover and look for a diagram on the underside. If there is no diagram, grab the owner’s manual and go to the fuse section. You are looking for the fuse name that matches your dead circuit, plus the fuse location and amperage.
Step 3: Test the fuse
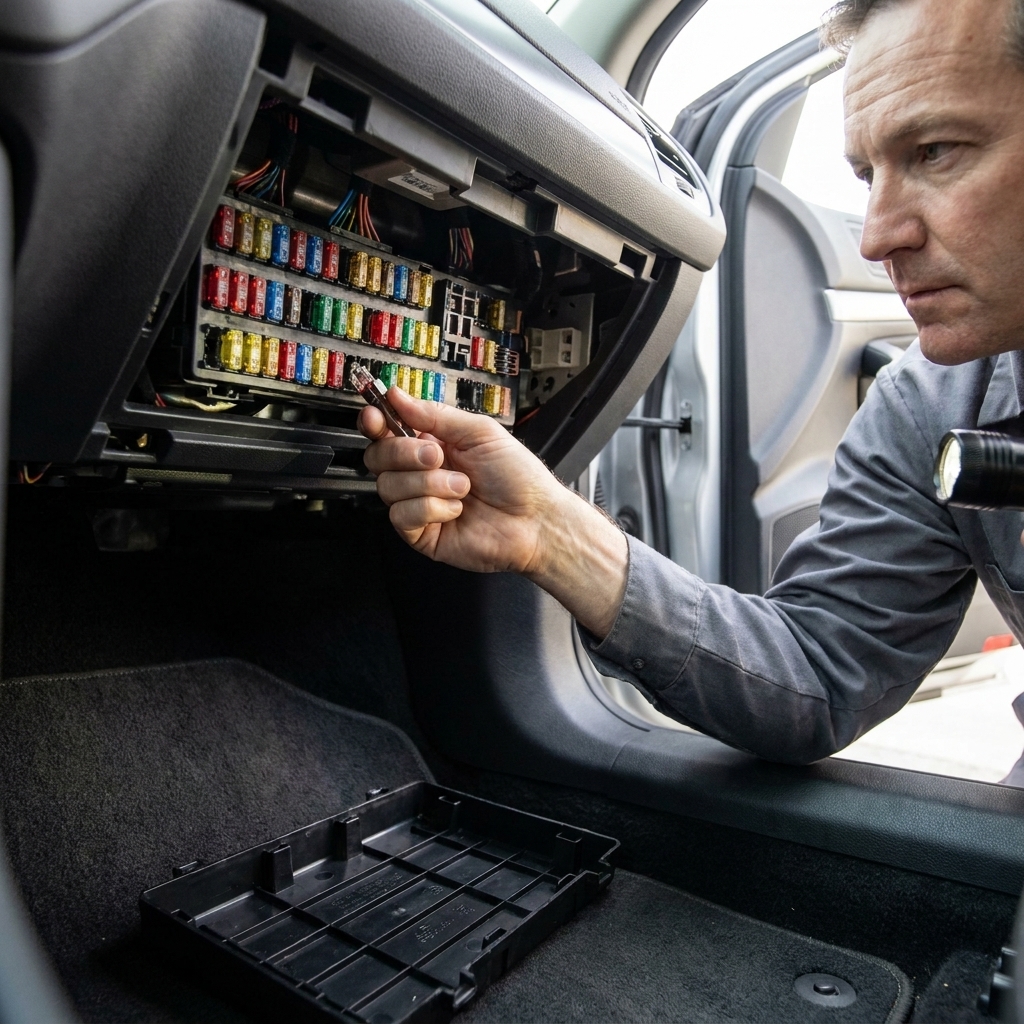
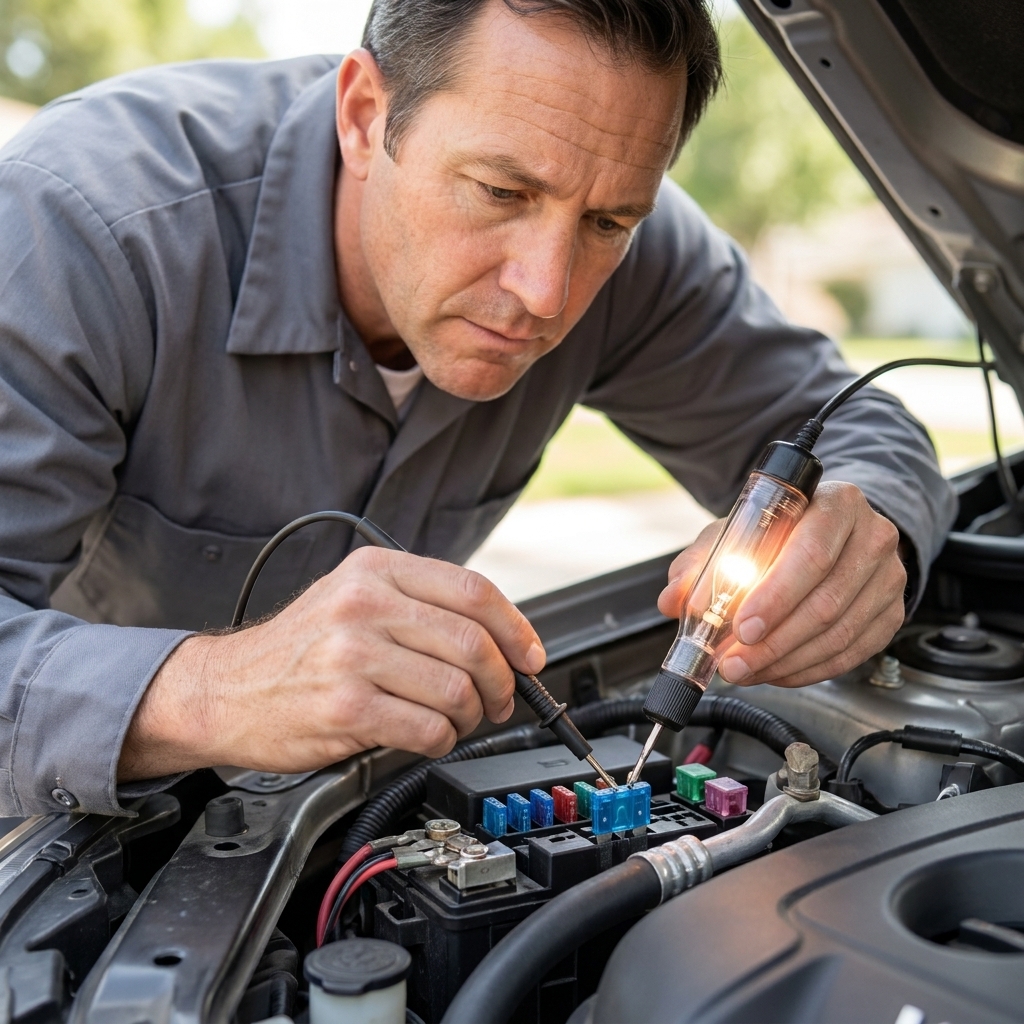
Here is the trick that makes this job fast: many blade fuses have two tiny exposed metal test points on top. You can test them without pulling anything out.
How to use a 12V test light on a fuse
- Power the circuit. Put the key in the position the circuit needs (ACC, RUN, or with the switch turned on). Many manuals will tell you which fuses are hot at all times versus ignition-switched, but they may not spell out every condition that wakes a module or energizes a relay.
- Clip the test light to a good ground. Bare metal under the dash, a bolt head, or the negative battery terminal works. If your clip is on painted plastic, the test is meaningless.
- Touch one test point on the top of the fuse. The light should illuminate if power is present.
- Touch the other test point on the top of the same fuse.
Reading the results
- Light on both sides: the fuse is not blown and that fuse is powered right now.
- Light on one side only: the fuse is blown.
- No light on either side: that fuse is not powered at the moment, or you have an upstream issue. Double-check key position, the switch (headlights, blower, etc.), and whether that circuit is fed through a relay or controlled by a module that only wakes under certain conditions.
Pro tip from the shop: If you have a lot of fuses to check, do not pull them one by one. Use the test light on the top test points and you can scan a whole panel in minutes.
One more reality check: A test light pulls a small load, which is usually helpful. If you are chasing a very low-current or module-controlled circuit and the results seem odd, a multimeter (or the wiring diagram) can be the better next step.
Step 4: Pull and confirm
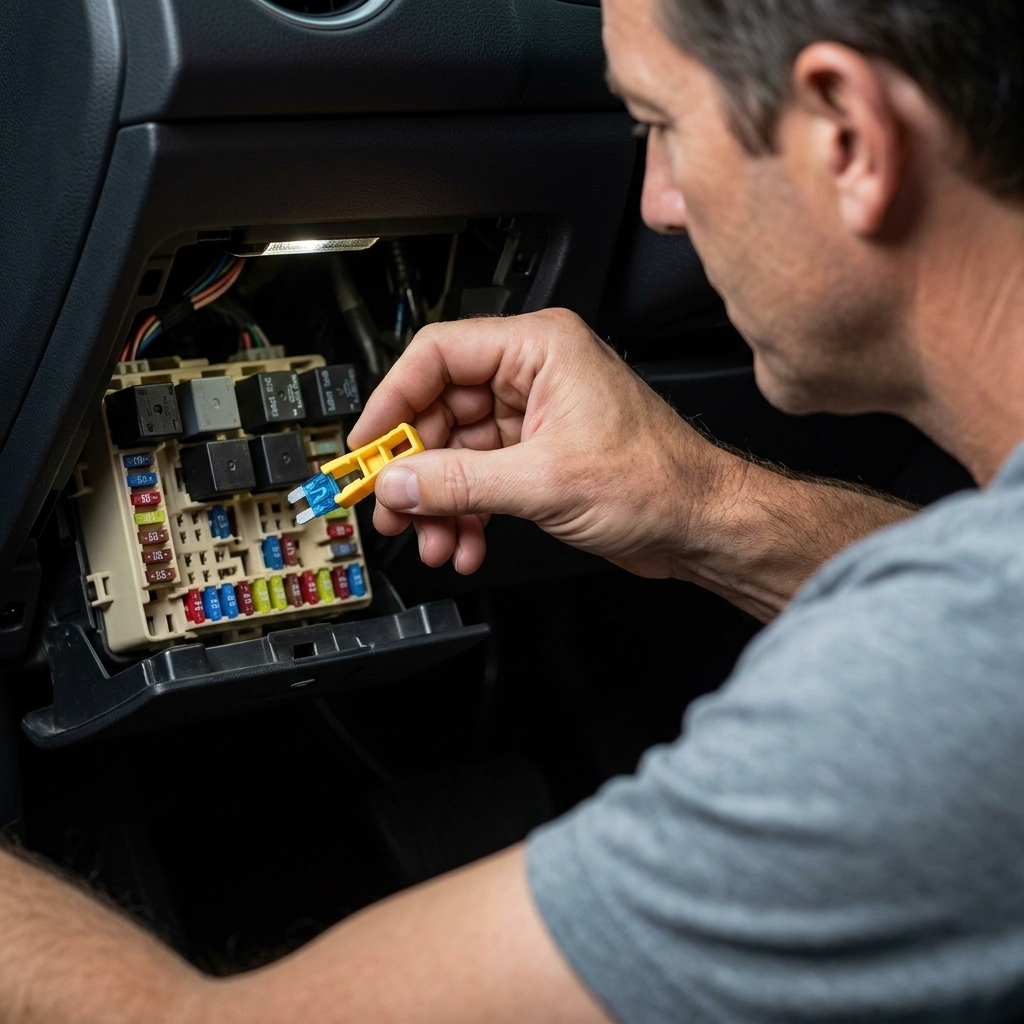
Once you find a fuse that lights on only one side, pull it with the fuse puller. If you do not have one, needle-nose pliers work, just be gentle. They can slip and nick a neighboring fuse or wiring, so a plastic puller is safer when you have it.
Hold it up to the light. A blade fuse has a visible metal link inside:
- Good fuse: the link is intact.
- Blown fuse: the link is broken or burned.
If the fuse looks questionable, trust your test light result. Some fuses crack in a way that is hard to see.
Step 5: Replace and re-test
This part is simple, but it is where people accidentally create bigger problems.
Match the amp rating
The fuse will have an amperage number on top like 5, 10, 15, 20, or 30. The color is a clue, but the number is what matters.
- Replace with the same amperage.
- Never install a higher-amperage fuse to “get by.” That can let wiring overheat before the fuse blows, which is how small problems become smoke.
Install and verify
- Push the new fuse in firmly until it seats.
- Turn the key or switch on again and check if the dead feature now works.
- Optional but smart: re-check the new fuse with the test light. You should see power on both test points when that circuit is supposed to be powered.
If the new fuse blows immediately, stop replacing fuses. You likely have a shorted wire, a failed component, or a problem in the socket (common on 12V outlets). That is the moment to diagnose, not gamble.
Common gotchas
Fuse labeling is not always as obvious as “RADIO.” Here are a few curveballs:
- Multiple fuses for one system: modern radios may have a main fuse and a backup/memory fuse.
- Abbreviations: PWR WDO (power windows), CIG (cigarette lighter/12V), ACC (accessory), IG (ignition), ECU/PCM (computer feeds).
- Shared circuits: one fuse may feed several small items, like interior lights and door locks.
- Main fuses and fusible links: some high-amp fuses (maxi, mega, or fusible links) protect big power feeds. If one of those is blown, do not just slap another one in without understanding why. There is usually a real problem behind it.
If your legend does not match what you see, use the manual for the exact layout, including which fuse slot is which.
FAQ
Can I check a fuse without a test light?
Yes. You can pull the fuse and look for a broken link, or use a multimeter on continuity. I like a test light because it confirms the fuse has power in the real world, not just that the link is unbroken.
Do I need to disconnect the battery to change a fuse?
Usually, no. For standard blade fuses, you can pull and replace them with the key off. If you are working in the under-hood fuse box near the battery positive terminal, be careful with tools so you do not short anything to ground. Also avoid poking metal tools into fuse slots or bridging terminals. If you are nervous, disconnect the negative battery terminal first.
Why does the same fuse keep blowing?
A fuse that repeatedly blows is doing its job because something is drawing too much current. Common causes are a chafed wire touching metal, a failing motor (like a blower motor), water intrusion in a connector, or a short inside an accessory plug. The correct repair is diagnosing the cause, not installing a bigger fuse.
My test light shows no power on either side. What now?
First, make sure your test light works by touching it to the battery positive terminal. Then confirm your ground is solid. Next, turn the key to the correct position and switch the circuit on. If there is still no power, you may be checking the wrong fuse, the circuit may be controlled by a relay or module, or a larger upstream fuse may be open.
Is it okay to use a different style fuse?
Use the same type (mini, low-profile mini, standard ATO/ATC, or maxi) and the same amperage. If your car uses low-profile mini fuses, a standard mini might not seat correctly, even if it looks close.
Quick checklist
- Verify the failed feature and whether anything else is dead.
- Find the correct fuse panel and match the legend to the symptom.
- Use a test light on the fuse’s top test points when the circuit is supposed to be powered.
- Replace only with the same amperage and type.
- If it blows again, diagnose the short or failing component before trying another fuse.
If you want my honest mechanic take: learning to use a test light is one of those small garage skills that pays you back forever. It turns electrical problems from spooky to solvable, one circuit at a time.