Dim, yellow headlights are one of those slow problems that sneaks up on you. One night you are cruising along just fine, and the next you are squinting into a gray tunnel wondering if your brights are secretly just candles.
The good news: most “my headlights are weak” complaints come down to two fixable things. Either the plastic lens is oxidized and hazy, or the bulb is old, mismatched, or simply burnt out. Let’s handle both, the right way, without cracking housings, blinding oncoming traffic, or paying shop prices for a DIY you can usually knock out in an afternoon.
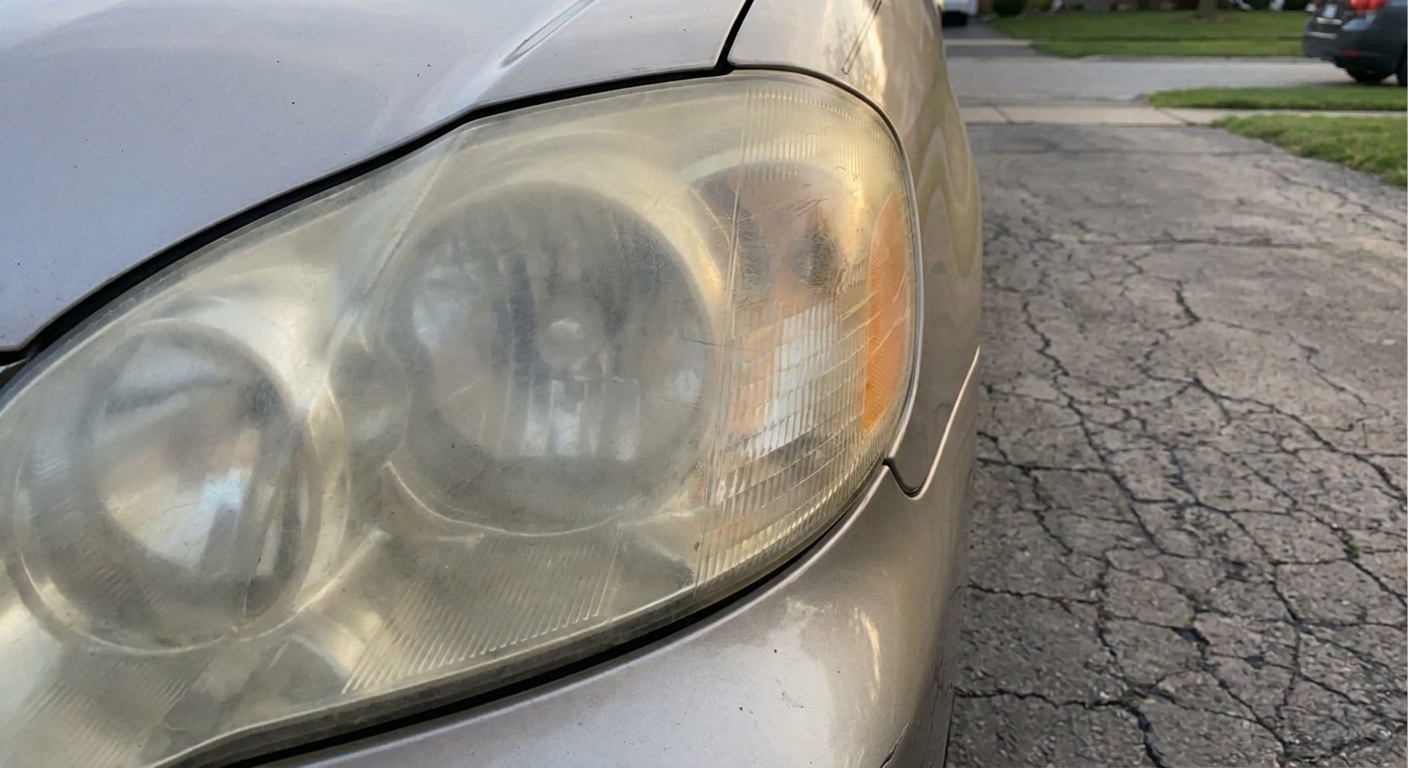
Before you start: quick diagnosis
Foggy lens or weak bulb?
- If the lens looks cloudy, yellow, or chalky in daylight, you likely have oxidation on the outside of the lens. Restoration can make a big difference.
- If one side is noticeably dimmer, that is often a bulb issue or a wiring or ground issue.
- If both are equally dim, it can be oxidized lenses, aged bulbs, low system voltage, or (on some cars) a tired headlight relay or switch.
Two fast checks
- Wipe test: Spray glass cleaner on a microfiber and wipe the lens. If it briefly looks clearer when wet, oxidation is probably your main enemy.
- Color clue: Aging halogen bulbs can lose output over time, and sometimes the color looks a little “warmer” compared to a fresh bulb. It is not a perfect diagnostic, but if one bulb looks noticeably different than the other, plan to replace bulbs in pairs.
Safety note: Headlights get hot, and under-hood areas have sharp edges. Work on a cool car, set the parking brake, and keep fingers away from fans and belts.
Part 1: Restore foggy headlight lenses
Most plastic headlights use a polycarbonate lens with a UV-protective hardcoat. Over time, UV exposure breaks that coating down and the surface oxidizes. You can polish the oxidation off, but you will want to re-seal the lens afterward, otherwise it often hazes again sooner than you would like.
Tools and supplies
- Car wash soap and water
- Microfiber towels
- Painter’s tape (the blue stuff)
- Headlight restoration kit or wet/dry sandpaper: 800, 1000, 1500, 2000, 3000 grit
- Spray bottle with water plus a drop of dish soap
- Plastic polish or rubbing compound (if not included in kit)
- UV sealant: kit-provided coating, dedicated headlight UV clear, or a wipe-on sealant
- Nitrile gloves
- Optional: a dual-action polisher and foam pad (makes it faster, not required)
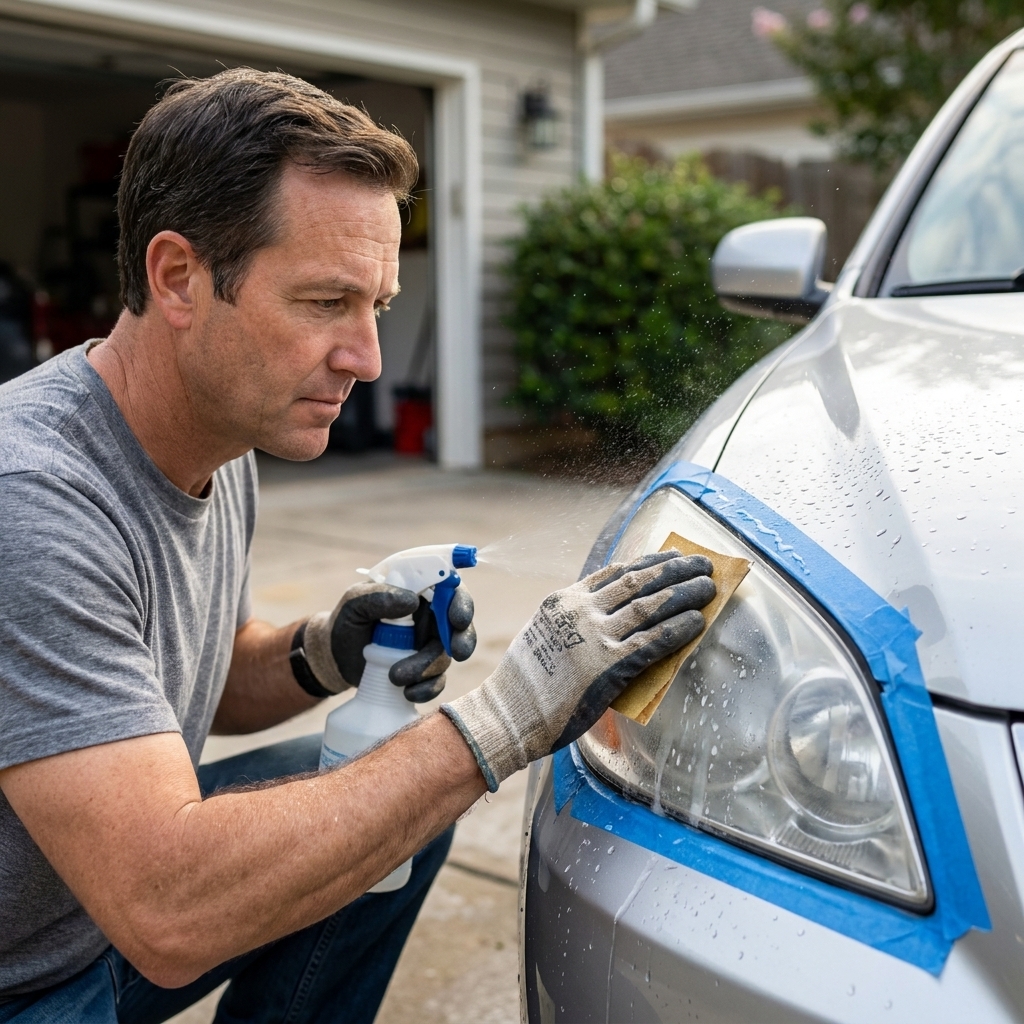
Step-by-step: clean, sand, polish, seal
1) Wash and dry the lens
Start with a clean surface so you are not grinding grit into the plastic. Wash the headlight area and dry it well.
2) Mask the paint and trim
Tape around the headlight edges. Be generous. Sandpaper and compound do not care about your clear coat.
3) Sand the oxidation off (wet sanding)
If your lens is only lightly hazy, some kits use a compound-only approach. For most truly foggy lenses, wet sanding is what gets real results. Go steady and do not get aggressive. You are removing oxidation and failed coating, not trying to reshape the lens.
- Spray the lens and the sandpaper with your soapy water mix.
- Start with 800 or 1000 grit if the lens is heavily yellowed. Start with 1500 grit if it is only moderately hazy.
- Sand in straight strokes. I like horizontal passes first.
- Keep it wet. If it starts to grab or squeak, add water.
- Wipe and check often. You are aiming for an evenly “frosted” look with no shiny islands.
Important: When you move to the next grit, change sanding direction (horizontal, then vertical). It makes it easier to see when the previous scratches are gone.
4) Work through finer grits
Move up step-by-step: 1000 to 1500 to 2000 to 3000. Do not skip grits if you can help it. Skipping is how you end up polishing forever and still seeing sanding marks at night.
5) Polish to clarity
Apply plastic polish or rubbing compound and work it until the lens turns clear. By hand, this is a few minutes of firm pressure. With a DA polisher, keep the pad moving and do not cook the plastic.
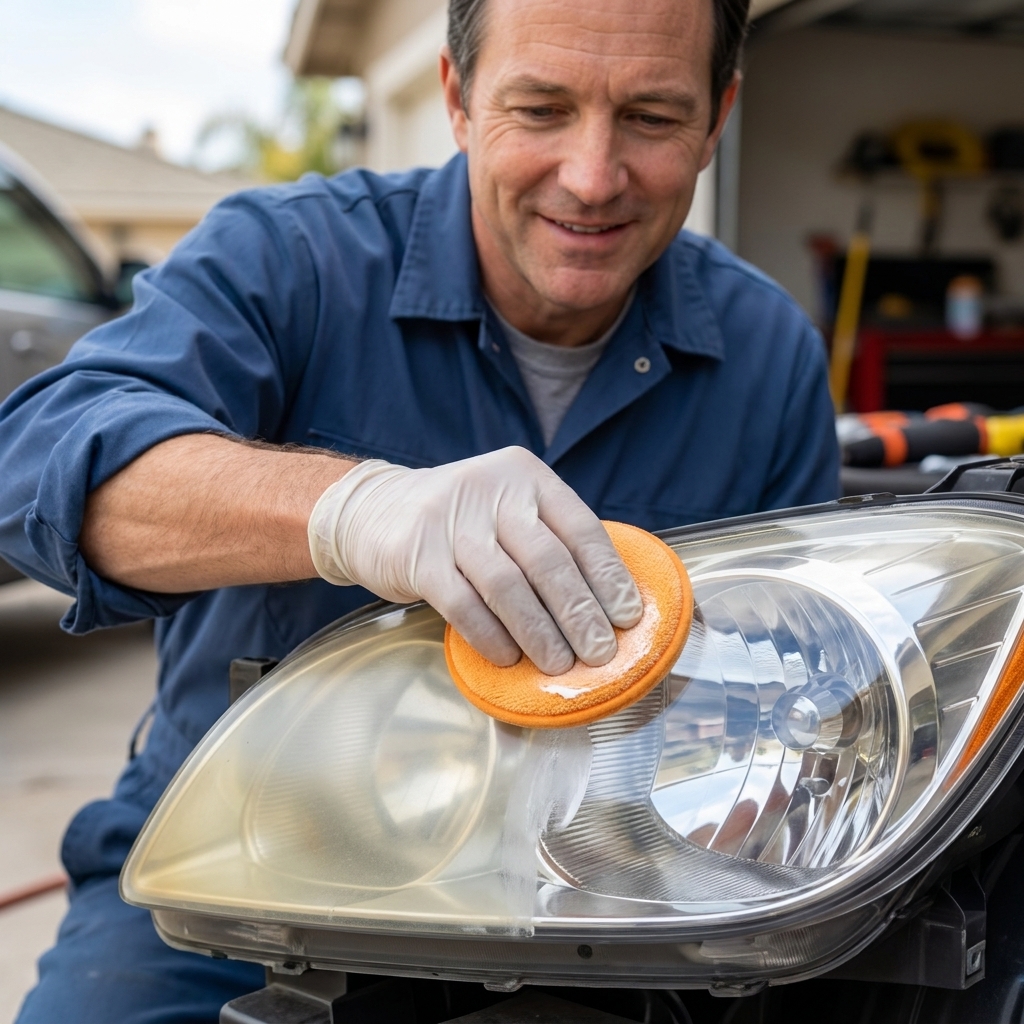
6) Seal it with UV protection
This is the step people skip, then wonder why the headlights haze up again in a month.
- If your kit includes a UV wipe or coating, follow the directions closely.
- If you are using a spray UV clear, mask carefully and apply light, even coats.
- Let it cure. Do not wash the car or drive in heavy rain until the product’s cure time is up.
My rule of thumb: sanding and polishing fixes today. Sealing is what makes it last.
Common restoration mistakes
- Burning through tape and scuffing paint: Use more tape than you think you need, and keep sanding strokes on the lens, not off the edge.
- Dry sanding: Dry sanding loads the paper and gouges the lens. Keep it wet.
- Skipping the sealant: Your lens will re-oxidize quickly without UV protection.
- Chasing perfection on a cracked lens: If the lens is cracked, crazed, or moisture is inside the housing, polishing will not fix that. You may be looking at replacement housings or resealing.
Part 2: Replace headlight bulbs
Bulb replacement ranges from “two minutes and a twist” to “why is the airbox in the way of everything I love.” Either way, the process is manageable if you go slow and do not force plastic parts.
First: figure out what you have
- Halogen: Common on many cars and trucks. Bulb types like H11, 9005, 9006, H7, H4.
- LED (factory): Often an LED module, sometimes a replaceable LED bulb. May have a driver box and a heat sink or fan.
- HID/Xenon: Uses a ballast and igniter. Not the focus of this guide, and it needs extra caution due to high voltage.
Check your owner’s manual, the parts store fitment guide, or the bulb base label if you can see it.
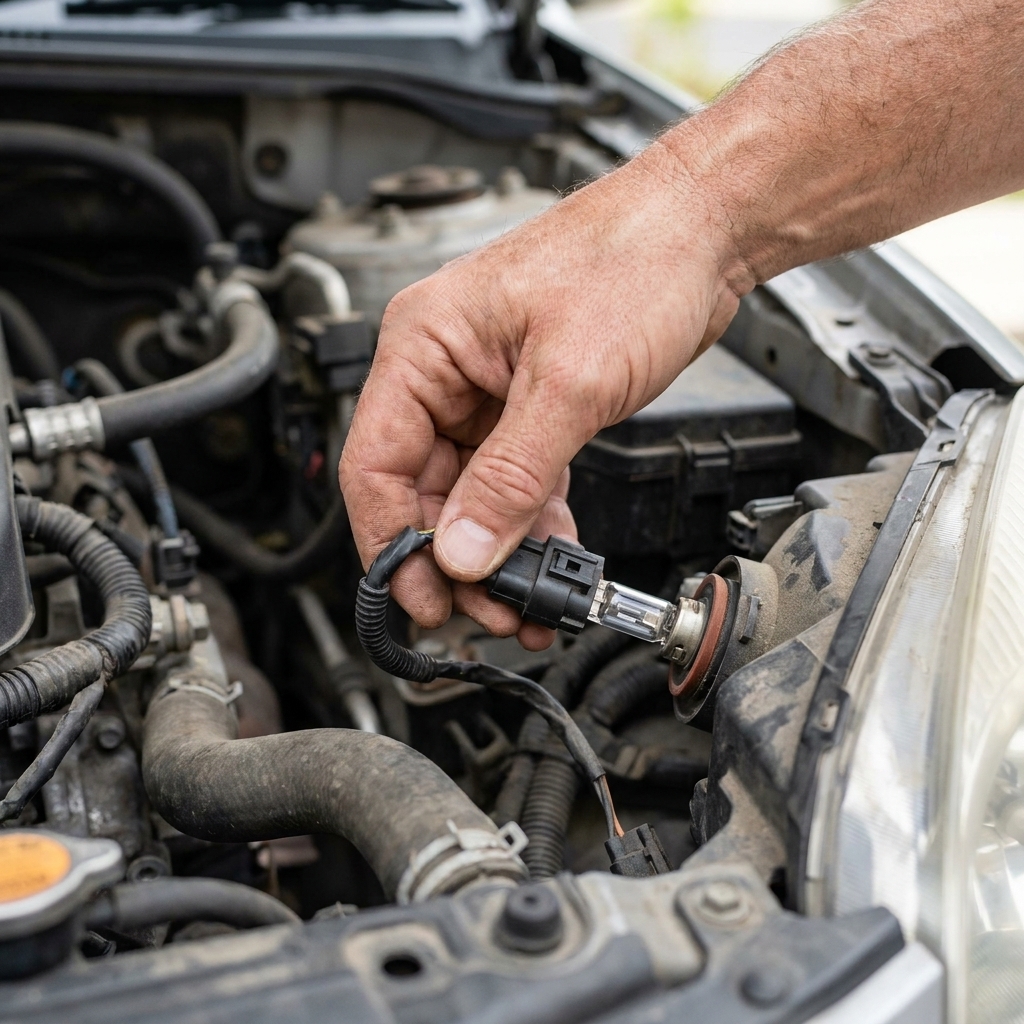
Halogen bulb replacement
1) Shut the car off and let it cool
Halogen bulbs run hot. Give them a few minutes.
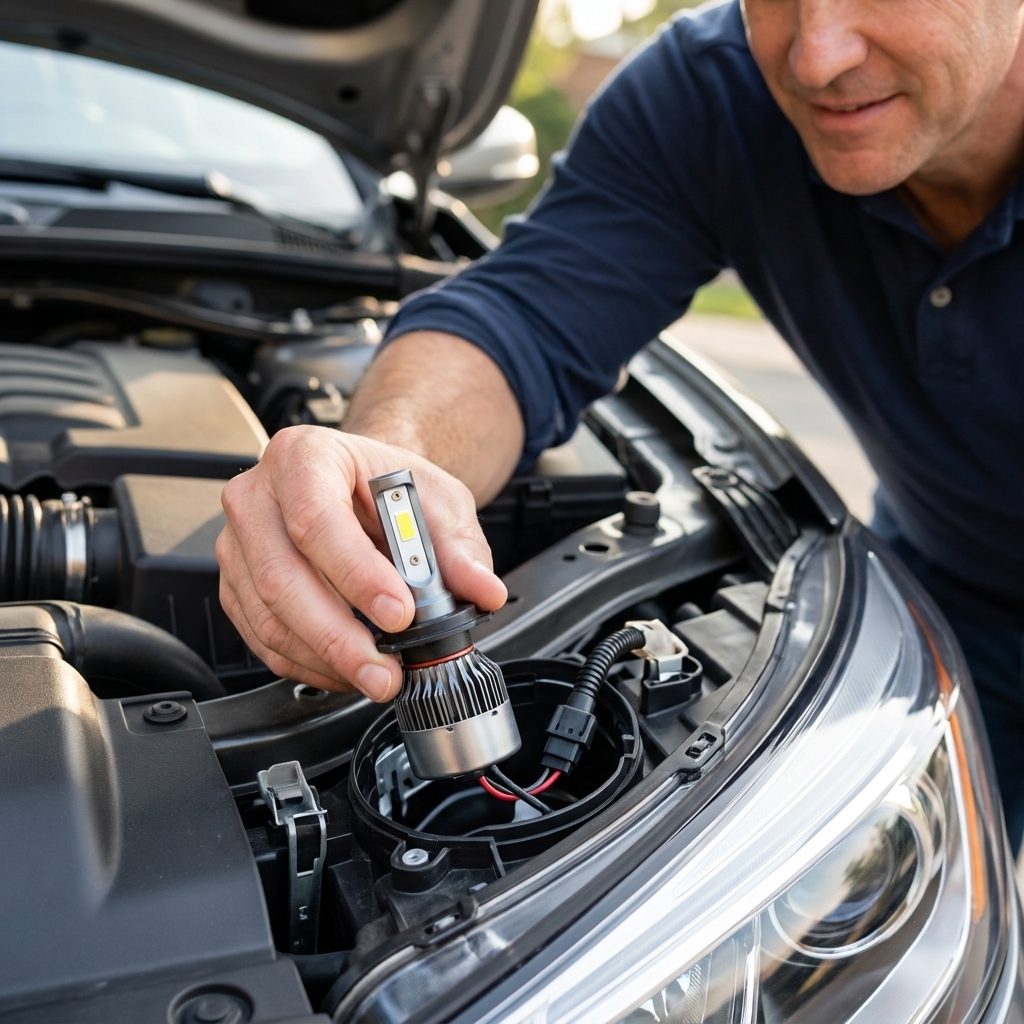
2) Access the bulb from behind the headlight
Open the hood. On some cars, you may need to remove a rubber dust cap, a cover, or (worst case) the air intake snorkel or battery hold-down for room. If something is in the way, look for bolts and clips, not brute force.
3) Unplug the connector
Press the tab and pull straight back. If it is stubborn, wiggle gently. Do not yank on wires.
4) Remove the bulb
Common retention styles:
- Twist-lock: Rotate the bulb counterclockwise about a quarter turn, then pull out.
- Metal spring clip: Unhook the clip, swing it away, and remove the bulb.
5) Install the new bulb without touching the glass
Use clean gloves or hold the bulb by the base. Skin oils can create hot spots and shorten bulb life, especially on quartz-halogen capsules.
If you accidentally touch the glass, wipe it with isopropyl alcohol and a lint-free cloth, then let it dry.
6) Reconnect and test
Plug the connector in firmly. Turn on headlights and verify low beams and high beams work correctly. Then reinstall any caps or covers.
Replace bulbs in pairs: If one halogen bulb burned out, the other usually is not far behind. Pair replacement keeps brightness and color matched side to side.
Replaceable LED bulb tips
Some vehicles use a replaceable LED bulb, others use an LED module that is not serviced like a bulb. If you see a removable bulb with a plug and a twist-lock base, you may be in the replaceable camp.
1) Disconnect power if access is tight
For most bulb swaps, you can leave the battery connected. If your hands will be near tight wiring or you are removing larger components for access, disconnect the negative battery cable.
2) Remove the LED bulb assembly
LED bulbs often have a heat sink or a fan. Give yourself room, and do not force it past hoses or harnesses.
3) Handle the driver and seals carefully
Make sure any O-ring seals seat properly. A pinched seal invites moisture, fogging, and corrosion.
4) Test and confirm beam pattern
Beam pattern problems are most common on replacement LED bulbs that mimic halogen bulb shapes (and especially on aftermarket conversions). If the beam looks scattered or has weird dark spots, the bulb may not be seated fully, may be rotated incorrectly, or may not be a correct design for your housing.
Note on upgrades: Swapping a halogen housing to an aftermarket LED “conversion bulb” can cause glare and poor beam focus, even if it looks bright on a garage wall. In many places, these conversions are also not legal for road use. If you want LED performance, the cleanest path is an OEM-style LED housing or a properly engineered retrofit, not a random bulb that promises the sun in a box.
After the swap: check aim
Whenever you restore lenses or replace bulbs, take 5 minutes to confirm your headlights are aimed reasonably. Mis-aimed lights can reduce your own visibility and blind everyone else.
Quick aiming check
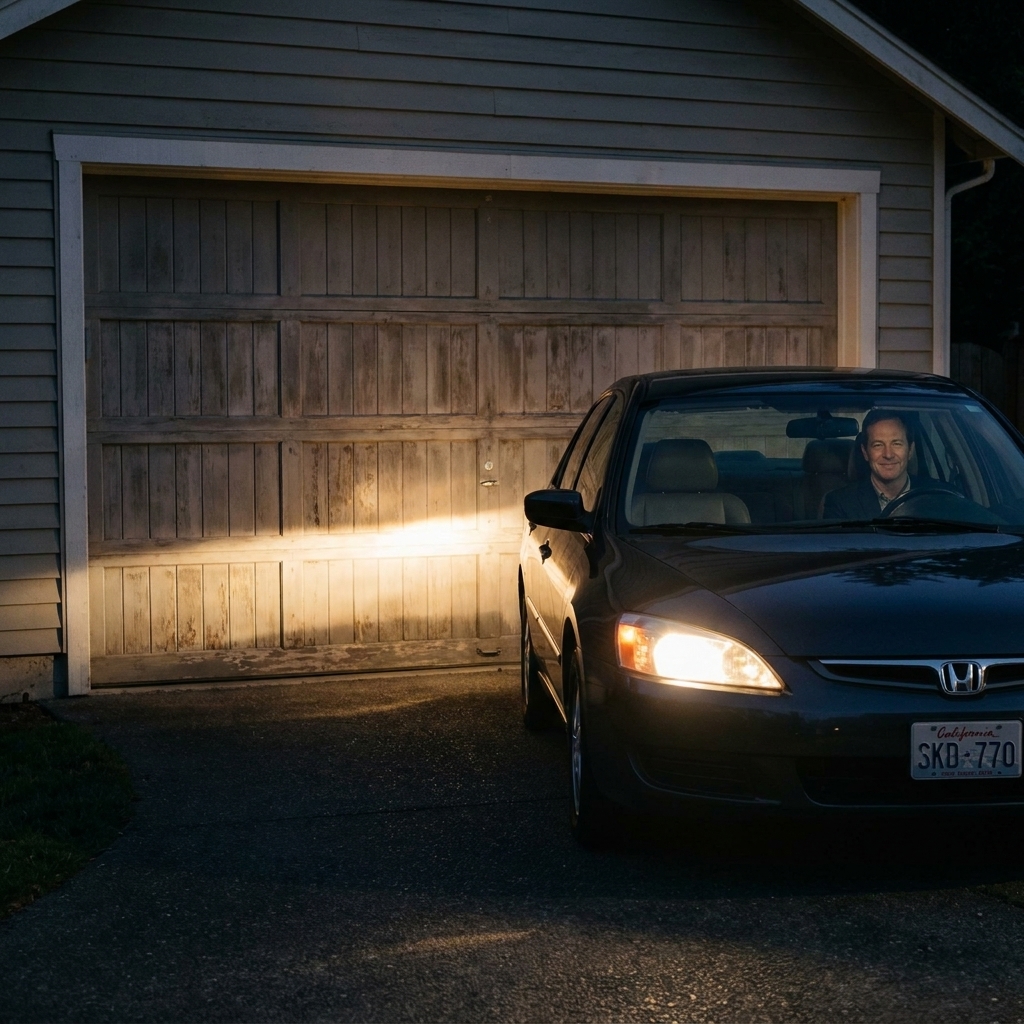
- Park on level ground about 25 feet from a flat wall or garage door.
- Make sure tire pressures are normal and the car is not loaded down with heavy cargo.
- Turn on low beams.
- The cutoff line should be roughly level and not pointing into the trees. If one side is way higher, look up your vehicle’s aiming procedure and adjust using the headlight adjusters.
Tip: The 25-foot setup is a common rule of thumb, but some manufacturers specify different distances and reference heights. If you want it dead-on, check your owner’s manual or service info for the exact procedure.
FAQ
How long does a headlight restoration last?
If you sand and polish but do not seal, it might look worse again in weeks or a couple months. With a proper UV sealant, a good restoration can last a year or more, sometimes several years depending on sun exposure, climate, and how the car is stored.
Can I use toothpaste or baking soda?
They can mildly improve a lightly hazy lens because they are gentle abrasives, but they are not a durable fix and they do not add UV protection. If you care about doing it once and having it last, use proper abrasives and a sealant.
Do I need to sand every time?
No. Light haze can sometimes be corrected with polish only. If the lens is yellowed or chalky, sanding is the efficient route.
Why did my new bulb burn out fast?
Common causes include touching halogen glass, a loose connector, moisture in the housing, vibration from a loose headlight assembly, or running mismatched cheap bulbs. On some vehicles, overcharging can shorten bulb life too, but that is less common.
My headlight has condensation inside. Should I still restore the lens?
Restoring the outside will help clarity, but moisture inside is a separate problem. Check the rear dust cap, housing vents, and gasket seals. If water is pooling, address that first.
What if both headlights are still dim after lenses and bulbs?
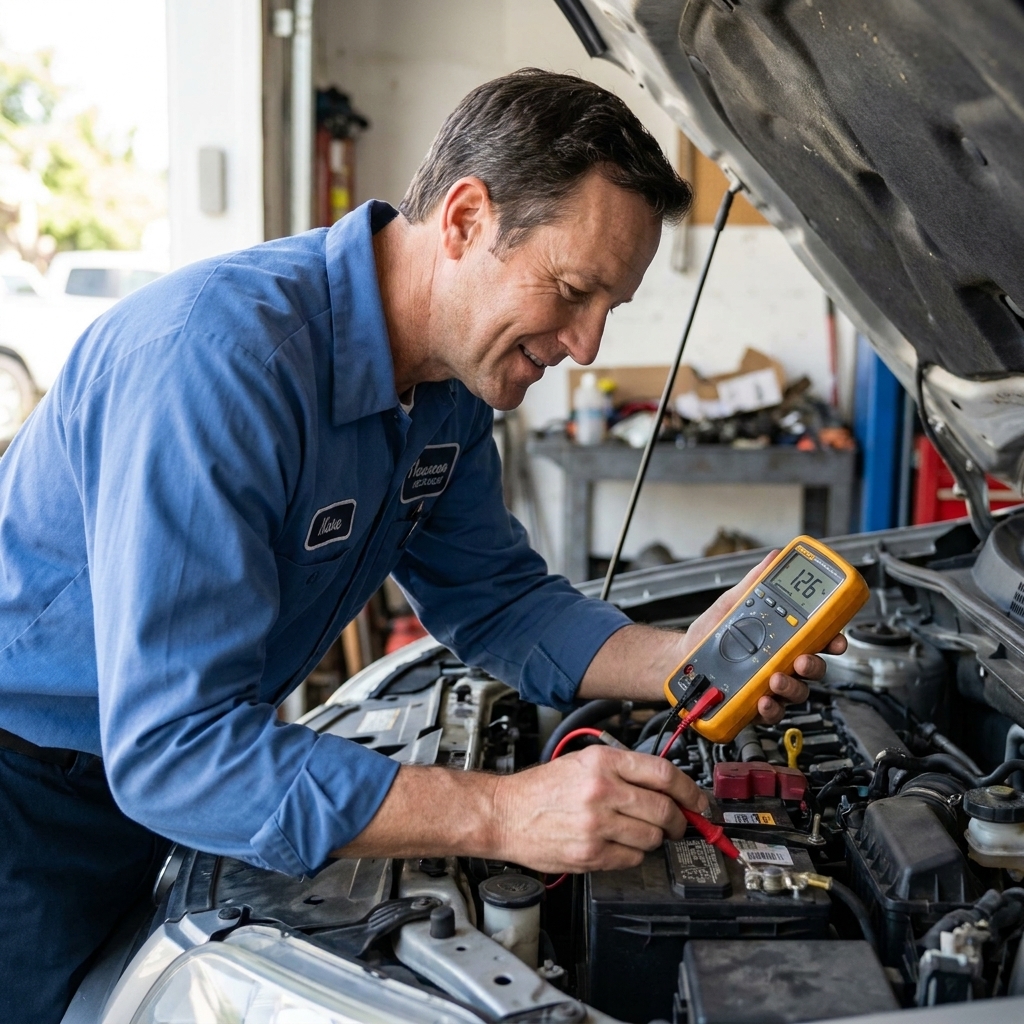
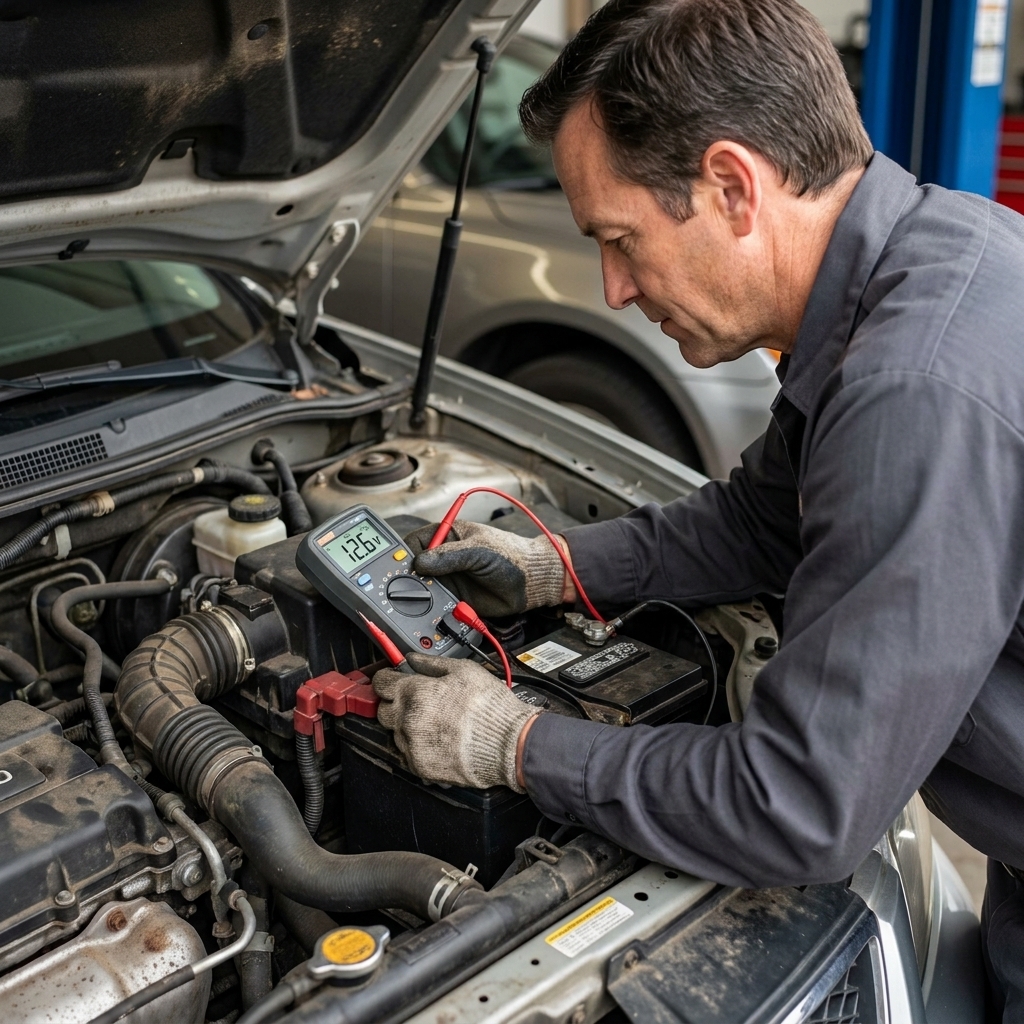
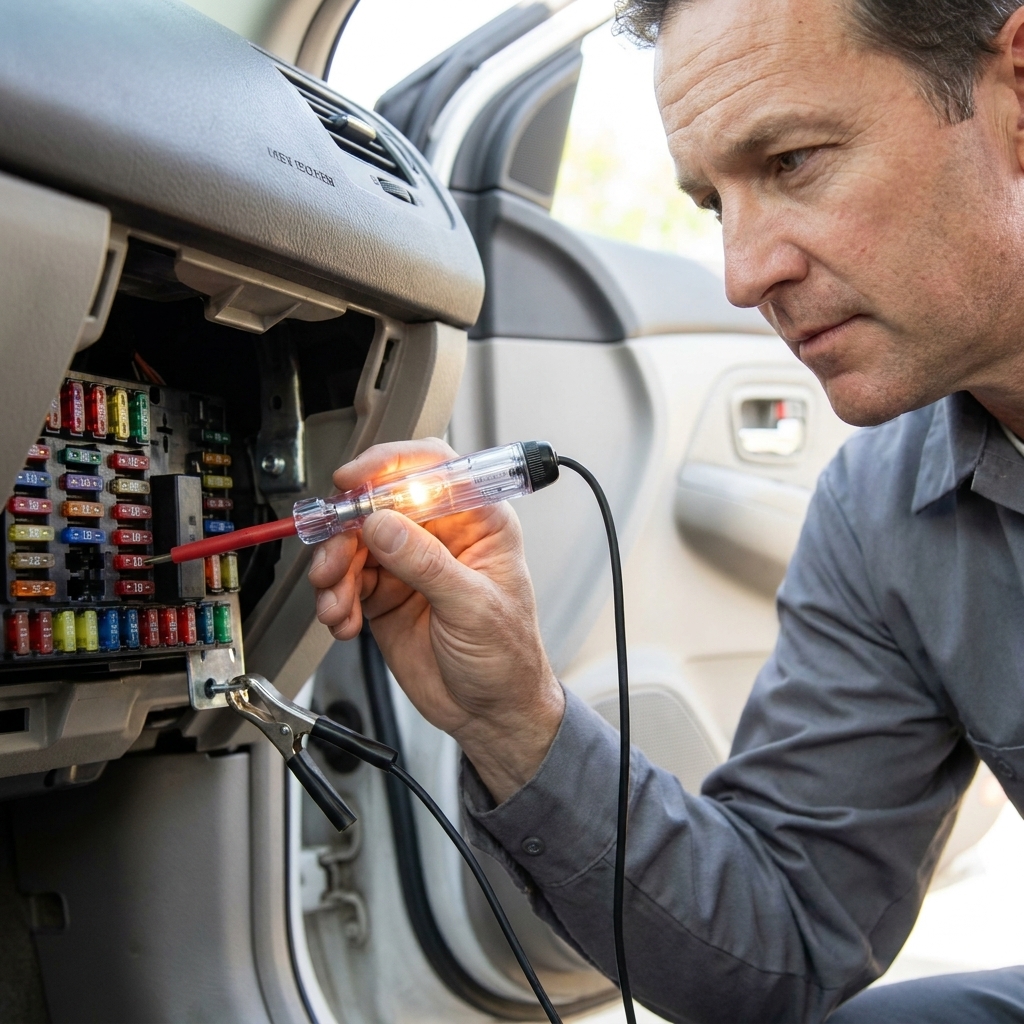
At that point, think electrical. Check battery and alternator voltage, inspect grounds for corrosion, and look for heat-damaged connectors. A tired relay or headlight switch can also cause voltage drop on some vehicles.
Simple maintenance
- Every wash: Quick wipe of the lenses, especially after winter slush or bug season.
- Every oil change: Confirm both low beams and high beams work, and do a fast lens check for haze.
- Once a year: Apply a UV protectant or sealant refresh if your lenses live in the sun.
If you have been driving around with foggy lenses for a while, do the restoration first, then decide if you still want brighter bulbs. Clear lenses often make the “I need brighter headlights” problem disappear all by themselves.
Now go enjoy driving at night again, without feeling like your car forgot where it put its own headlights. And if you drop a 10mm socket while you’re at it, welcome to the club.