I grew up holding a flashlight for my granddad in a garage that always smelled like old oil and black coffee. One of his favorite “boring but important” jobs was tire rotations. Not because it was fun, but because it helps tires wear evenly, can help your car track straight if uneven tire wear is part of the problem, and can add thousands of miles to a set you already paid good money for.
The good news: you do not need a lift or fancy shop equipment. You just need the right pattern, a safe setup, and the patience to do it methodically. Think of it like keeping your 10mm sockets organized. A little structure saves you headaches later.
When to rotate your tires
Most daily drivers should rotate tires every 5,000 to 7,500 miles, or about every other oil change for many vehicles. If your owner’s manual specifies a different interval, follow that. Some manufacturers also specify a particular rotation pattern, note when not to cross tires, or give rules for AWD. The manual gets the final vote.
- Rotate sooner if you see uneven wear starting, you do lots of stop-and-go city driving, you take corners hard, you regularly haul heavy loads, or you have a torque-heavy vehicle (many EVs and turbo cars chew through front tires).
- Rotate after a puncture repair if your tread depths are getting noticeably uneven. On AWD especially, check your manual for the maximum allowed tread depth difference and rotate before you get close to it.
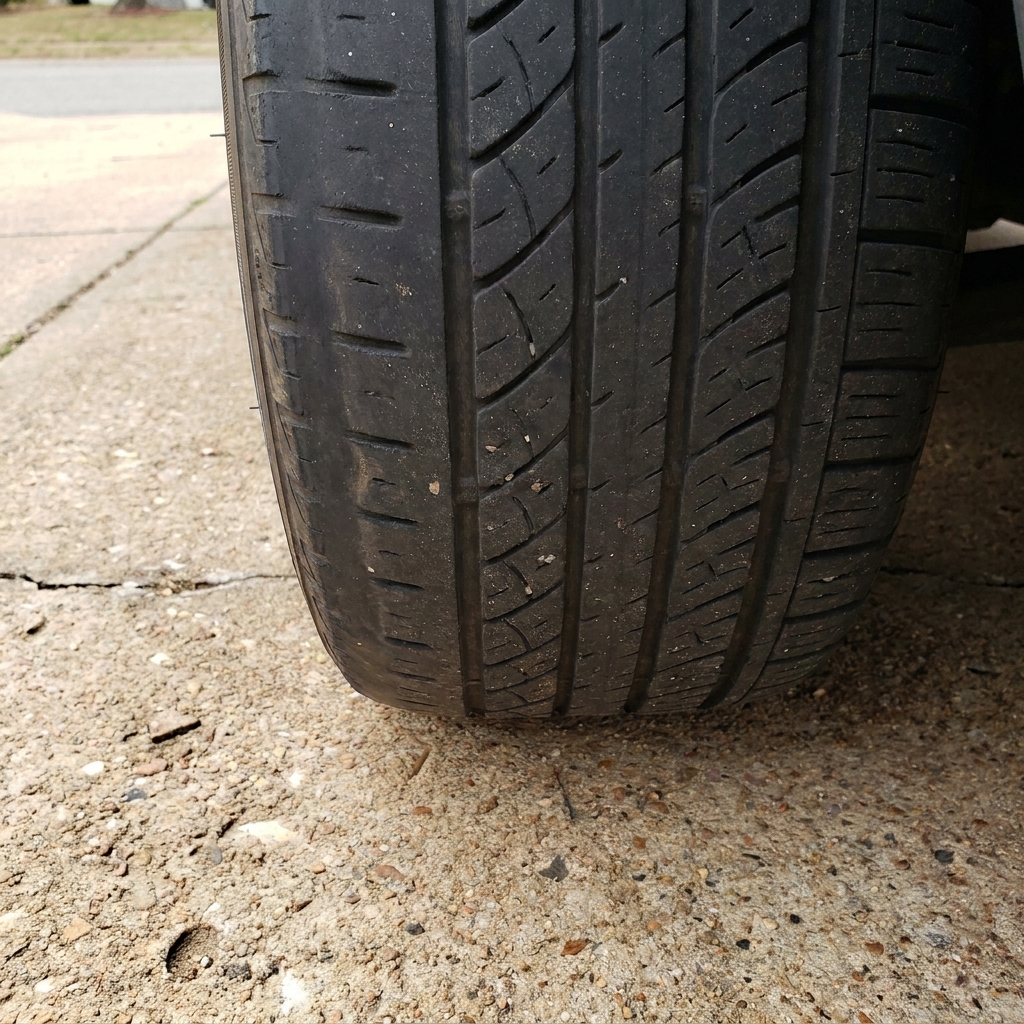
Quick driveway check: If the front tires look noticeably more worn than the rears (common on FWD cars), you waited a bit too long. Rotate now, and keep the next interval tighter.
Tools and supplies
- Floor jack (2-ton minimum for most cars, higher for SUVs and trucks)
- Two jack stands (rated appropriately)
- Lug wrench or breaker bar
- Torque wrench (highly recommended for final tightening)
- Wheel chocks (or two chunks of 2x4 in a pinch)
- Gloves and a kneeling pad or cardboard
- Tire pressure gauge (rotation day is a perfect time to set pressures)
- Tread depth gauge (cheap and worth it)
- Chalk or painter’s tape (mark wheels LF, RF, LR, RR so nothing gets mixed up)
If your wheels use locking lug nuts: find the key before you lift the car. Ask me how I know.
Safety first
A tire rotation is simple, but you are working around a vehicle that can injure you if it slips. Do this like a pro shop would.
- Work on level ground. No slopes, no soft dirt, no sketchy gravel.
- Set the parking brake and put the car in Park (or in gear for a manual).
- Chock the wheels. Chock the end that stays on the ground.
- If you lift the front, chock both rear wheels.
- If you lift the rear, chock both front wheels.
- Lift at proper jacking points listed in your owner’s manual. Pinch welds and reinforced frame points exist for a reason.
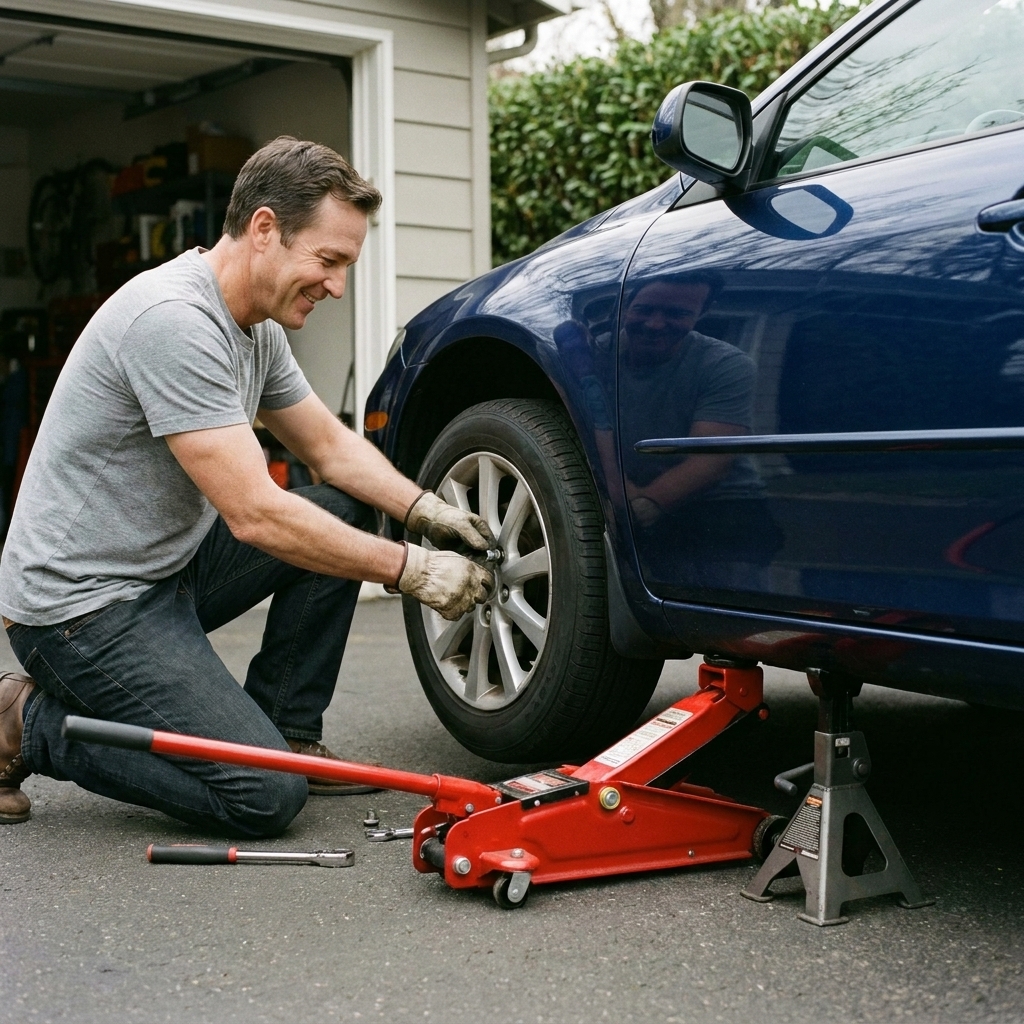
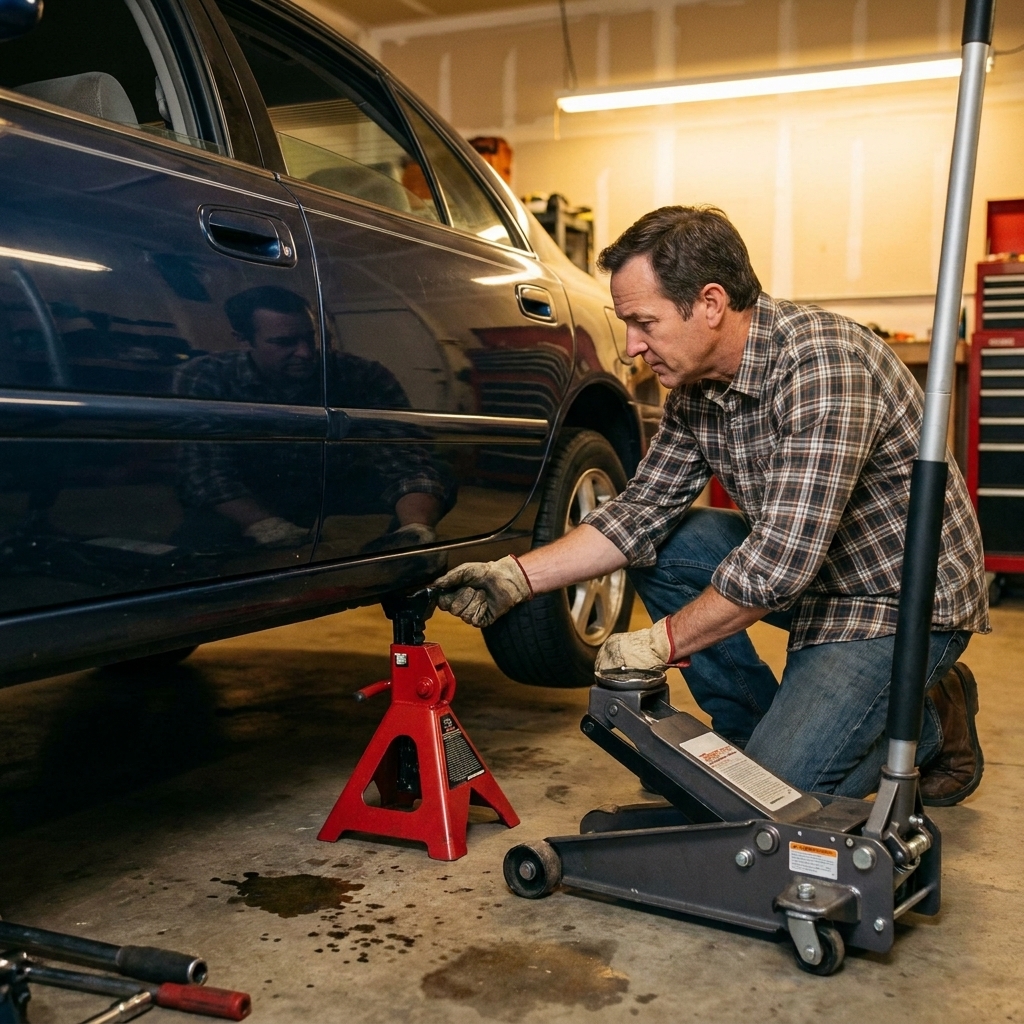
- Use jack stands. The jack is for lifting, the stands are for holding. Never trust a jack alone.
Step-by-step rotation
1) Know what you are working with
Rotation patterns change depending on tires, wheels, and drivetrain.
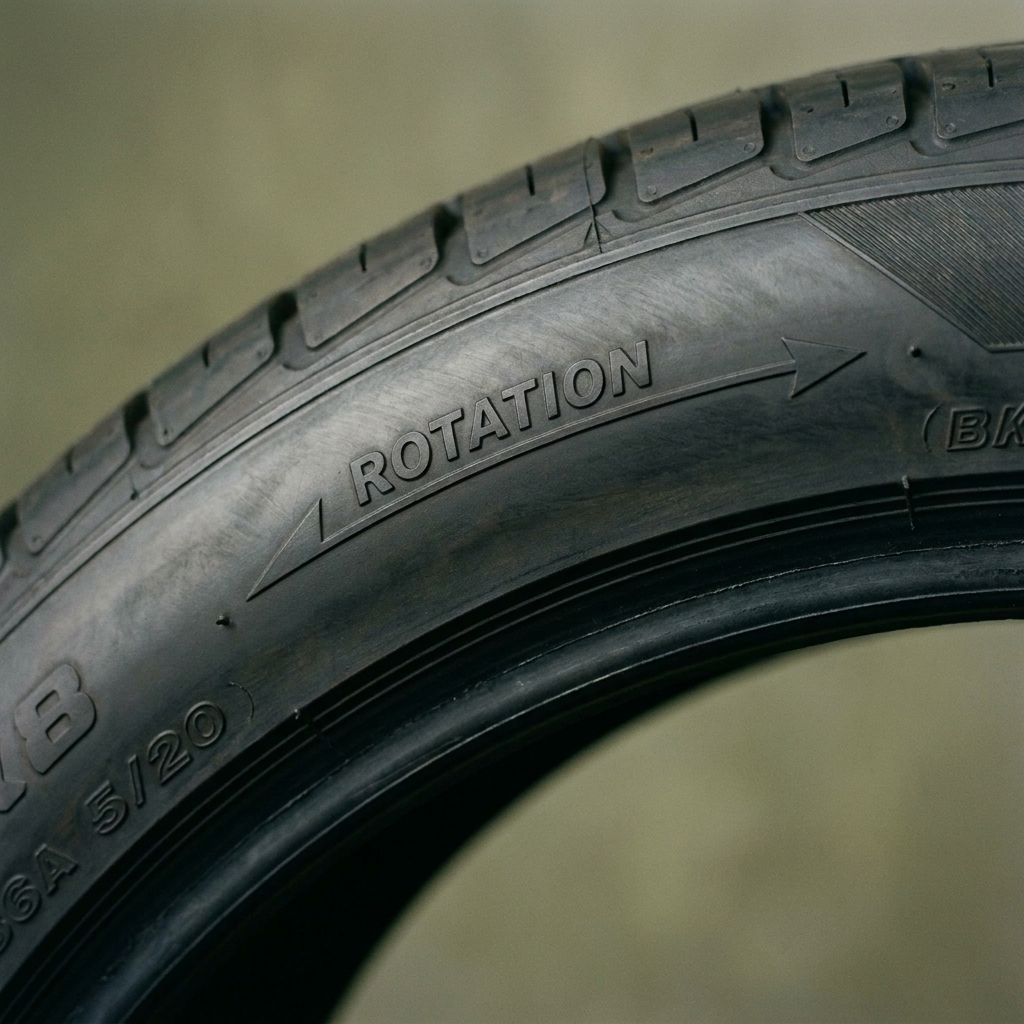
- Directional tires have an arrow on the sidewall showing rotation direction. These stay on the same side of the car unless you dismount and remount them.
- Staggered fitment means different tire sizes front and rear. If sizes differ, you usually cannot do a normal front-to-rear rotation. Some staggered setups still allow left-to-right swaps (same size left and right) if the tires are non-directional, but many do not.
- FWD, RWD, AWD/4WD affects which pattern spreads wear best. And yes, some OEMs specifically say do not cross tires, even if they are non-directional.
2) Measure and note tread depth
If you want one habit that pays off, it is this. Measure tread depth at each tire (at least center tread) and jot it down as LF, RF, LR, RR. It takes one minute and makes uneven wear obvious before it becomes expensive.
AWD note: Check your manual for the maximum allowed tread depth difference. Some guidance you will hear in the real world is in the 2/32 to 3/32 inch neighborhood, but it varies by vehicle and system. The manual is the rulebook.
3) Break the lug nuts loose
With the car on the ground, use a lug wrench or breaker bar to loosen each lug nut about a quarter-turn. Do not remove them yet. This prevents the wheel from spinning in the air while you wrestle with tight lugs.
Tip: If a lug nut is stubborn, a longer handle helps. Steady pressure beats bouncing on the wrench.
4) Lift the car safely
You have a few realistic options in a driveway. Pick the one that matches your tools and the rotation you can actually do.
- All four off the ground: This makes true cross-rotation easy. It is also the most gear-intensive since you typically need four jack stands and solid lift points.
- One side at a time (two stands): Lift the driver side (front and rear) and do a straight front-to-rear swap on that same side (LF to LR). Then repeat on the passenger side (RF to RR). This is driveway-friendly and works for both directional and non-directional tires because you are not crossing sides.
- One end at a time (limited): Lifting just the front to swap left and right, then lifting just the rear to swap left and right is a side-to-side swap only. It can help if you are chasing a minor pull caused by uneven left-right wear, but it is not a full rotation and it is not for directional tires. Also, if your OEM says “do not cross,” do not do this.
Keep it simple: If you want a true cross-rotation pattern, you generally need all four corners safely off the ground (or a shop). With two stands in a driveway, a straight front-to-rear rotation is usually the safest, cleanest win.
5) Rotate with the right pattern
Pull the wheels off and set them near their next corner so you do not mix them up. If you are new to this, the chalk or tape labels (LF, RF, LR, RR) pay for themselves in stress reduction.
The patterns below match common industry guidance used by tire manufacturers and retailers, but your owner’s manual still comes first if it specifies something different or says not to cross.
Non-directional, same-size tires
FWD (forward cross)
- LF to LR
- RF to RR
- LR to RF
- RR to LF
RWD (rearward cross)
- LR to LF
- RR to RF
- LF to RR
- RF to LR
AWD/4WD
Some AWD vehicles can use the same forward cross pattern listed for FWD. Some OEMs recommend only front-to-rear, and some recommend a specific pattern and explicitly say not to cross. Follow the manual, especially if your drivetrain, warranty, or tire manufacturer calls out limitations.
When in doubt: do a simple front-to-rear on each side (LF to LR, RF to RR). It is not always “perfect,” but it is safe, consistent, and still helps even wear.
Directional tires
- LF to LR
- RF to RR
If you want directional tires to swap sides, the tires must be dismounted and remounted on the wheels. That is a tire shop job.
Spare tire note
If you have a full-size spare, some vehicles specify a 5-tire rotation pattern to keep all five wearing evenly. If your spare is a temporary donut, it does not get rotated into the mix.
Reinstall the wheels
Hand-thread first
Put the wheel on the hub and start every lug nut by hand. If a lug nut will not thread smoothly by hand, stop and realign the wheel. Cross-threading is a fast way to turn a simple DIY job into a tow.
Snug in a star pattern
Snug the lugs in a star pattern (crisscross) so the wheel seats evenly. For 5-lug wheels, think of drawing a star as you go around.
Lower and torque to spec
Lower the car until the tire just touches the ground enough to keep it from spinning, then torque the lug nuts to the manufacturer spec using a torque wrench.
- Typical passenger cars: often 80 to 100 ft-lb
- Typical SUVs and trucks: often 100 to 140+ ft-lb
These are rough ranges only. Specs vary a lot by vehicle and wheel type, and they can be outside the ranges above. The correct torque is usually in the owner’s manual. Aftermarket wheels can also have different torque requirements, so follow the wheel manufacturer guidance if it differs. Over-torqued lugs can warp brake rotors and make roadside tire changes miserable.
Recheck after a short drive
Rechecking torque after 25 to 50 miles is a good idea, especially after any wheel-off work or if there was corrosion or debris on the hub. Wheels settling onto the hub can happen.
While you are down there
A tire rotation is the perfect excuse to do a two-minute inspection at each corner.
- Tread depth: Use a tread gauge as your main tool. Replace tires at 2/32 inch (the wear bars). The penny test is a rough, US-only shortcut, not a measurement.
- Uneven wear: Feathering, cupping, or inside-edge wear can hint at alignment or suspension issues.
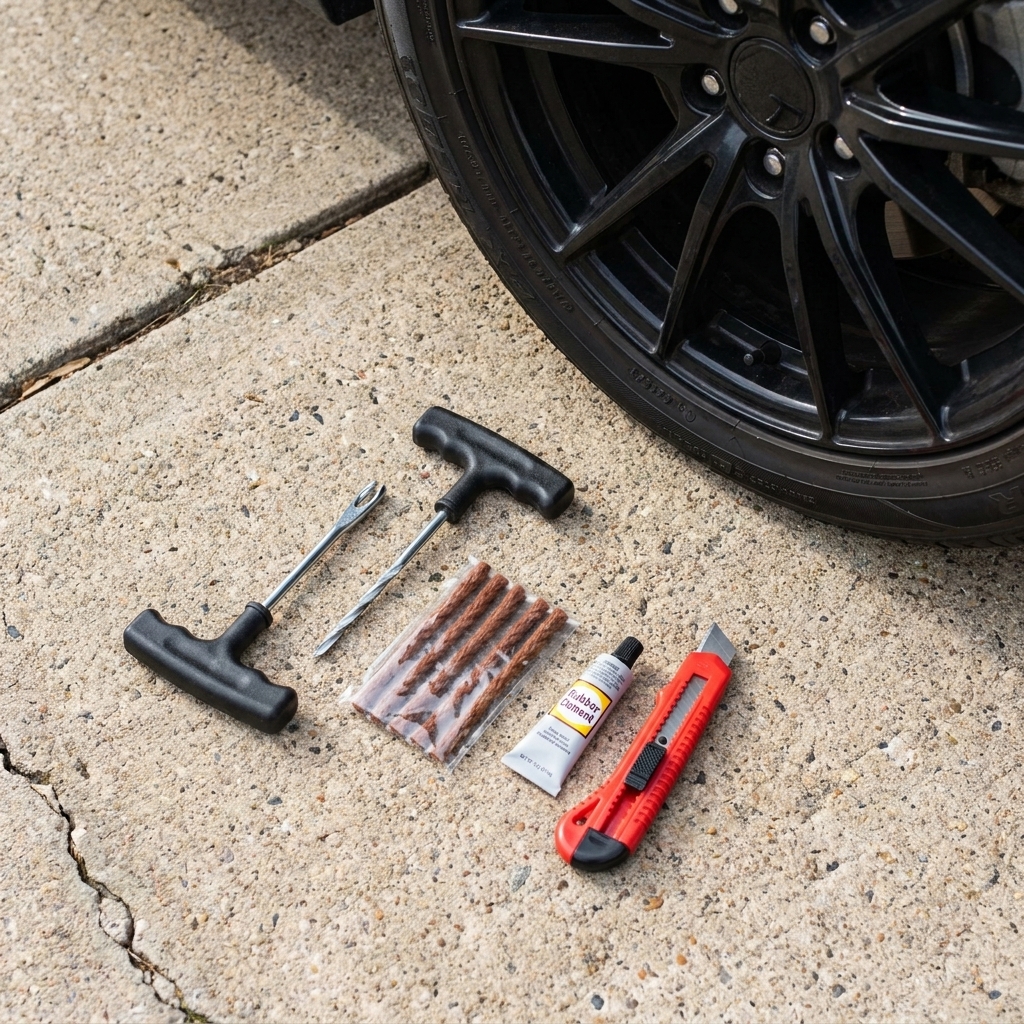
- Nails and cuts: Look for anything stuck in the tread.
- Brake peek: Through the wheel spokes, eyeball pad thickness and rotor condition.
- Set tire pressures: Adjust to the door-jamb sticker, not the number on the tire sidewall.

Common mistakes
- Skipping jack stands: a floor jack can fail without warning.
- Using the wrong rotation pattern: especially with directional tires, staggered sizes, or any setup your OEM says not to cross.
- Zipping lugs on with an impact: impacts are fine for removal, but final tightening should be done with a torque wrench.
- Not cleaning the hub face: heavy rust or debris can cause the wheel to seat crooked. A quick wipe or light brushing helps.
- Greasing the wrong things: keep lubricants off the studs and lug seats unless your manufacturer specifically calls for it. If a wheel is stuck, a very light smear of anti-seize on the hub face can help prevent future sticking, but use it sparingly and keep it off the threads.
- Forgetting tire pressures: pressure changes with seasons, and rotations are a natural checkpoint.
FAQ
Do I need an alignment after rotating?
Not automatically. But if you notice pulling, a crooked steering wheel, or rapid uneven wear (especially inside edges), an alignment is worth it. Rotating tires will not fix an alignment problem, it only helps spread wear around.
Can I rotate tires if my TPMS light is on?
Yes. Rotation will not hurt anything. Just make sure all tires are set to the door-sticker pressure first. Some cars need a TPMS relearn procedure after rotation, which can be as simple as a menu option or a short drive depending on the system.
What if my lug nuts differ or I have wheel locks?
Keep the wheel lock key handy and set it somewhere you cannot lose it. If you have different lug hardware, keep each wheel’s hardware together during the swap so you do not mix pieces.
Is front-to-back only OK?
Yes for directional tires, and it is a safe default when you are unsure, when you are working with limited equipment, or when your OEM specifies no crossing. Cross patterns can help even out wear faster on many cars, but the “best” rotation is the one you do consistently and correctly.
My simple routine
If you want a no-drama plan: rotate every 5,000 to 7,500 miles, follow the correct pattern for your drivetrain and tire type, record your tread depths, and torque your lug nuts properly. That is it. Tires are expensive. A careful, 45-minute driveway rotation is one of the best returns-on-effort jobs you can do on a car.
Put on some classic rock, pour a coffee, and take it one lug nut at a time. You’ve got this.