If you can check your tire pressure, you can do a basic brake check too. You do not need a lift, a scanner, or a marathon inspection just to figure out if your brake pads are getting thin or your rotors are starting to complain. You just need a good look, a good listen, and the discipline to take safety seriously.
Important scope note: this is a screening you can do at home. It will catch the common stuff (thin pads, ugly rotors, obvious leaks, weird noises), but it will not catch everything (internal hose problems, ABS faults, sticking hardware you cannot see, rear drum issues without opening them up, or fluid contamination). When in doubt, treat brakes like the safety system they are and get a pro to verify.
I spent a decade in independent shops, and I can’t tell you how many people got talked into rotors and pads “because we’re in there anyway” when the real issue was simple: no one had actually shown them what normal looks like. Let’s fix that.
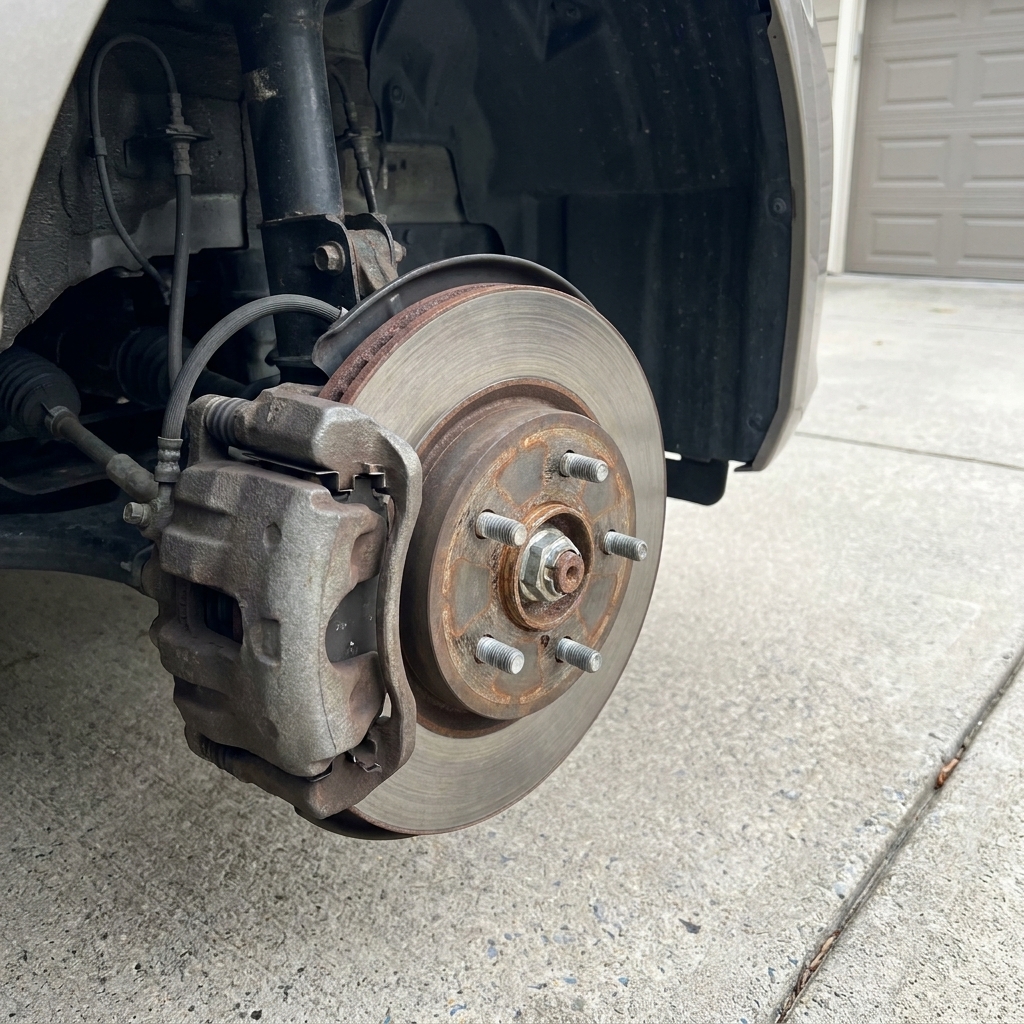
Safety first, always
Before you stick your face near anything that keeps your two ton car from meeting the car in front of you, do this:
- Park on level ground, set the parking brake, and put the car in Park (automatic) or in gear (manual).
- Chock a wheel if you are lifting the car.
- If you remove a wheel, use a proper jack point and jack stands. Never trust the jack alone.
- Let brakes cool. Rotors can get hot enough to burn you badly after even a short drive.
- Wear eye protection. Brake dust and rust flakes love gravity.
If you feel any grinding, a pulsing pedal, or the car does not stop straight, treat it as a safety issue, not a “sometime this month” project.
Tools that make this easy
You can do a basic inspection with almost nothing. Here’s what helps:
- Flashlight or phone light
- Thin work gloves
- Mirror on a stick (handy for peeking behind the caliper)
- Small ruler or tape measure (optional)
- Floor jack and jack stands (only if you are removing wheels)
- Lug wrench
Optional but nice: a brake pad gauge. They are cheap and remove the guesswork, but you can get far with your eyes.
Check pads with the wheel on
On many cars you can see the outer pad through the wheel spokes. Turn the steering wheel full left or full right to open up space behind the wheel.
What you are looking at
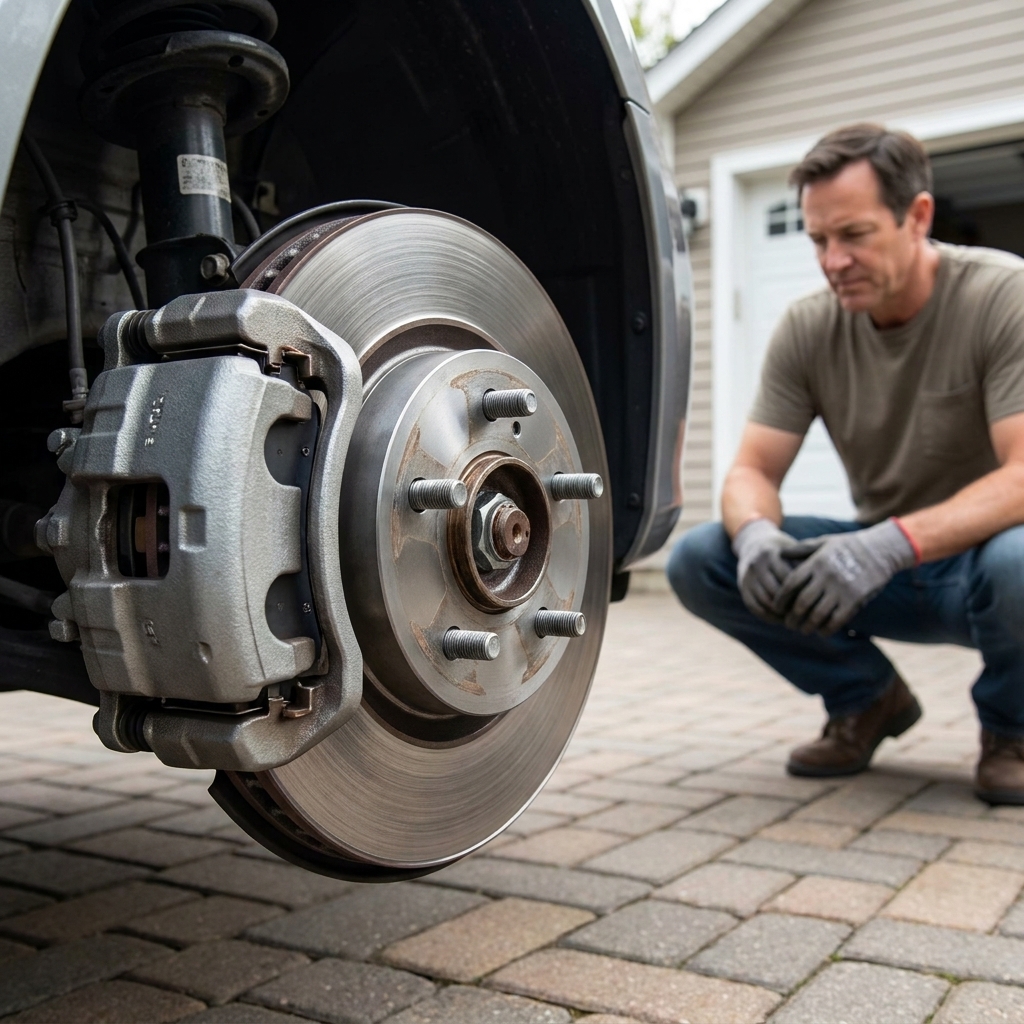
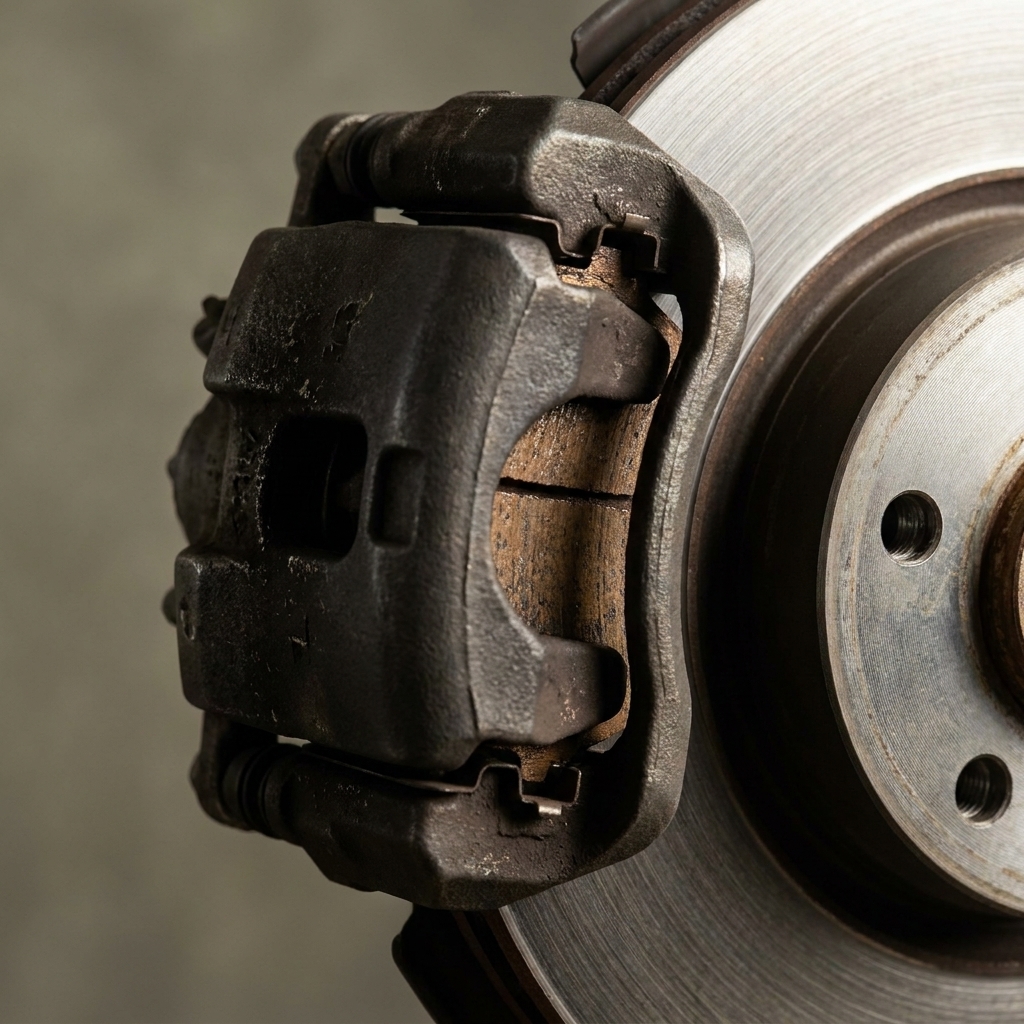
Disc brakes are a sandwich: rotor in the middle, pad on each side, caliper squeezing them together. You are trying to see the pad friction material thickness, not the metal backing plate.
Quick thickness rule
- 8 to 12 mm: healthy, typical new-ish pads (many start around here, but it varies by vehicle and pad design)
- 5 to 6 mm: wearing but not urgent for most drivers
- 3 to 4 mm: plan pads soon
- 2 mm or less: stop delaying, you are in the danger zone
Many shops recommend replacement around 3 mm, but the real decider is the manufacturer’s spec and your driving conditions. Waiting too long risks the pad wearing down to the metal, which can destroy rotors fast.
Two important caveats
- You might only be seeing the outer pad. Inner pads can wear faster, especially if a caliper slide pin is sticking.
- Not all wheels give a clear view. If you cannot see the pad material clearly, do not guess. Move on to the wheel-off method below.
Best check: wheel off
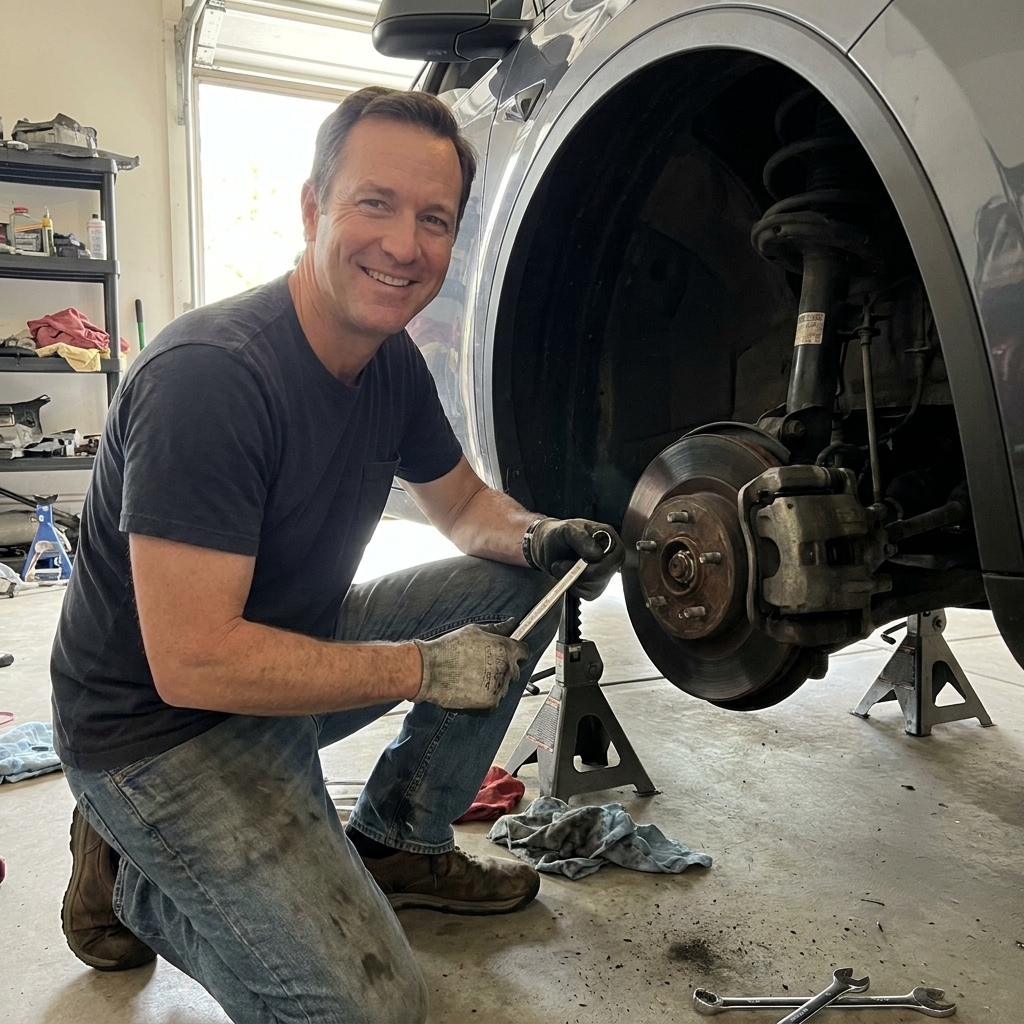
If you want a real answer, pull the wheel. It takes longer, but it turns a guess into an inspection.
If any of this feels unfamiliar, stop and get help. There is zero shame in not learning brake safety the hard way.
Step-by-step
Loosen lug nuts slightly while the car is still on the ground.
Lift the car at the correct jack point and set it on a jack stand.
Remove the wheel and slide it under the car as an extra safety buffer.
Find both pads: the outer pad is usually easier to see; the inner pad sits against the piston side of the caliper.
Check friction material thickness on both pads. You want roughly even wear.
Reinstall the wheel correctly: snug the lug nuts in a star pattern, lower the car, then torque lug nuts to the vehicle spec.
Pad wear signs
1) Thin friction material
If the pad material looks about as thick as two stacked nickels (around 4 mm), you are getting close. If it looks like a credit card edge, you are late.
2) Uneven inner vs outer wear
Inner pads often wear faster, but a big difference is a red flag. If the inner pad is much thinner than the outer, common causes include:
- Sticking caliper slide pins
- Caliper piston not retracting smoothly
- Collapsed brake hose (less common, but possible)
This is how people end up “needing brakes again” way too soon. Pads are not the whole story if the caliper is not moving freely.
3) Tapered wear
If the pad is thicker at one end than the other, the pad is not contacting the rotor evenly. That can be hardware related, slide related, or sometimes caliper bracket corrosion.
4) Crumbling, cracking, or missing chunks
Pads should look solid. Surface hairline cracks can happen with heat, but if chunks are missing or the pad looks glazed and brittle, replace them and inspect the rotors carefully.
5) Contamination
If a pad looks wet or shiny with fluid, that is not “normal brake dust.” Common culprits are:
- Grease from a torn CV boot
- Brake fluid from a leak
- Oil from an engine or power steering leak (depending on the car)
Contaminated pads usually need replacement, and the leak needs to be fixed first or you will ruin the next set too.
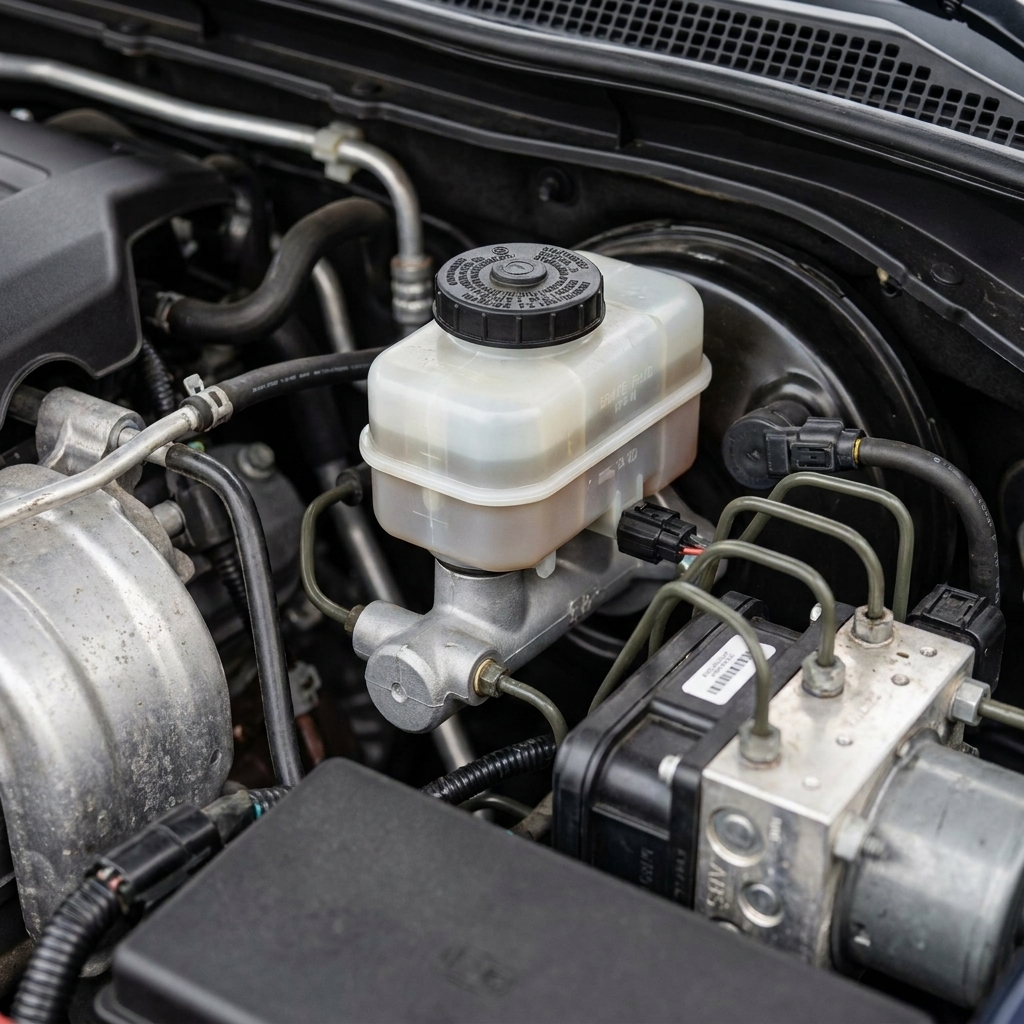
Quick brake fluid check
This is the easiest under-the-hood brake check, and it matters more than people think.
- Check the brake fluid reservoir level: it should be between MIN and MAX.
- Look for leaks: wetness around calipers, hoses, hard lines, and the master cylinder is not normal.
- Watch the trend: fluid can drop as pads wear, but a fast drop is a leak until proven otherwise.
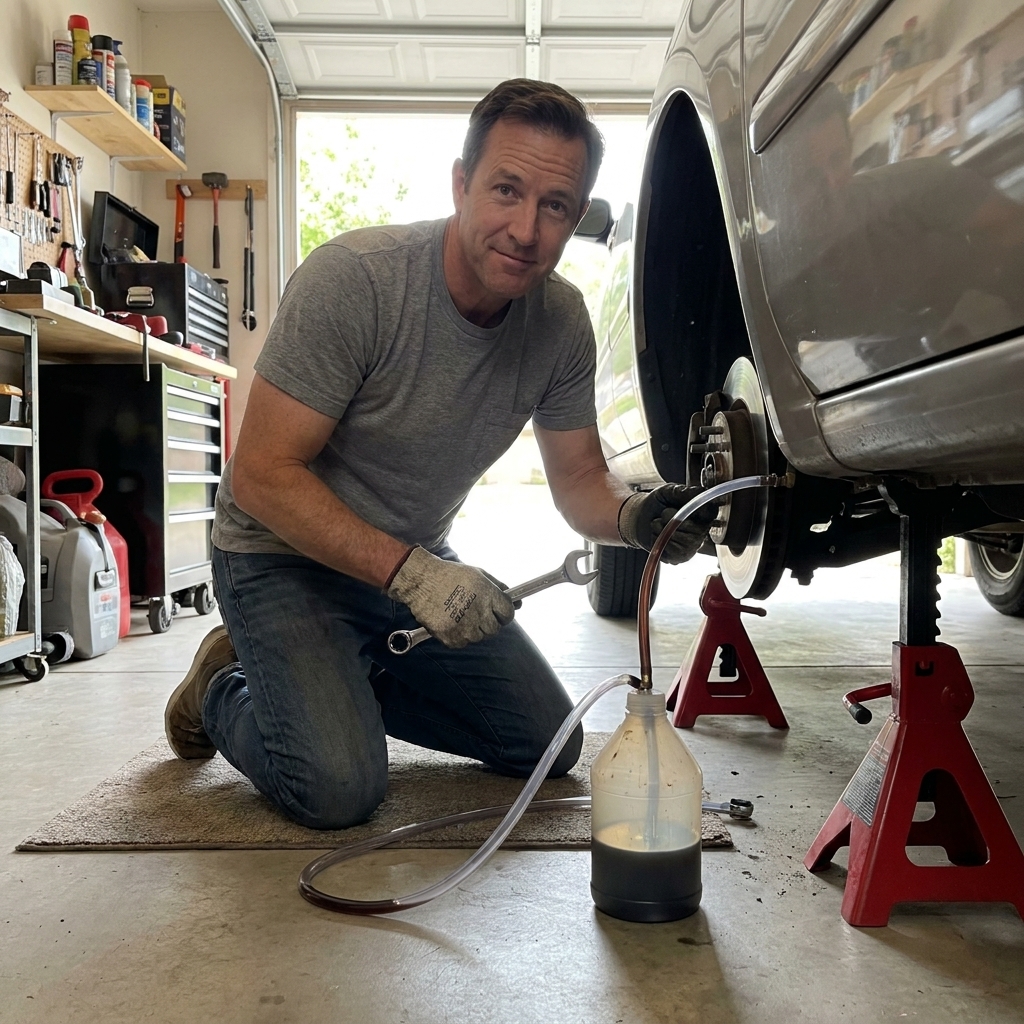
Do not top off fluid blindly if pads are worn and you plan to replace them soon. New pads push caliper pistons back in, and the fluid level can rise. If the fluid is very dark or you do not know how old it is, put a brake fluid flush on your “ask the shop” list.
Rotor inspection
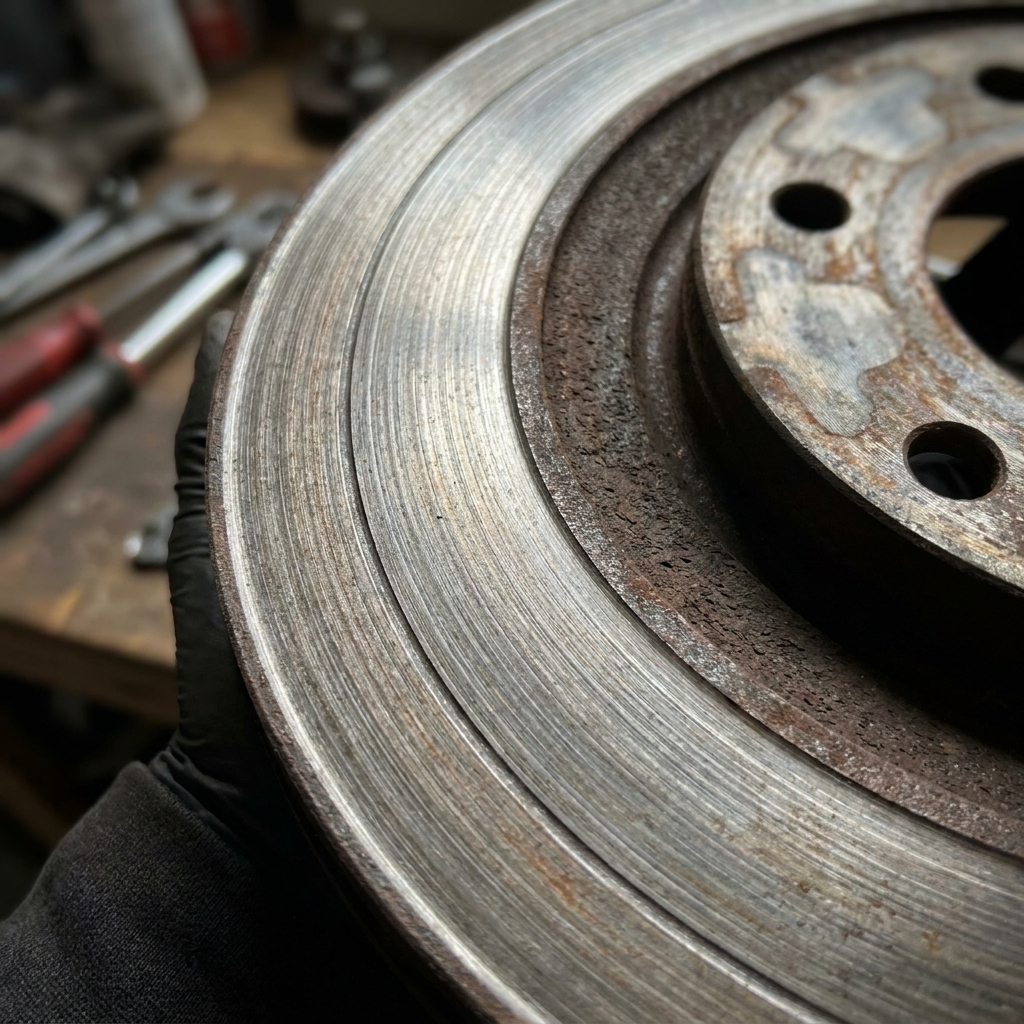
Rotors are the smooth metal discs that pads clamp onto. A rotor in good shape generally has:
- A mostly smooth surface
- Light, even circular marks (normal)
- No deep grooves you can catch a fingernail in
- No heavy rust where the pad actually contacts
Light surface rust after rain is normal and usually wipes off after a few stops. Heavy, flaky rust in the pad contact area is not.
Rotor wear signs
1) Deep grooves
Run a finger lightly across the rotor surface. If you can feel ridges and catch a fingernail, the pads or rotor have been grinding material away. Mild grooves can sometimes be lived with, but deep grooves often mean the rotor should be resurfaced or replaced when you do pads.
2) A pronounced outer lip
Most rotors develop a small ridge at the outer edge because the pad does not sweep that very last bit. A small lip is normal. A sharp, tall lip usually means the rotor has worn significantly.
Important: rotor thickness is measured with a micrometer and compared to the minimum thickness spec. You do not need to measure it to notice that a rotor has clearly lost a lot of material.
3) Heat spots and discoloration
Blue, purple, or dark patches can indicate overheating. Causes include aggressive braking, towing, or a sticking caliper keeping a pad in contact with the rotor.
Heat spots often pair with a steering wheel shake or pedal pulse under braking.
4) Cracks
Small surface checking can occur, but visible cracks are a hard stop. If you see cracking, replace the rotor and diagnose why it overheated.
5) Rust in the swept area
If the rotor face has heavy rust where the pad rides, braking power can drop and noise can increase. This is common on cars that sit a lot, especially in wet climates. Sometimes a good drive cleans it up. Sometimes it needs rotors.
Sounds and feel
Squealing
A light squeal can be normal, especially in damp weather. But a consistent squeal often points to one of these:
- Wear indicator tab: Many pads have a small metal tab designed to squeal when pads are low.
- Glazed pads or rotors: Overheating can harden the surface and cause noise.
- Pad compound: Some pads are just noisy, even when new.
Grinding
Grinding is the sound of metal meeting metal, or a pad that is so thin the backing plate is contacting the rotor. If you hear grinding, stop driving if you can do so safely. Keep driving and you can turn a “pads and maybe rotors” job into “pads, rotors, and possibly heat-damaged hardware” in a hurry.
Pulsation in the pedal
A pulsing pedal during braking is commonly blamed on “warped rotors.” True rotor distortion is possible, but many pulsation complaints come from rotor runout, uneven rotor thickness, or uneven pad material transfer. Different causes, same feeling in your foot: the brakes are not gripping evenly.
Steering wheel shake while braking
If the steering wheel shakes during braking, the issue is often in the front brakes. If the whole car shudders, it can be rear brakes, tire issues, or suspension, but start by inspecting rotors and pads.
Pulling left or right
A pull can be brake related, tire related, or alignment related. If it only pulls while braking, suspect:
- Sticking caliper on one side
- Uneven pad contamination
- Uneven rotor condition
Quick driveway check
If you want the easiest habit that prevents “surprise brakes,” do this regularly when you walk past the car, like when you wash it or fill up:
- Look through the wheel and eyeball pad thickness if visible.
- Listen for new squeals or scraping when you back out.
- On your first stop of the day, notice if the pedal feels different.
You are not diagnosing a whole braking system in one minute. You are looking for changes. Changes are what save your wallet.
When to schedule service
Use this as your “do not ignore” list:
- Pad thickness at or under about 3 mm (or the manufacturer’s replacement spec)
- Grinding or metal-on-metal noise
- Deep grooves, cracks, or severe heat spots on rotors
- Brake pedal pulsation that is getting worse
- Car pulls to one side during braking
- Noticeably longer stopping distances
- Brake fluid level dropping quickly or visible leaks
If you are comfortable DIYing brakes, an inspection like this is the perfect first step before ordering parts. If you are not, you can still walk into a shop informed and confident, which is half the battle.
FAQ
How long do brake pads usually last?
It varies wildly. City driving, heavy vehicles, aggressive braking, and cheap pads wear faster. A rough range is 30,000 to 70,000 miles, but I have seen pads cooked at 15,000 and I have seen them last past 90,000 with gentle highway driving.
Do I need to replace rotors every time I replace pads?
Not automatically. Rotors should be replaced or resurfaced if they are below minimum thickness, cracked, heavily grooved, heat-spotted, or causing pulsation. Many modern rotors are inexpensive enough that replacement makes more sense than machining, but the condition and spec decide, not a blanket rule.
Why are my inner pads wearing faster than the outer pads?
Some inner-first wear can be normal, but a big difference often points to sticking slide pins or a caliper piston that is not retracting smoothly. That needs attention or the new pads will wear the same way.
Can I check rear brakes the same way?
Yes, with one twist. Some cars have rear disc brakes that inspect just like the front. Others have rear drum brakes, which require pulling the drum to see the shoes.
If your rear brakes are drums and you are not pulling anything apart, you can still watch for warning signs: scraping or grinding noises, a parking brake that will not hold on a hill, or wetness at the bottom of the backing plate (a possible wheel cylinder leak).
What does a brake wear indicator look like?
On many pads it’s a small metal tab that sticks out from the pad backing. When pads get low, the tab touches the rotor and squeals. Some cars also use electronic wear sensors that trigger a dash warning when the pad reaches a set point.
Any warning about electronic parking brakes?
Yes. If your car has an electronic parking brake, do not force rear caliper pistons back by brute strength without the correct procedure. Some systems need a scan tool or a specific service mode. For inspection you are fine, but for repairs, follow the factory procedure.
Final thought
Brake inspections are not about being paranoid. They’re about being prepared. Once you’ve seen a healthy pad and rotor up close, you’ll never be intimidated by brake talk again. And that confidence is what keeps you from paying premium money for basic maintenance.