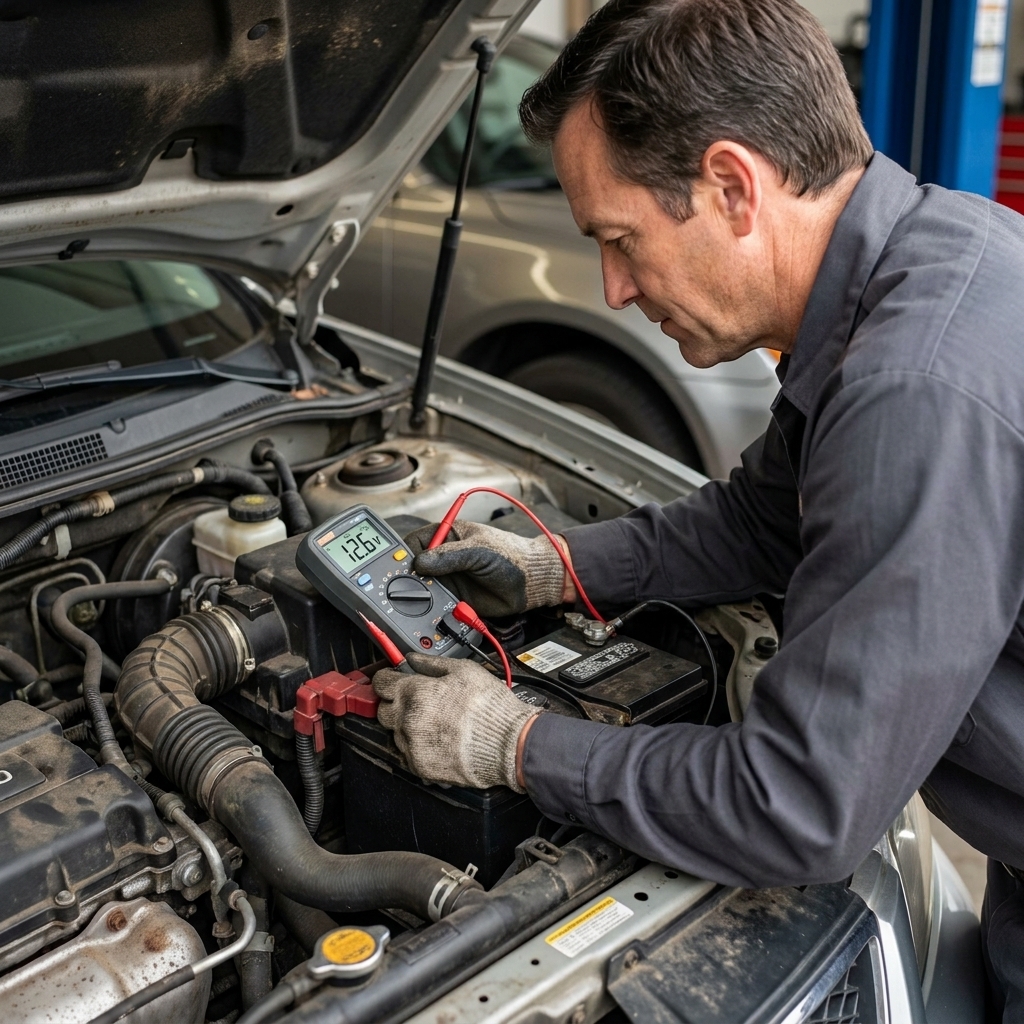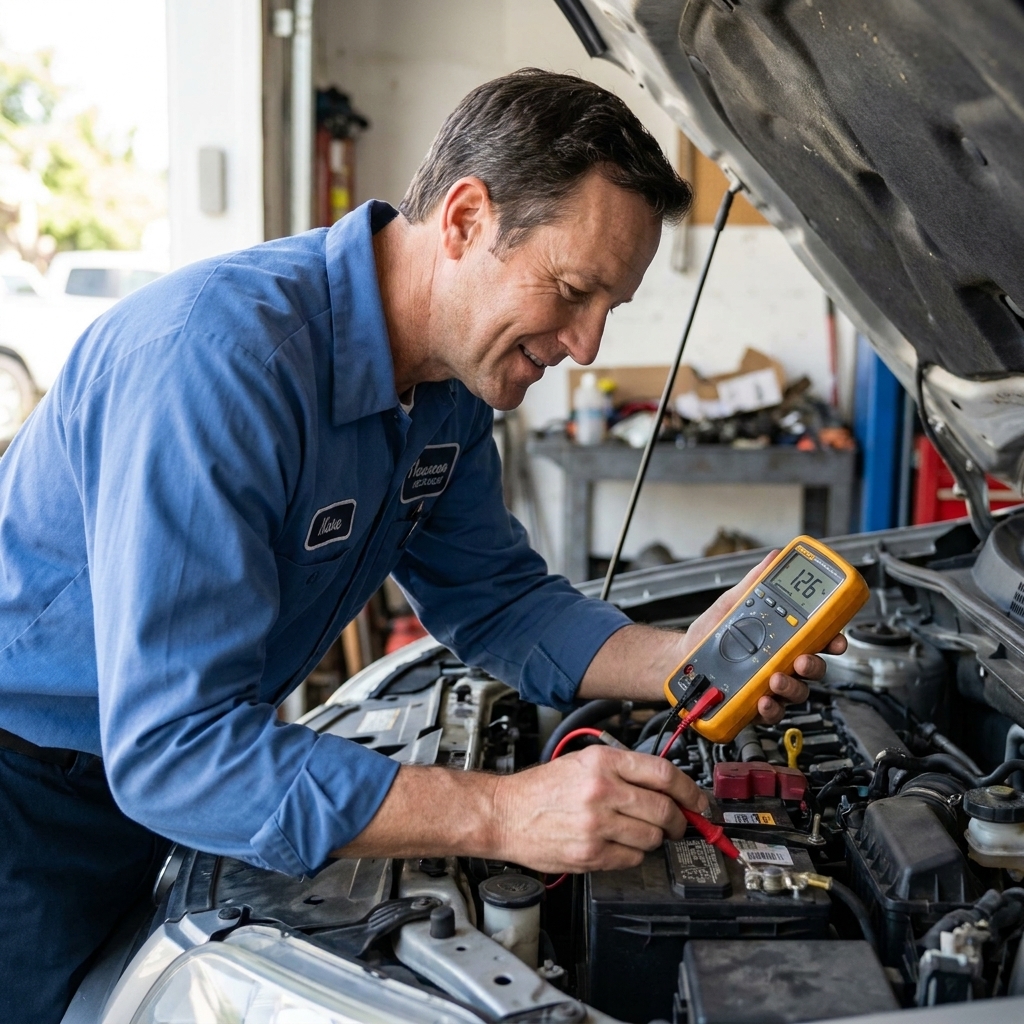
I have jump-started more dead batteries than I can count, everything from a winter-dead Civic to a modern SUV packed with modules that cost more than my first toolbox. The good news: you can jump-start safely without cooking electronics, as long as you connect in the right order, use a proper ground point, and avoid creating sparks right over the battery.
This guide is the exact procedure I use in the shop and in my own driveway. Take your time, double-check each clamp, and you will be back on the road without turning your car into an expensive electronics lesson.
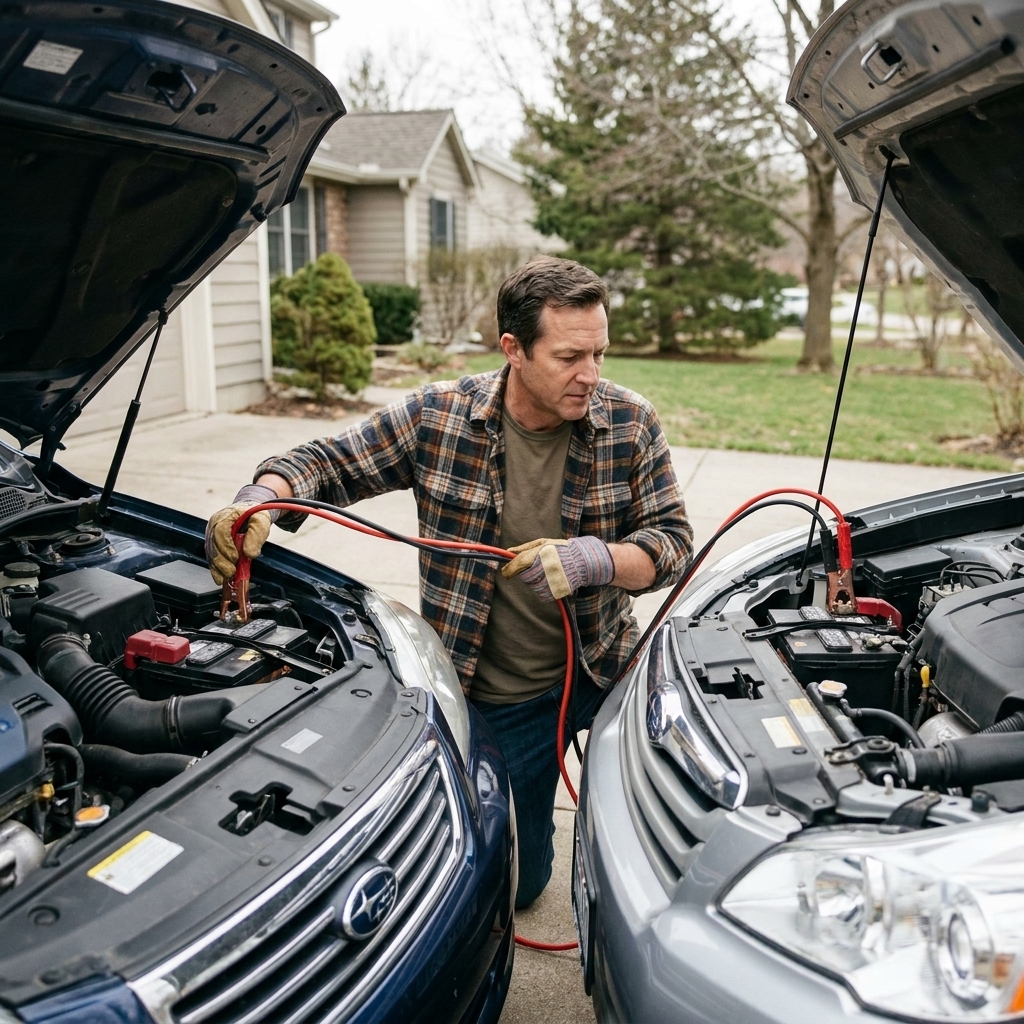
Why order matters
Most modern cars have sensitive electronics: engine computers, body modules, infotainment units, and charging system components that do not appreciate electrical drama. The two big risks during a jump-start are:
- Sparks at the battery, which can ignite hydrogen gas venting from a battery (rare, but real).
- Incorrect connections, which can blow fuses and stress alternators, sensors, and control modules.
The correct sequence reduces both risks by keeping the final spark away from the dead battery and by ensuring a solid, predictable path for current.
Before you clamp
What you need
- A good set of jumper cables
- Safety glasses if you have them
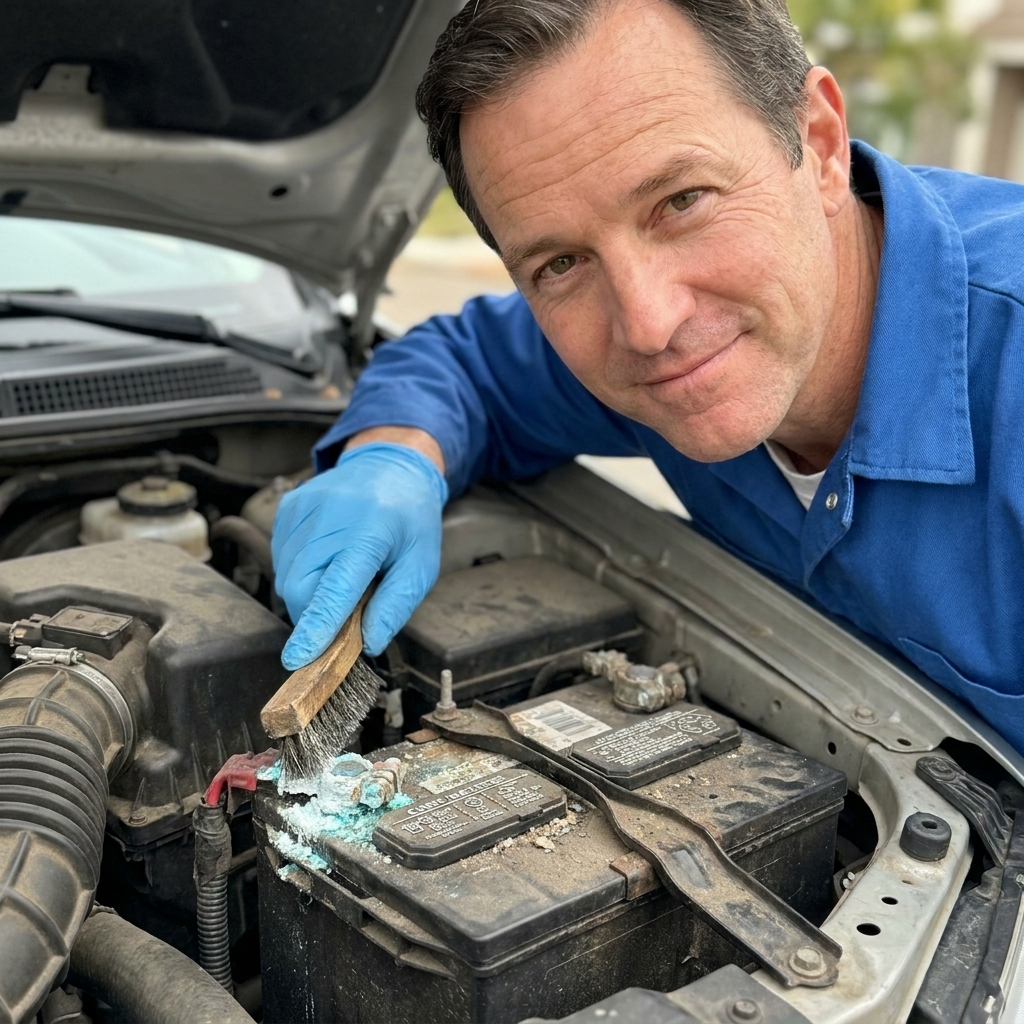
- Optional but helpful: a small wire brush or terminal cleaning tool
Cable thickness matters more than people think. For most cars and crossovers, I like 4 to 6 gauge. For trucks, larger engines, cold weather, or a battery that is really down in the weeds, 2 gauge is a safer bet. Thin cables can work, but they make the whole job harder and hotter.
Quick safety checks
- Match voltage: both vehicles must be 12V systems (almost every modern passenger vehicle is). Do not jump a 6V or 24V system with a 12V car.
- Inspect the dead battery: if the case is cracked, leaking, swollen, hot to the touch, or smells strongly like rotten eggs, stop. Do not jump it.
- Turn everything off: both ignitions off, headlights off, HVAC off, radio off. Unplug phone chargers.
- Park smart: vehicles close enough for cables, but not touching. Put both in Park (or Neutral for manuals), set parking brakes.
- Find a proper ground point: a clean, unpainted metal bolt or bracket on the engine or chassis of the dead car, away from the battery.
If your battery is in the trunk or under a seat, use the designated jump posts under the hood if your car has them. The owner’s manual will show you the exact locations.
Hybrid/EV note: Do not touch anything orange and do not attempt to jump-start any high-voltage system. Many hybrids and EVs still have a 12V battery that can be jump-started, but you should follow the owner’s manual for the correct posts and ground points.
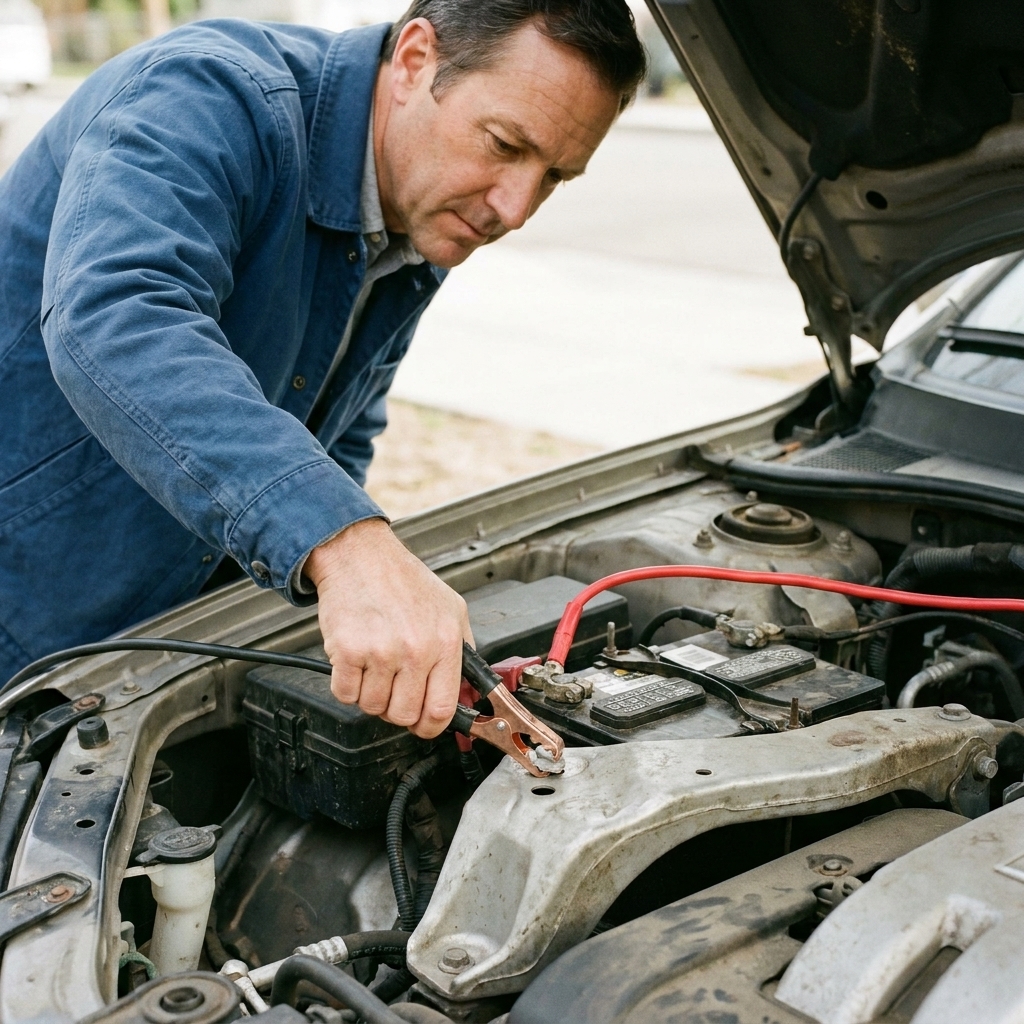
Connect the cables
Here is the order that minimizes sparks near the dead battery.
- Red clamp to dead battery positive (+)
Attach the red clamp to the positive terminal on the dead battery. Wiggle it slightly to confirm it is seated on metal, not perched on plastic or heavy corrosion. - Red clamp to good battery positive (+)
Attach the other red clamp to the positive terminal on the good battery. - Black clamp to good battery negative (−)
Attach one black clamp to the negative terminal on the good battery. - Black clamp to a ground point on the dead car
Attach the final black clamp to a clean, unpainted metal point on the dead car’s engine block or chassis, ideally several inches away from the battery. This keeps the final connection spark away from battery fumes.
Clamp placement tips from the trenches:
- Keep the cables clear of fans, belts, and pulleys. Electric fans can turn on without warning, even with the key off on some vehicles.
- Make sure clamps do not touch each other or any metal parts once connected.
- If you cannot get a solid bite on the terminals due to corrosion, clean lightly or reposition until the clamp is on clean metal.
Finding positive and negative when it is not obvious: Positive is usually marked with a + and often has a red cover or a cable that runs to a fuse box. Negative is usually marked with a − and often has a cable that goes straight to the body or engine block. If you are not sure, stop and confirm before you clamp.
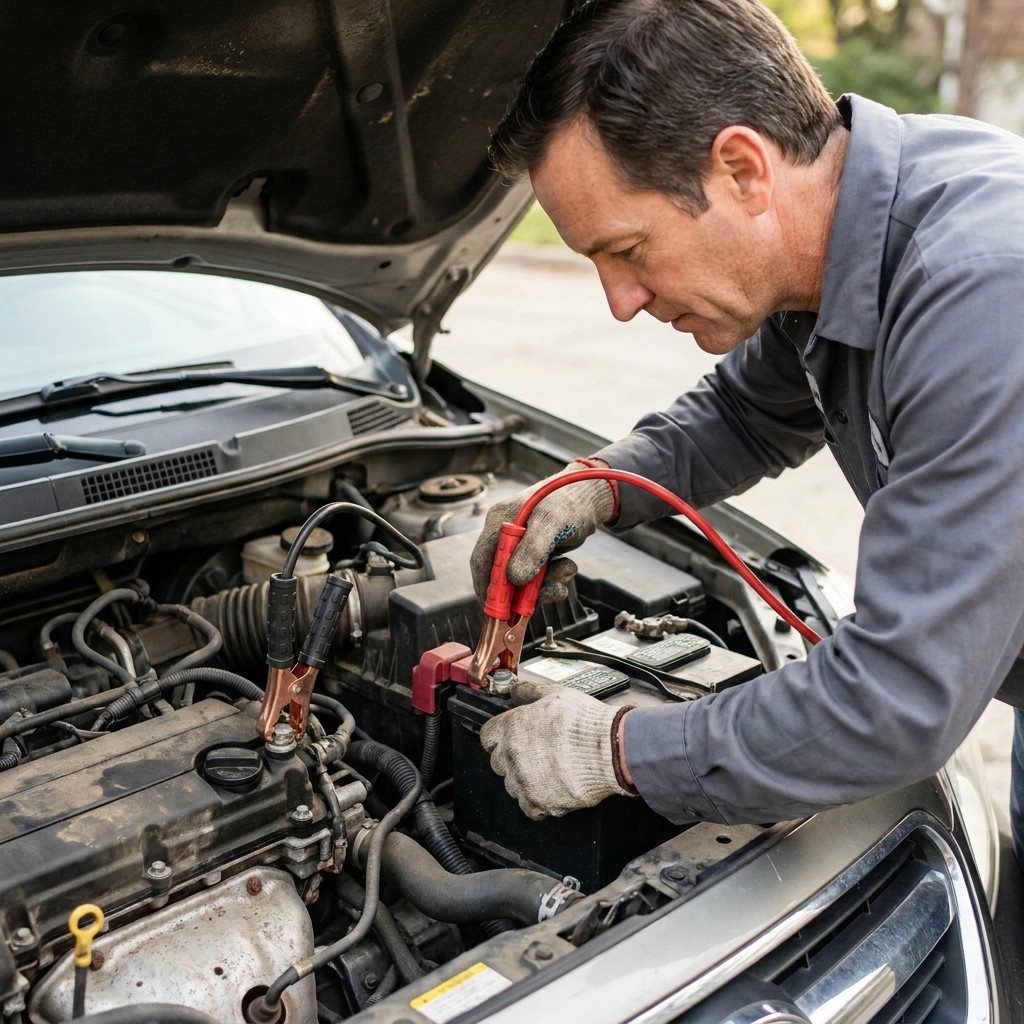
Start the cars
Step 1: Start the donor car
Start the vehicle with the good battery and let it idle for 2 to 5 minutes. This puts some charge into the dead battery and reduces the load when you crank the dead car.
Step 2: Start the dead car
Try starting the dead car. If it does not crank, wait another minute and try again.
- Do not crank for more than 10 seconds at a time. Let the starter rest for 30 to 60 seconds between attempts.
- If it only clicks, you may have a very dead battery, poor cable contact, or a different problem (starter, cable, grounds).
Step 3: Let it settle
Once the dead car starts, let both vehicles idle for about a minute. This reduces the chance the revived car stalls when you remove the cables and gives the electrical load a moment to calm down.
One more real-world caution: If your donor car is small and the dead vehicle is a large truck with a truly dead battery, do not sit there grinding on the starter over and over. That is how you overheat cables and abuse both vehicles. Charge the dead battery or use a jump pack rated for the job.
Disconnect the cables
Disconnecting is where people get casual, and casual is how you get sparks. Remove the cables in the reverse order of installation:
- Black clamp off the dead car ground point
- Black clamp off the good battery negative (−)
- Red clamp off the good battery positive (+)
- Red clamp off the dead battery positive (+)
As you remove each clamp, keep it from swinging into any metal parts or the other clamp. Lay the cables down where the clamps cannot accidentally touch.
Protect the electronics
- Never reverse polarity: red to +, black to − or ground. If you are unsure which post is positive, stop and confirm.
- Use a ground on the dead car: that final black clamp on an engine or chassis ground moves the spark away from the battery.
- Avoid high revs: a steady idle is fine. If you need a little help, a modest fast idle is plenty. The goal is stable voltage, not a high-RPM alternator workout.
- Do not yank cables immediately: let it idle briefly so the revived car is less likely to stumble or stall while you disconnect.
- If your car has a battery sensor on the negative terminal: many newer vehicles do. Prefer a chassis ground point for the jump connection rather than clamping onto the sensor terminal hardware.
- If you have a smart jump pack: use it. Most have reverse-polarity protection and surge control that old cables do not.
If you are dealing with a luxury vehicle or anything with stop-start, check the owner’s manual for any special jump points or procedures. Some manufacturers are picky for a reason.
Common mistakes
Black clamp on the dead negative post
This works sometimes, but it increases the chance that the last connection sparks right next to the battery. Use a ground point instead.
Letting clamps touch metal or each other
One sloppy moment and you can weld a clamp to a bracket, blow a fuse, or damage a cable. Treat the loose ends like they are live, because they are.
Jump-starting a damaged battery
If the battery is bulged, cracked, leaking, or hot to the touch, do not jump it. Replace it. A battery is cheaper than an emergency room visit.
Assuming a jump fixes it
A jump start is a rescue, not a diagnosis. If it died once, figure out why.
After it starts
Keep the revived car running. If you can, drive it for 20 to 30 minutes. That said, a severely discharged battery may not fully recover on a short drive.
- If the car dies again soon: the battery may be at end of life, the alternator may not be charging, or there is a parasitic drain.
- If the battery is more than 3 to 5 years old: age alone can be the culprit, especially in hot or very cold climates.
- If you see a battery light while driving: that points to a charging system issue, not just a weak battery.
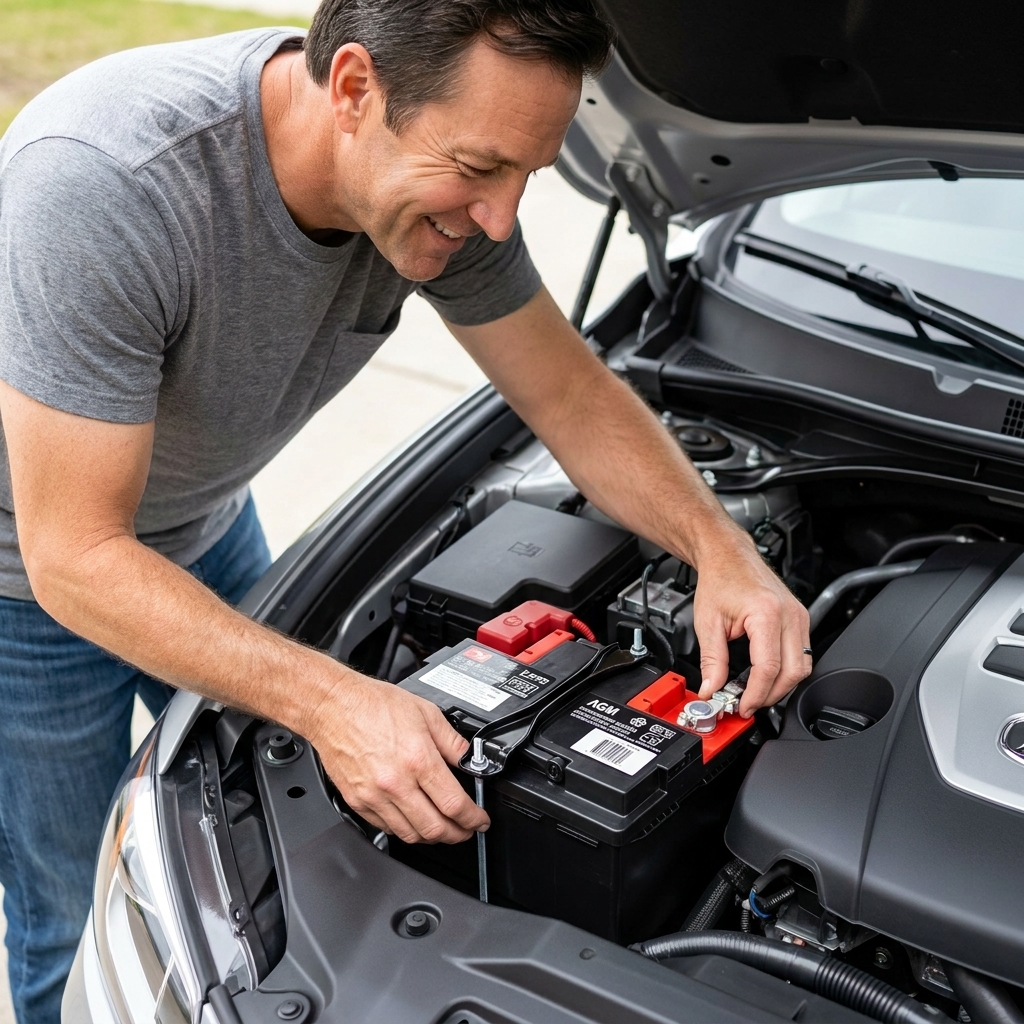
My practical advice: once you are home, put the battery on a proper charger if you have one. If your vehicle uses an AGM battery or has stop-start, use a charger that supports AGM and has the right mode for it.
FAQ
Is it safe to jump-start a modern car?
Yes, if you follow the correct connection and disconnection order and use a good ground point. Modern cars are designed to be serviced, but they are less forgiving of polarity mistakes and sloppy sparking.
Can I jump-start in the rain?
Light rain is not automatically a deal-breaker, but be smart. Avoid standing water, keep clamps from touching each other or metal, and do not lean over the battery. If it is heavy rain, flooding, or you are working in a puddle, call for help and wait it out.
What if it will not start after a jump?
Check clamp contact first. If it still will not crank, you may have a dead-dead battery, a bad starter, a blown main fuse, corroded battery cables, or an immobilizer issue. If it cranks but will not fire, you are chasing a fuel or ignition problem, not the battery.
Do I need to remove the cables fast once it starts?
No. Let it idle for a minute, then remove cables in the correct reverse order. Rushing is how sparks happen.
Quick checklist
- Red to dead +
- Red to good +
- Black to good −
- Black to dead ground
- Start good car, wait 2 to 5 minutes
- Start dead car
- Remove: dead ground, good −, good +, dead +
If you do nothing else, do that order every time. It is the simplest way to protect yourself, the cars, and the electronics that now run just about everything.