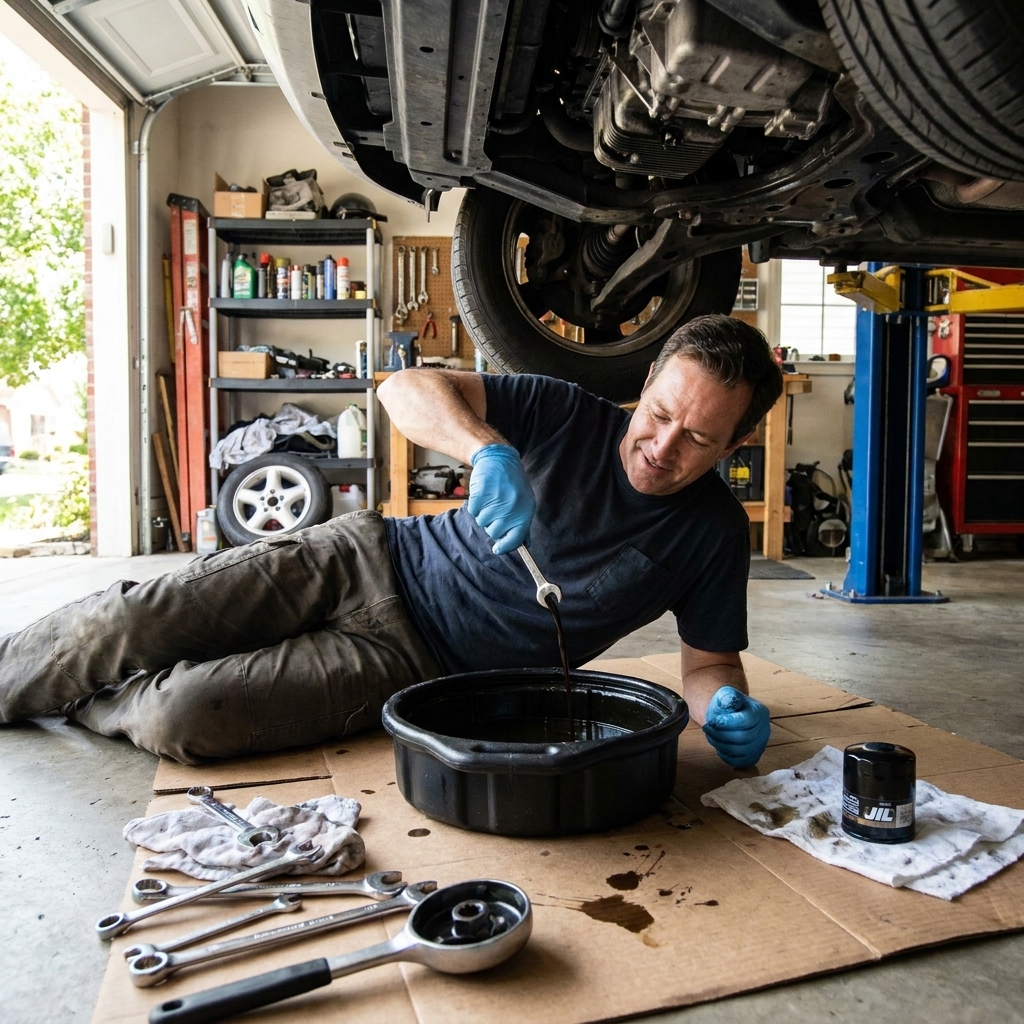
If I could pick two “cheap insurance” checks for a beginner, it would be these: your serpentine belt and your radiator hoses. They’re both rubber. They both live in a hot, grimy engine bay. And when they fail, they rarely do it at a convenient time.
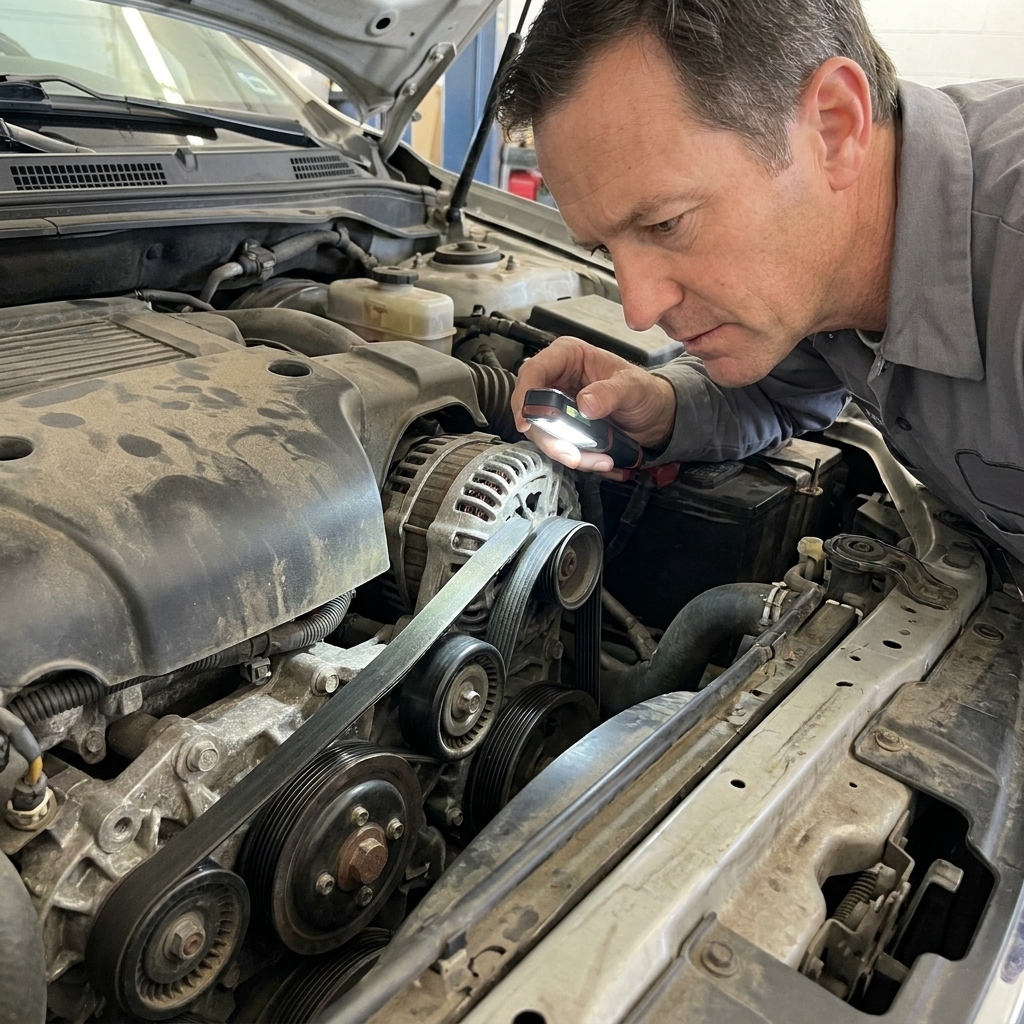
The good news is you do not need a lift, fancy tools, or a mechanic’s intuition to catch most problems early. You just need a flashlight, a few minutes, and the confidence to look closely.
Safety first
Before you put your hands anywhere near belts or hoses, do these basics:
- Engine off. Ignition off and key fob away from the vehicle.
- Let it cool. Radiator hoses can be hot and pressurized long after shutdown. If the temperature gauge was above normal, wait longer.
- Keep loose clothing, jewelry, and hair away from the belt path, even with the engine off.
- Never open a hot radiator cap. If your vehicle has a radiator cap (some only have a pressurized reservoir), only open it when the engine is fully cool.
What these do
Serpentine belt
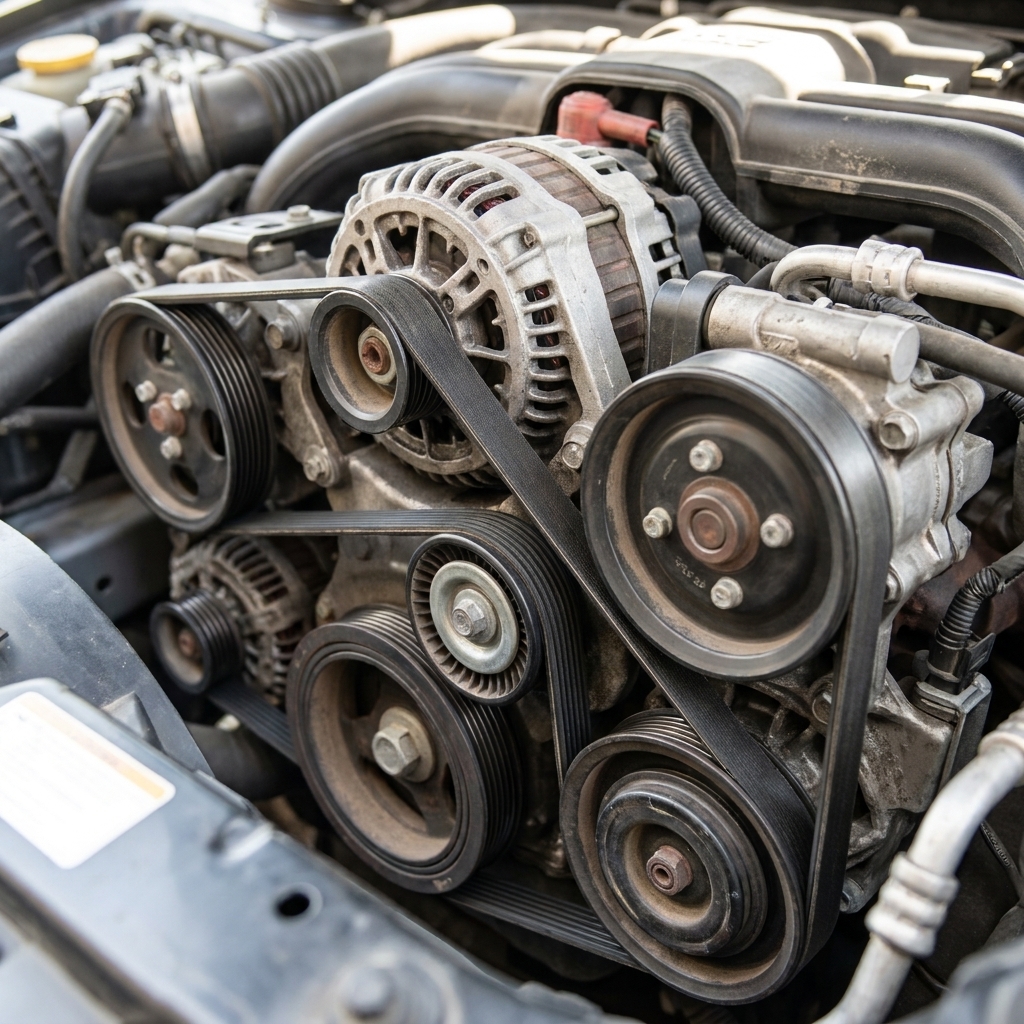
The serpentine belt is the long belt on the accessory-drive side of the engine, usually at the front or side depending on the layout. It drives accessories like the alternator, power steering pump, A/C compressor, and on some engines the water pump. If it slips or snaps, you can lose charging, steering assist, A/C, and possibly cooling if your water pump is belt-driven.
One quick heads-up: Some vehicles have more than one belt, and a few use a stretch belt (no tensioner). If what you see under the hood looks different, that can still be normal.
Radiator hoses
Your upper and lower radiator hoses move coolant between the engine and radiator. Smaller hoses may feed the heater core and the coolant reservoir. If a hose bursts or leaks badly, the engine can overheat fast, and overheating is where expensive repairs happen.
Tools you need
- Flashlight or phone light
- Clean rag or paper towels
- Gloves (optional, but nice)
- Small mirror (optional, helpful for seeing the back side of a belt)
That’s it. No socket set required. You can save the 10mm socket for another day.
Inspect a serpentine belt
Plan on 5 to 10 minutes. You’re looking for damage, contamination, and clues that it is not tracking or running true.
1) Find the belt and note the routing
Pop the hood and locate the belt on the accessory-drive side of the engine. Many cars have a belt routing sticker under the hood. If yours does not, take a quick photo with your phone so you have a reference later.
2) Check the belt for wear
With the engine off, shine your light along the belt. Look for:
- Cracks across the ribs (the grooved side). On older belt materials you may see cracking sooner. On many modern EPDM belts, cracks can be minimal even when the belt is worn, so do not use cracking as the only yardstick.
- Missing ribs, chunking, or pieces torn out. Replace it.
- Fraying on the edges like little threads or shredded rubber. Often a sign of misalignment or a failing pulley or bearing.
- Glazing where the belt looks shiny like it has been polished. That can mean the belt is slipping.
Quick rule: If you can see damage with a flashlight, you are not being picky. The belt is telling you it’s tired.
3) Look for contamination: oil or coolant
Belts hate fluids. If you see a wet, shiny belt or fluid on nearby pulleys, take it seriously:
- Oil contamination can come from valve cover leaks or other seepage. Oil makes rubber swell and slip.
- Coolant contamination can come from hose leaks, water pump seepage, or a crusty connection. Coolant can also cause belt slip.
If the belt is soaked, replacing the belt without fixing the leak is like putting new shoes on and walking into a mud pit.
4) Do a simple tension and condition check
Most modern vehicles use an automatic belt tensioner, so there is no manual adjustment. You can still do a basic feel check, but treat it as a rough screening, not a diagnosis.
- Press on the belt at the longest straight span you can safely reach. It should feel firm, not floppy.
- The old “twist it 90 degrees” trick can vary a lot by belt length and design, so do not overthink it. If it twists extremely easily and feels loose, that is a clue.
- If your tensioner has a wear indicator marks, check them. A tensioner that is near the end of its travel can be a sign the belt is stretched or the tensioner is weak.
If it feels loose, the culprit is often a weak tensioner, not just the belt.
5) Watch for clues while it’s running (optional)
If everything looks safe and you are comfortable, start the engine and observe from a safe distance:
- Squealing on startup can be belt slip, a weak tensioner, or a failing pulley bearing.
- Wobble at a pulley is a big red flag. A wobbling pulley can shred a belt quickly.
- Belt walking toward an edge (tracking off-center) points to misalignment.
Keep hands, sleeves, tools, and rags out of the engine bay with the engine running. Watching is fine. Touching is not.
Inspect radiator hoses
Hoses usually fail in a few predictable ways: they crack, they swell, they get soft and spongy, or they leak at the ends. Your job is to catch those early.
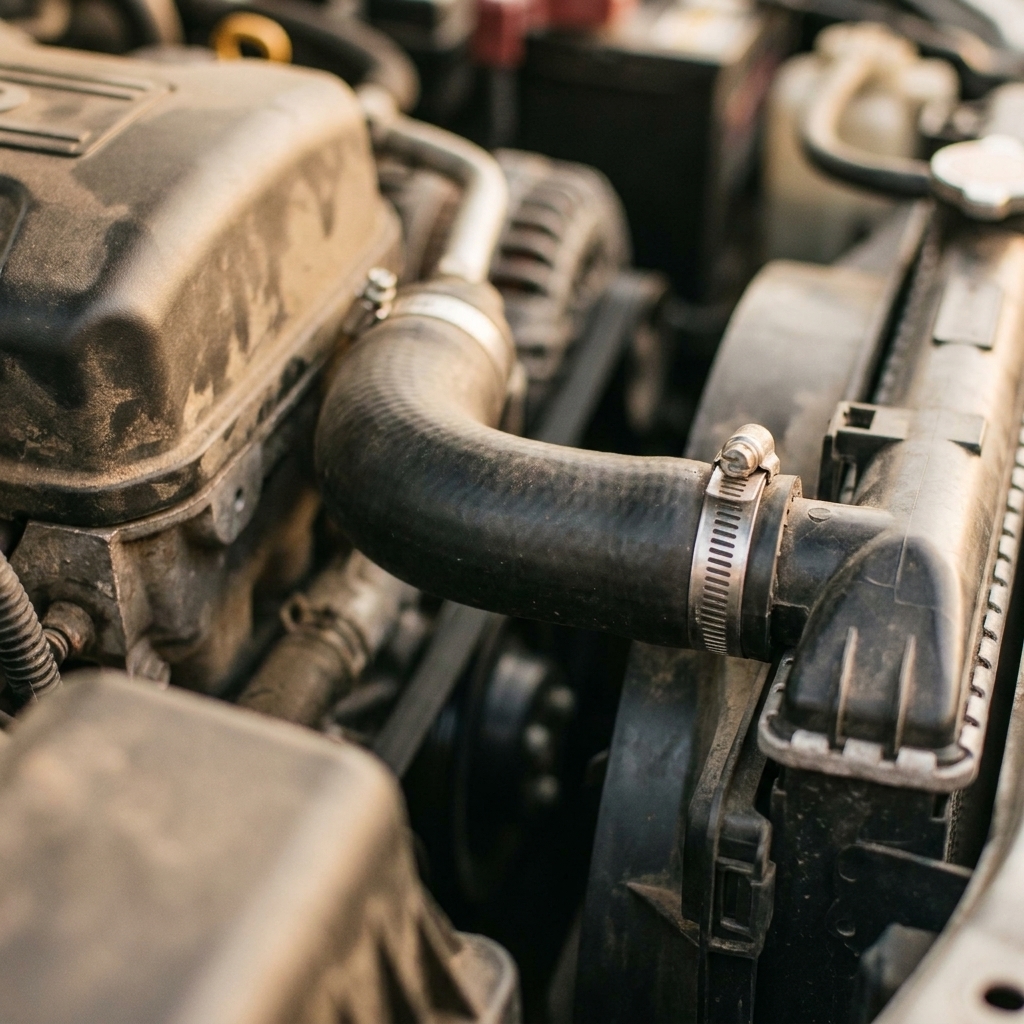
1) Find the main hoses
- Upper radiator hose: usually runs from the top of the radiator to the engine.
- Lower radiator hose: usually runs from the bottom of the radiator to the engine.
- Smaller hoses: often go to the coolant reservoir and heater core.
2) Look for swelling, cracks, and rubbing
Use your light and inspect the full length of each hose, especially underneath where grime hides problems. Watch for:
- Bulges or swollen sections that look fatter than the rest of the hose. Swelling can mean the hose is breaking down internally.
- Cracks near the ends or along bends.
- Chafing spots where the hose has been rubbing on a bracket, fan shroud, or other component.
- Oil contamination (hose looks wet and gummy). Oil can soften coolant hoses.
3) Do the squeeze test (engine cool)
With the engine fully cool, squeeze the hose gently in a couple spots.
- Normal: firm but pliable.
- Bad: very soft and spongy, or extremely hard and brittle.
Also feel near the hose ends. If it feels mushy right by the clamp, the hose may be deteriorating at the connection.
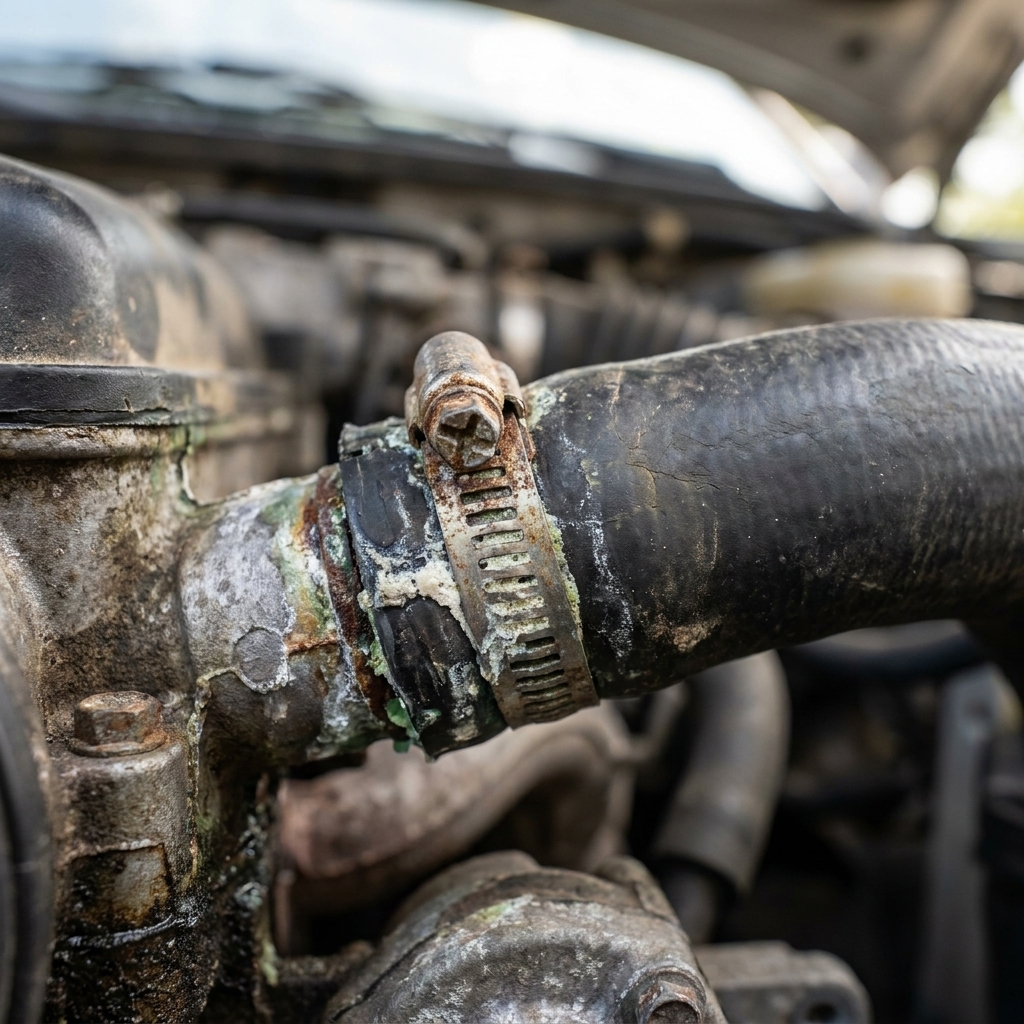
4) Check clamps and the crust ring
Leaks often start where hoses meet metal fittings. Look closely at each end:
- White, green, or orange crust around a connection is dried coolant. That is a leak trace, even if you never saw a drip.
- Wetness right at the clamp area means it is actively seeping.
- Clamp condition: factory spring clamps are usually reliable, but can lose tension with age. Worm gear clamps can loosen over time or cut into a hose if overtightened.
5) Smell test and underhood clues
Coolant often has a sweet or chemical smell, especially when it hits a hot surface. If you catch that odor after driving, it is worth investigating even if the temperature gauge looks normal. Also look for:
- Low coolant level in the reservoir that keeps dropping over weeks. Check levels only when the engine is cool, and use the reservoir MIN and MAX markings as your guide.
- Steam or a faint haze after shutting down.
- Puddles under the front of the car, especially after parking overnight.
Normal vs replace now
Serpentine belt: replace soon or now
- Deep cracks, missing chunks, or missing ribs
- Frayed edges or cords showing
- Shiny glazed surface plus squealing
- Oil or coolant soaked belt
- Belt that looks off-center on a pulley
Radiator hoses: replace soon or now
- Bulges or ballooning spots
- Cracks near the ends
- Soft, spongy feel or very brittle feel
- Repeated seepage at a connection, crusty residue, or wetness
- Chafed spot that is worn thin
If you find a bulge in a radiator hose: treat it like a ticking clock. That is one of the most common “it was fine yesterday” failures.
When to replace
Intervals vary by vehicle, belt type, and driving conditions. Your owner’s manual or service schedule is the final word, but for many daily drivers:
- Serpentine belt: commonly somewhere around 60,000 to 100,000 miles, sooner in severe heat, dusty conditions, or if wear shows up.
- Radiator hoses: often last many years, but age and heat cycles matter as much as miles. If the car is 8 to 10+ years old and hoses are original, inspection becomes extra important.
If you do not know the history of the car, a proactive belt and hose refresh can be a smart move, especially before long road trips or hot weather seasons.
Beginner mistakes
- Checking hoses on a hot engine. Wait until it is cool. Burns are fast and nasty.
- Judging a belt by the smooth outer surface only. The ribbed side tells the real story. Use a mirror if access is tight.
- Replacing a belt but ignoring noisy pulleys or a weak tensioner. A new belt will not fix a bad bearing.
- Overtightening hose clamps. Snug is good. Gorilla tight can damage the hose or the radiator neck.
- Assuming “no warning lights” means “no problems.” A belt can be seconds from failure with no dash warning.
If you find a problem
If the belt looks worn
If you are comfortable DIYing, replace the serpentine belt using the routing diagram and the proper tool on the tensioner. If the tensioner or an idler pulley feels rough, wobbly, or noisy, consider replacing that component too. A smooth, quiet pulley is what keeps the new belt alive.
If a hose looks suspicious
Plan a hose replacement and refill with the correct coolant type for your vehicle. If you see crusty residue at a thermostat housing, radiator end tank, or water pump, keep looking. Sometimes the “hose leak” is actually a leak from the part the hose connects to.
Tip from the shop floor: If one main radiator hose has obviously aged out, the other one is usually not far behind. Replacing them as a pair can save you a second round of coolant loss and bleeding.
If it starts overheating
If the temperature gauge climbs above normal or you see an overheat warning, back off the throttle and turn the cabin heat on full hot if you need a little extra cooling. If the needle keeps rising, pull over as soon as it is safe, shut the engine off, and let it cool. Do not open a hot radiator cap or reservoir. If coolant is pouring out or the engine is steaming hard, call for help rather than risking engine damage.
FAQ
Can I drive with a cracked serpentine belt?
You can sometimes drive a short distance, but it is a gamble. A belt that is cracking or fraying can let go without warning. If your water pump is belt-driven, a snapped belt can lead to rapid overheating. If you must drive, keep it short, avoid heavy loads, and plan the repair immediately.
My belt squeals only when it’s wet outside. Is that normal?
Moisture can make a marginal belt slip, so rain can bring out a squeal. Sometimes it is just an old belt. Sometimes it is low tension from a weak tensioner, or a pulley bearing starting to drag. If the squeal is new, treat it as a diagnostic clue, not a personality quirk.
Should radiator hoses feel hard?
With the engine cool, hoses should feel firm but squeezable. Rock-hard and brittle can indicate age, heat damage, or internal deterioration. Extremely soft and spongy can also indicate breakdown. Either extreme is reason to replace.
What if I see coolant residue but no dripping?
Dried coolant means it leaked at some point. It may only leak under pressure when hot. Clean the area, recheck after a few drives, and monitor coolant level. If it returns, fix it before it becomes a roadside issue.
Do I need to replace hoses when I do a coolant flush?
Not automatically. But if hoses are old, swollen, soft, cracked, or seeping at connections, a coolant service is a good time to replace them since the system is already being opened.
A simple schedule
If you want a routine that fits real life, here’s what I recommend:
- Every oil change: quick flashlight look at the belt and a glance at hose connections for crusty residue.
- Twice a year: full belt inspection plus cool-engine squeeze test on the main hoses.
- Before a road trip: do both checks the week before you leave, not the morning of.
Little inspections like this are how you avoid the big, wallet-draining breakdowns. And once you’ve done it a couple times, you’ll be the calm one when a friend says, “I think I smell coolant.”