I grew up holding a flashlight for my granddad while he changed oil on anything that had an engine and a leak. Later, I spent a decade in repair shops watching people get charged real money for a job that many drivers can do in a driveway with a little patience and the right safety habits.
This guide walks you through a clean, safe oil and filter change at home. No mystery steps, no “just snug it up” hand-waving, and no intimidation. Just the routine that keeps engines happy. A quick note up front: some vehicles are legitimately tougher because of low clearance, skid plates, cartridge housings, or tight access. If yours is one of them, the steps are the same, but you may need a few extra tools or a different approach.
Before you start: pick the right oil and filter
Two things matter most: the correct oil viscosity (like 0W-20 or 5W-30) and the correct specification for your car (API and sometimes OEM approvals). You can find both in your owner’s manual and often on the oil cap.
- Viscosity: Use what the manufacturer calls for. Don’t “upgrade” to thicker oil because it feels tougher. Modern engines are designed around specific flow rates.
- Oil type: If your car specifies full synthetic, use full synthetic. If it allows conventional or synthetic, synthetic generally handles heat better and tends to keep things cleaner.
- Capacity: Know how many quarts your engine takes with a filter change. It is usually slightly more than a drain-and-fill without the filter.
- Filter: Match the exact part number for your engine. If you have a cartridge filter setup, make sure you get the correct O-rings that come with it.
If you’re unsure, check your owner’s manual first, then confirm oil capacity and the filter part number with a reputable parts site or dealer catalog.
Tools and supplies checklist
Here’s what I recommend for a smooth first oil change. You might not need every item, but you’ll never regret being prepared.
Must-haves
- Correct engine oil (enough for your capacity)
- New oil filter (and O-rings if cartridge style)
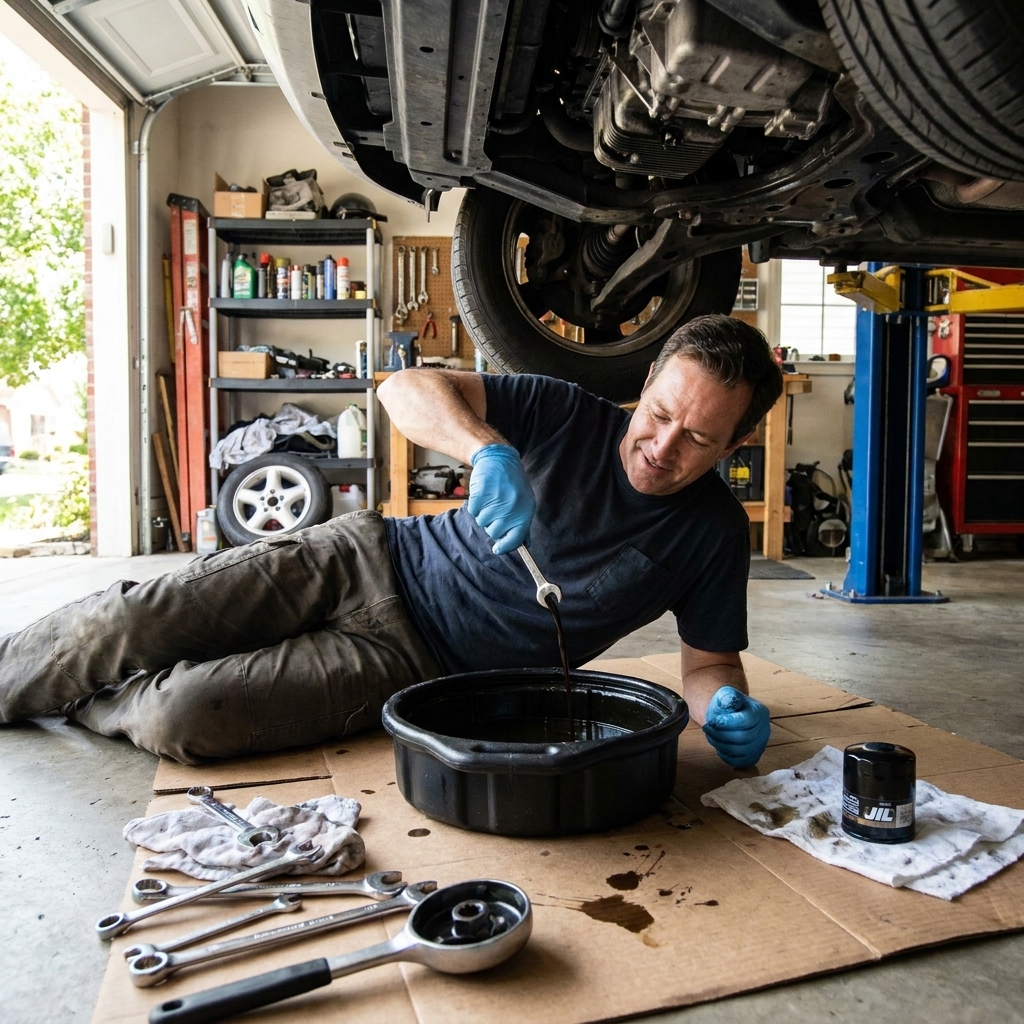
- Oil drain pan (at least as large as your engine’s oil capacity; 7 to 10 quarts covers most passenger cars)
- Socket or wrench for the drain plug (commonly 14mm, 15mm, 17mm, or a Torx/Allen on some cars)
- Oil filter wrench (cap-style for cartridge housings, strap or cup for spin-on filters)
- Gloves and shop towels
- Funnel
Strongly recommended
- Floor jack and jack stands (or quality ramps rated for your vehicle)
- Wheel chocks
- Torque wrench (prevents stripped threads and cracked housings)
- New drain plug crush washer (many cars use one-time aluminum or copper washers)
Nice to have for less mess
- Drain plug gasket assortment if you maintain multiple cars
- Cardboard to protect your driveway
- Brake cleaner for final wipe-downs

Safety first: lifting and burn prevention
This job is simple, but gravity and hot oil do not care how confident you feel.
- Work on level ground. Not a slope, not a soft lawn.
- Warm oil drains better, hot oil burns. One easy approach is to idle 3 to 5 minutes, shut it off, then wait 10 to 15 minutes before you get under it. The goal is warm, not scalding. If it feels too hot to work around, wait longer.
- Use jack stands. A jack is for lifting, stands are for holding. If you use ramps, chock the rear wheels.
- Know your lift points. Use the reinforced pinch welds or designated jack points listed in the manual.
- Keep your face out of the splash zone. The first second of draining can arc farther than you expect.
Step-by-step: drain, replace, refill
1) Gather everything and open the hood
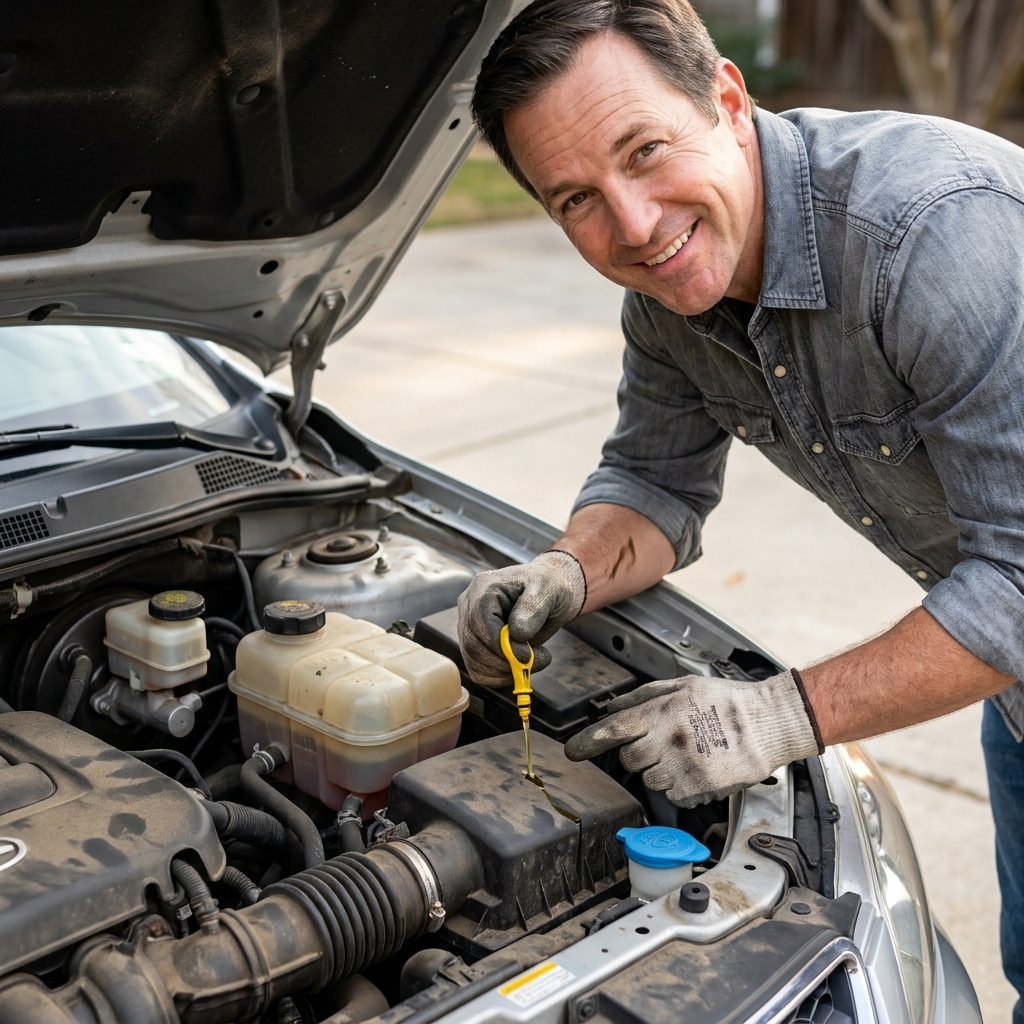
Pop the hood, remove the oil fill cap, and pull the dipstick up slightly. This helps the crankcase vent so the oil drains more smoothly.
2) Lift and secure the vehicle (if needed)
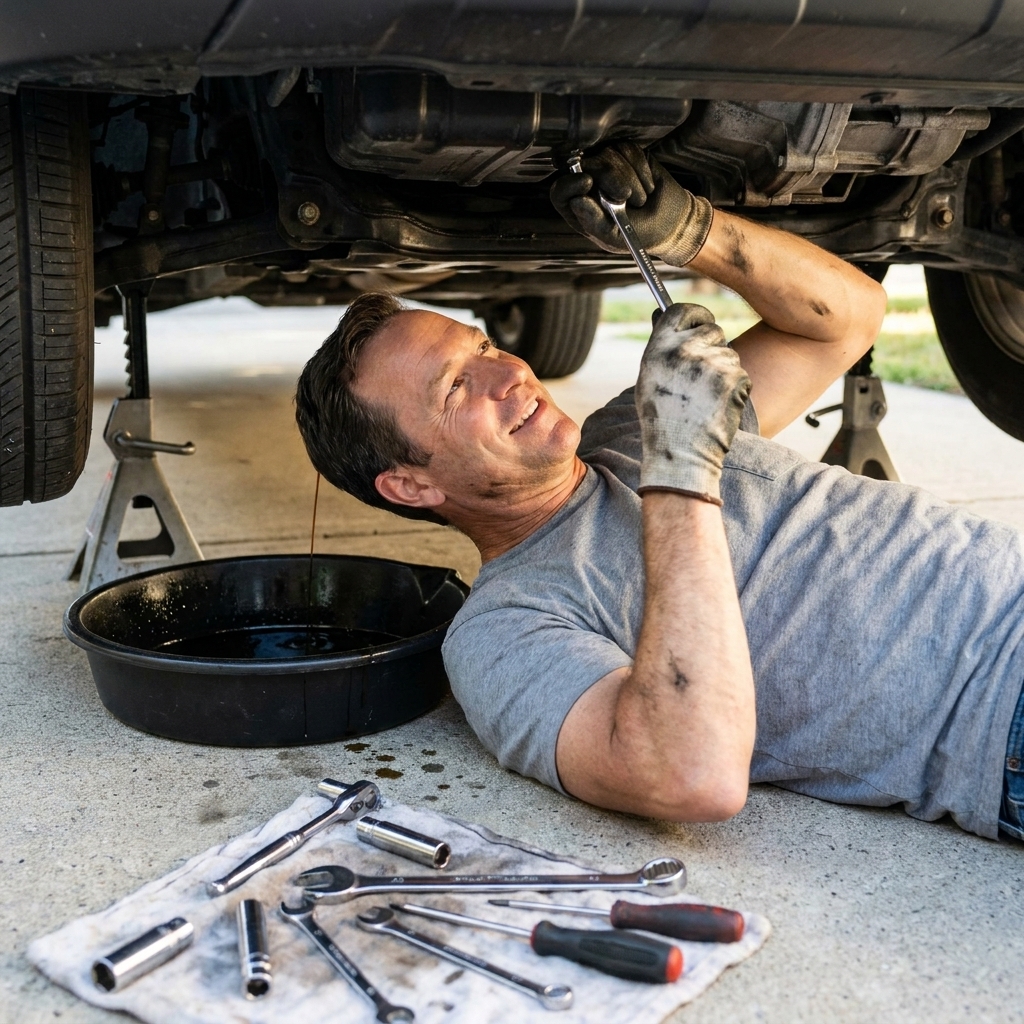
If you cannot comfortably reach the drain plug and filter, lift the front of the vehicle and set it on jack stands. Give the car a gentle shake. If it moves, fix your setup before you crawl under it.
3) Find the oil drain plug and oil filter
Identify the engine oil pan and drain plug. The oil pan is usually the lowest metal pan under the engine. The drain plug is at the bottom or low on the side.
Beginner warning: On some vehicles it is possible to remove the wrong plug, especially a transmission drain plug. Before you loosen anything, confirm you are on the engine oil pan, not the transmission, and that the bolt you are touching is the engine oil drain plug. When in doubt, check the owner’s manual, a service manual, or a trusted diagram for your exact engine.
The oil filter may be:
- Spin-on filter: a metal canister
- Cartridge filter: an element inside a plastic or metal housing with a cap
Take a second to spot anything you might bump, like plastic splash shields or underbody panels.
4) Remove splash shields (if your vehicle has them)
Some cars have a plastic undertray that blocks access. Remove only what you need, keep the fasteners organized, and reinstall the panel when you’re done. Those panels help with airflow, road spray, and noise, and leaving them off can create new rattles.
5) Position the drain pan
Set the drain pan slightly behind the drain plug, not directly under it. Oil often shoots out a bit before it drops straight down.
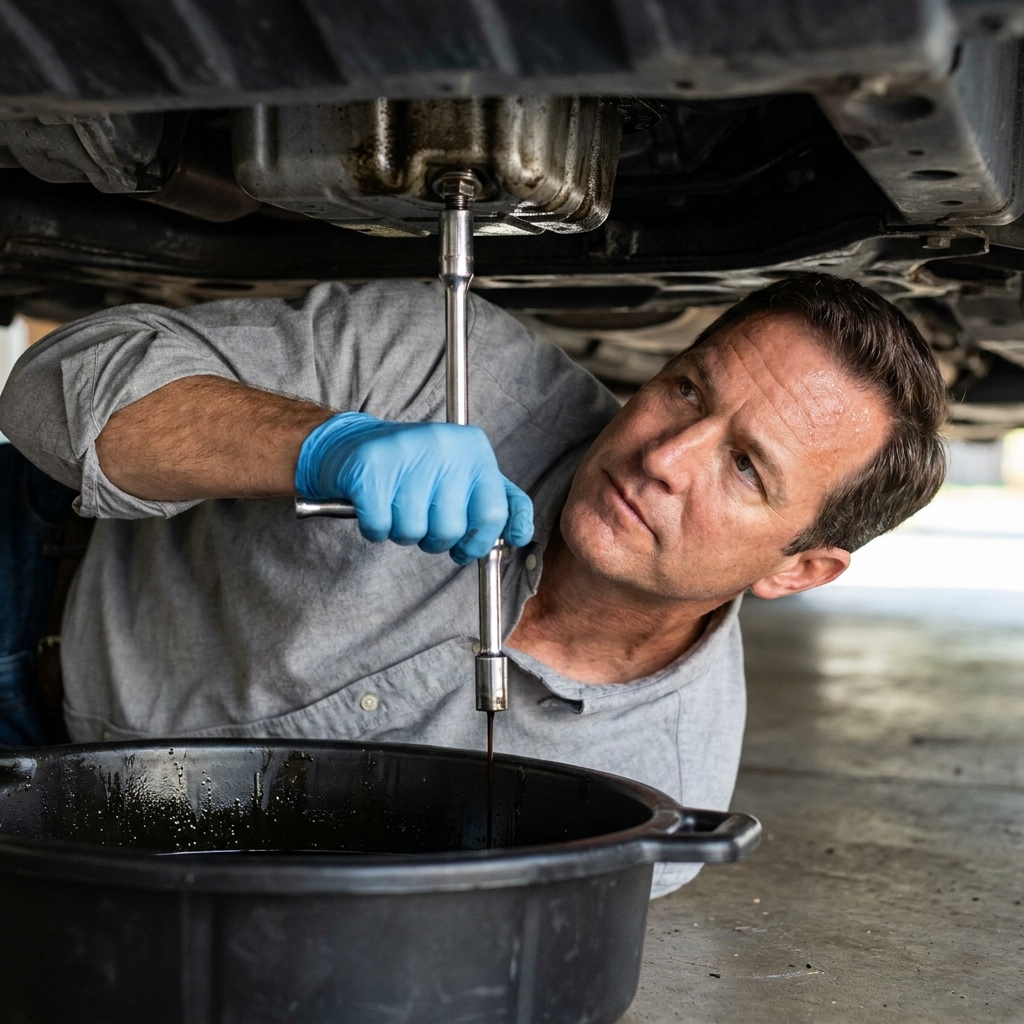
6) Remove the drain plug and let it drain
Loosen the drain plug carefully. As you finish unthreading it by hand, press inward gently to control the flow until you’re ready, then pull it away quickly.
Let the oil drain until it slows to an occasional drip. This usually takes 5 to 10 minutes.
7) Replace the crush washer (if your car uses one)
If there’s a crush washer on the drain plug, remove the old one and install a new one in the same orientation. A flattened, reused washer is a common cause of slow leaks.
8) Reinstall the drain plug
Thread the drain plug in by hand first. If it doesn’t thread easily, stop and try again. Cross-threading an oil pan is an expensive lesson.
Once the plug seats and the washer contacts the pan, tighten to the manufacturer’s torque spec. This is the safest move, so it is worth looking up the spec in the owner’s manual, a factory service manual, or a trusted repair database. If you truly cannot get a spec, tighten it gently and conservatively. Do not muscle it. The drain plug is not a lug nut.
9) Remove the old oil filter
Move the drain pan under the filter. Filters hold oil, and they will spill.
- Spin-on filter: Use an oil filter wrench if needed, then spin it off by hand.
- Cartridge filter: Use the correct socket or cap tool, then remove the housing cap and the old element.
Critical check: Make sure the old rubber gasket came off with the old spin-on filter. A double-gasket (old gasket stuck to the engine plus the new filter gasket) can dump your oil fast when you start the engine.
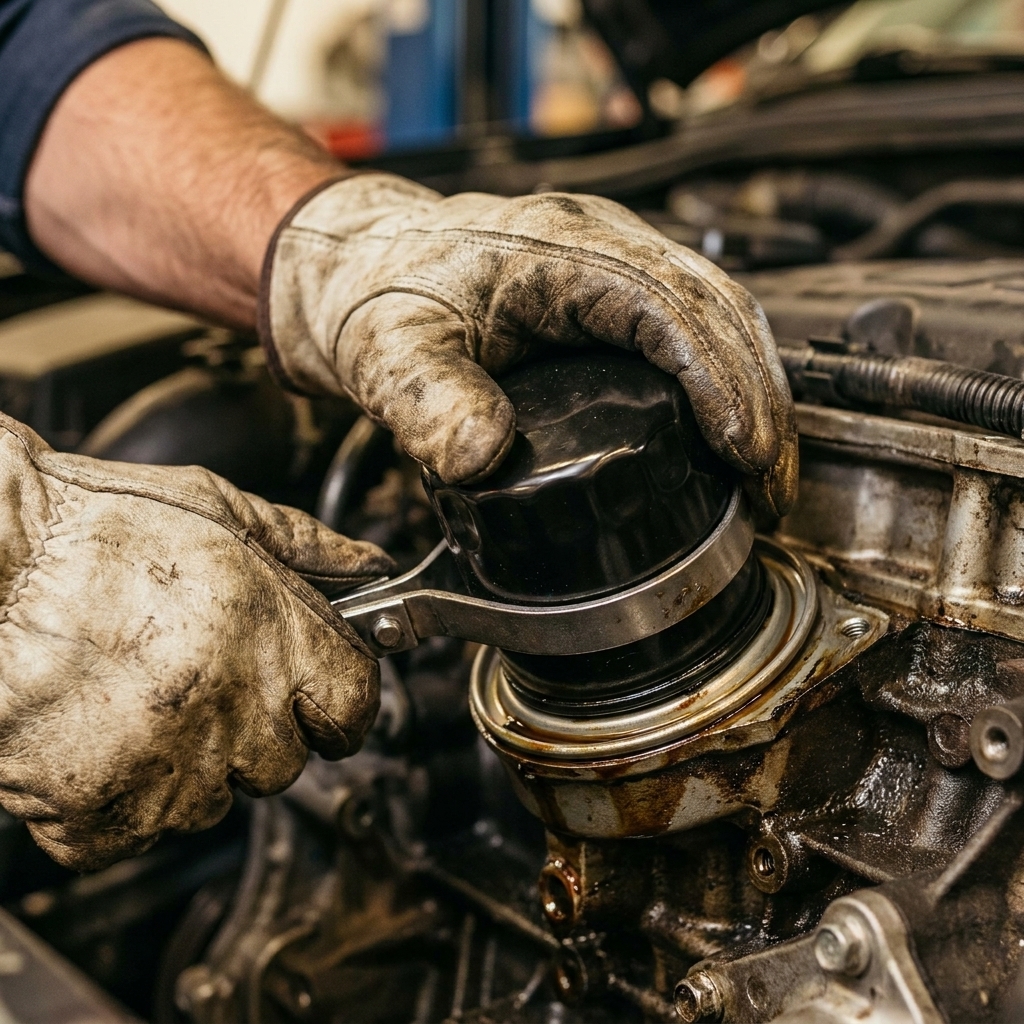
10) Prep and install the new filter
Spin-on filter: Put a thin film of fresh oil on the new filter’s rubber gasket. Then screw it on until the gasket contacts the mounting surface, and tighten per the filter instructions, commonly about 3/4 turn more by hand.
Cartridge filter: Replace the O-rings included with the new filter, lightly oil them, and install the new element. Tighten the housing cap to spec. Plastic housings are easy to crack if you go overboard.
11) Add fresh oil
Lower the car back to level ground if you lifted it. Insert a funnel and add about 80 to 90 percent of the engine’s stated capacity.
Reinstall the oil fill cap.
12) Start the engine and check for leaks
Start the engine and let it idle for 30 to 60 seconds. Watch underneath for leaks at:
- Drain plug
- Oil filter or filter housing
Shut the engine off and wait 5 minutes for oil to drain back into the pan.
13) Check the level on the dipstick and top off
Wipe the dipstick, reinsert fully, then check. Add oil a little at a time until you land between the marks, ideally near the top mark but not above it.
Overfilling can cause foaming and oil consumption issues. If you accidentally overfill by a lot, drain a bit out. Don’t ignore it.
Clean up and dispose of old oil
Pour the used oil into a clean, sealed container, like the empty oil jugs. Most auto parts stores and many municipal facilities accept used oil for recycling. Used oil is nasty stuff for the environment, so do not dump it, burn it, or toss it in the trash.
For the old filter, let it drain in the pan for a while, then bag it. Many stores and local programs also accept used filters, since they contain metal and trapped oil.
How often to change oil
Follow the owner’s manual and, if your car has one, the oil life monitor. Modern intervals vary a lot based on engine design and driving conditions.
- Often: 5,000 to 10,000 miles with full synthetic, depending on vehicle and use
- Sometimes shorter or longer: Some vehicles call for shorter intervals, especially under severe service. Others go longer. Your manual wins.
- Severe service: Short trips, heavy traffic, towing, extreme heat or cold, dusty roads often means shorter intervals
If your engine is known for oil consumption, checking the dipstick between changes is just smart ownership.
Common mistakes to avoid
- Using the wrong oil viscosity: Check the cap and manual. Do not guess.
- Removing the wrong drain plug: Confirm you are on the engine oil pan, not the transmission.
- Forgetting the crush washer: A $1 washer can prevent weeks of driveway stains.
- Overtightening the drain plug: Look up the torque spec and use a torque wrench if you can. Stripped threads or a cracked pan is a bad day.
- Double-gasketing the filter: Always confirm the old gasket came off.
- Not checking for leaks after startup: That one-minute check can save your engine.
- Measuring the dipstick too soon: Let oil settle for a few minutes first.
Quick FAQ
Do I need to pre-fill the oil filter?
Sometimes. If the filter mounts vertically and you can fill it without spilling, it can reduce dry-start time. On many setups it’s not practical, and it is not required for a safe oil change. The key is oiling the gasket, installing the correct filter, and not running the engine without oil.
What if I can’t get the oil filter off?
Use the right filter wrench and make sure you’re turning it the correct direction. If it’s truly stuck, a cup-style wrench that fits the end of the filter usually works better than a strap. Avoid hammering a screwdriver through the filter unless you’re out of options, because it makes a huge mess and can still fail.
Why is my drain plug dripping after the change?
Most commonly: reused crush washer, debris on the sealing surface, or the plug is under-torqued. Less commonly: damaged threads. Clean the area, confirm the washer, and tighten to spec.
Can I mix oil brands?
In a pinch, mixing brands is usually fine as long as the viscosity and specifications match. For routine maintenance, I prefer sticking to one oil type and spec to keep things consistent.
Final checklist
- Oil fill cap installed
- Dipstick fully seated
- No leaks at drain plug or filter
- Oil level correct on dipstick after a short wait
- Old oil and filter stored for proper recycling
- Maintenance reminder reset (procedure varies by vehicle, so check your manual)
Once you do this a couple times, it becomes as normal as making coffee. And it feels good knowing you handled it correctly, on your terms, without the sales pitch.