Brake fluid is one of those “out of sight, out of mind” car fluids, until the pedal goes soft or your ABS light decides to ruin your morning. The good news is that checking brake fluid is genuinely easy, topping off is simple when you do it correctly, and a full flush is totally doable in a home garage with patience and a clean setup.
I spent years watching people pay shop prices for what is basically careful pouring and methodical bleeding. Let’s walk through it the way I’d do it in my own driveway, coffee in hand, classic rock on, 10mm sockets where they belong.
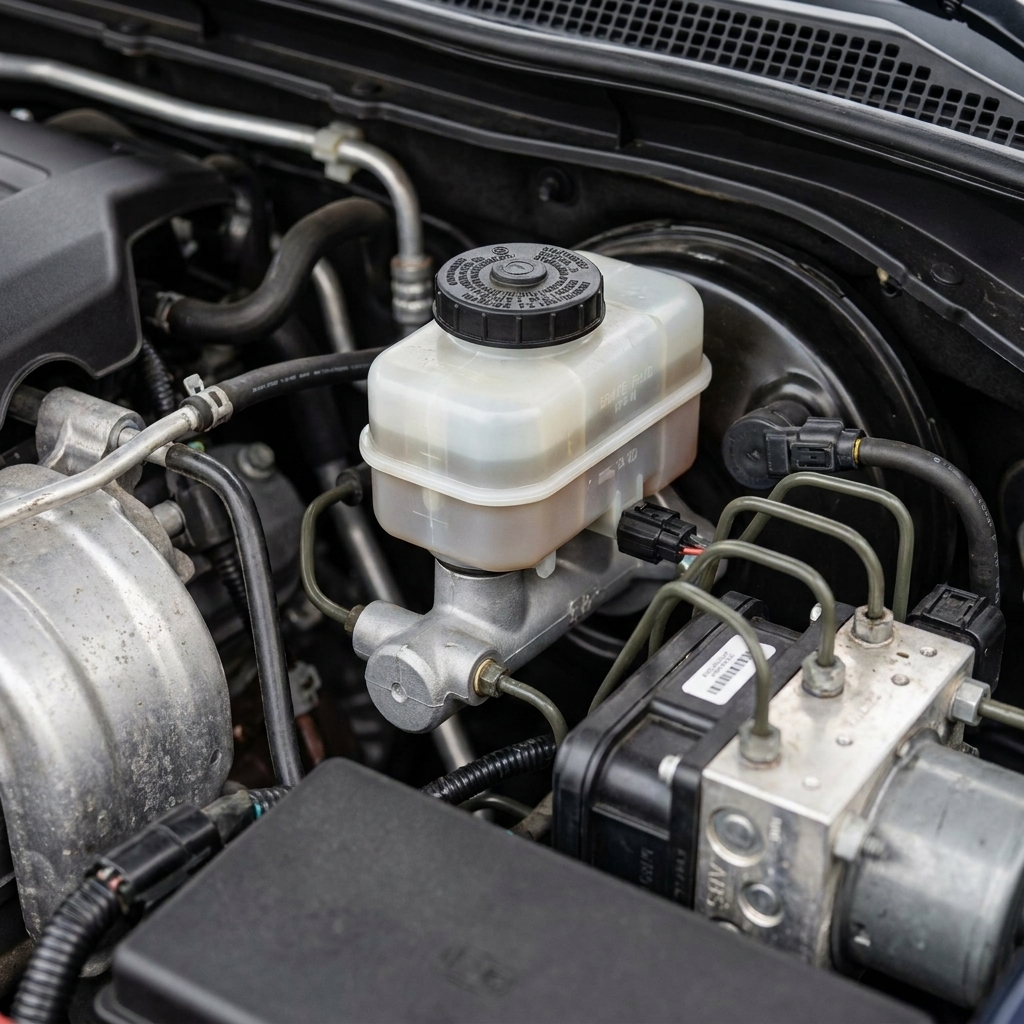
What brake fluid does
Brake fluid is the hydraulic link between your foot and your brake calipers or wheel cylinders. When you press the pedal, fluid pressure moves pistons, which clamp pads onto rotors (or shoes onto drums). For that to work, the fluid needs to be:
- Incompressible (so pedal force turns into braking force)
- Stable at high temperatures (brakes get hot, especially on hills and in stop-and-go traffic)
- Free of air and excessive moisture
Here’s the villain: brake fluid absorbs moisture from the air over time (it is hygroscopic). Water lowers the boiling point of the fluid. Boil the fluid and you get vapor bubbles. Vapor compresses. That’s how you end up with a scary soft pedal right when you need firm braking.
DOT 3 vs DOT 4 vs DOT 5
- DOT 3: Common in many older and economy vehicles. Good performance, generally lower boiling point than DOT 4.
- DOT 4: Common in newer vehicles and anything that’s harder on brakes. Higher boiling point, often a smart upgrade if your manufacturer allows it.
- DOT 5: Silicone-based. Not hygroscopic, but it is not compatible with DOT 3/4/5.1 glycol systems and is usually a bad move for ABS-equipped cars. Practical reasons include different compressibility and aeration behavior, moisture that can pool instead of mixing, and ABS modulators that are typically designed around glycol fluids. Avoid unless your vehicle specifically calls for DOT 5.
- DOT 5.1: Glycol-based like DOT 3/4, higher boiling point. Can be compatible in some systems, but always follow the cap and the manual.
DOT 5 vs DOT 5.1 warning: the names look similar, but the fluids are not. DOT 5 is silicone. DOT 5.1 is glycol.
Rule: Use what’s printed on the reservoir cap and in your owner’s manual. Brake systems are not the place to freelance.
Tools and supplies
- Correct brake fluid (new, sealed bottle)
- Nitrile gloves and safety glasses
- Paper towels or shop towels
- Turkey baster or fluid syringe (dedicated to brake fluid only)
- Brake cleaner (for cleanup, not for “washing” parts inside the reservoir)
- 6-point box-end wrench or dedicated bleeder wrench (often 8mm to 11mm)
- Clear vinyl hose that fits bleeder screws snugly
- Catch bottle or jar (a dedicated bleeder bottle is nice)
- Jack, jack stands, wheel chocks
- Torque wrench (for wheels)
- Brake fluid test strips (moisture test)
Brake fluid safety note: It eats paint. If you spill, blot first, then flush with water. Do not “wipe and pray.”
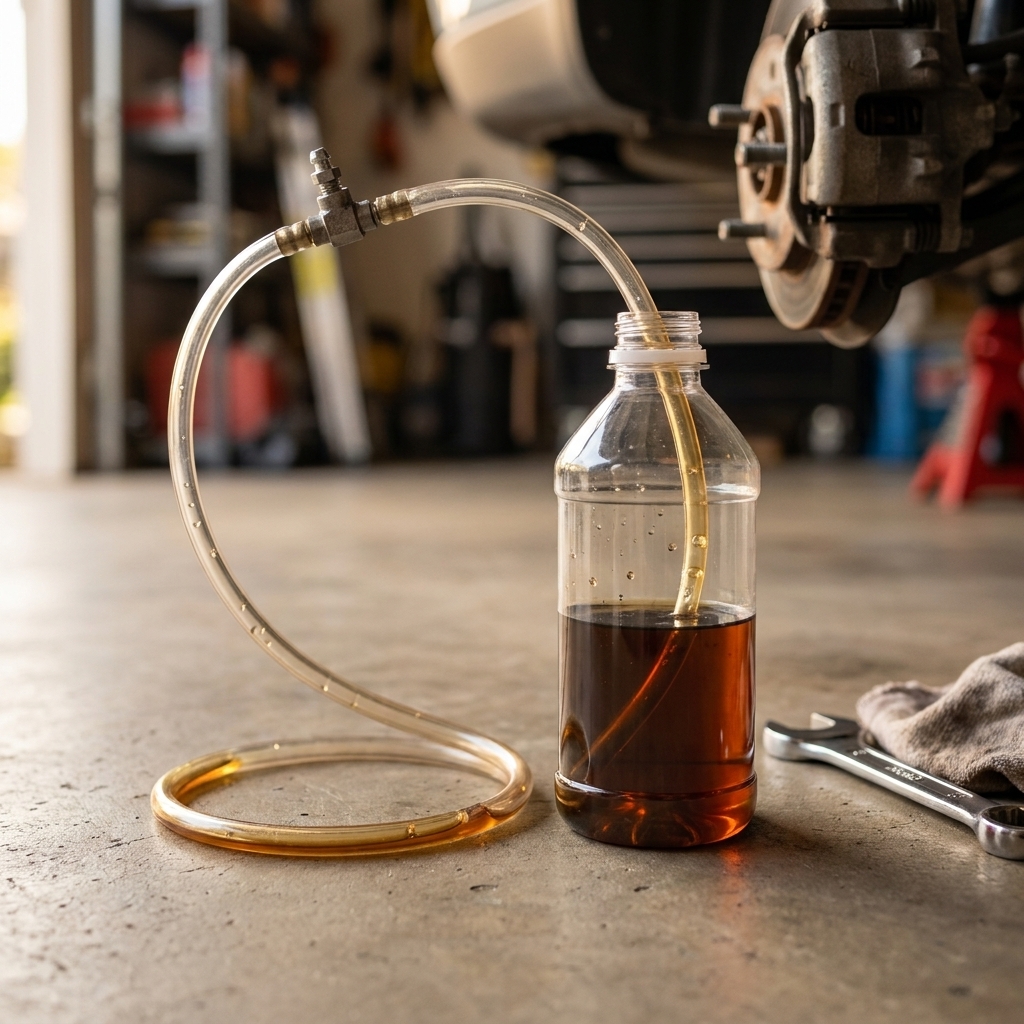
Check the fluid level
Step 1: Park level
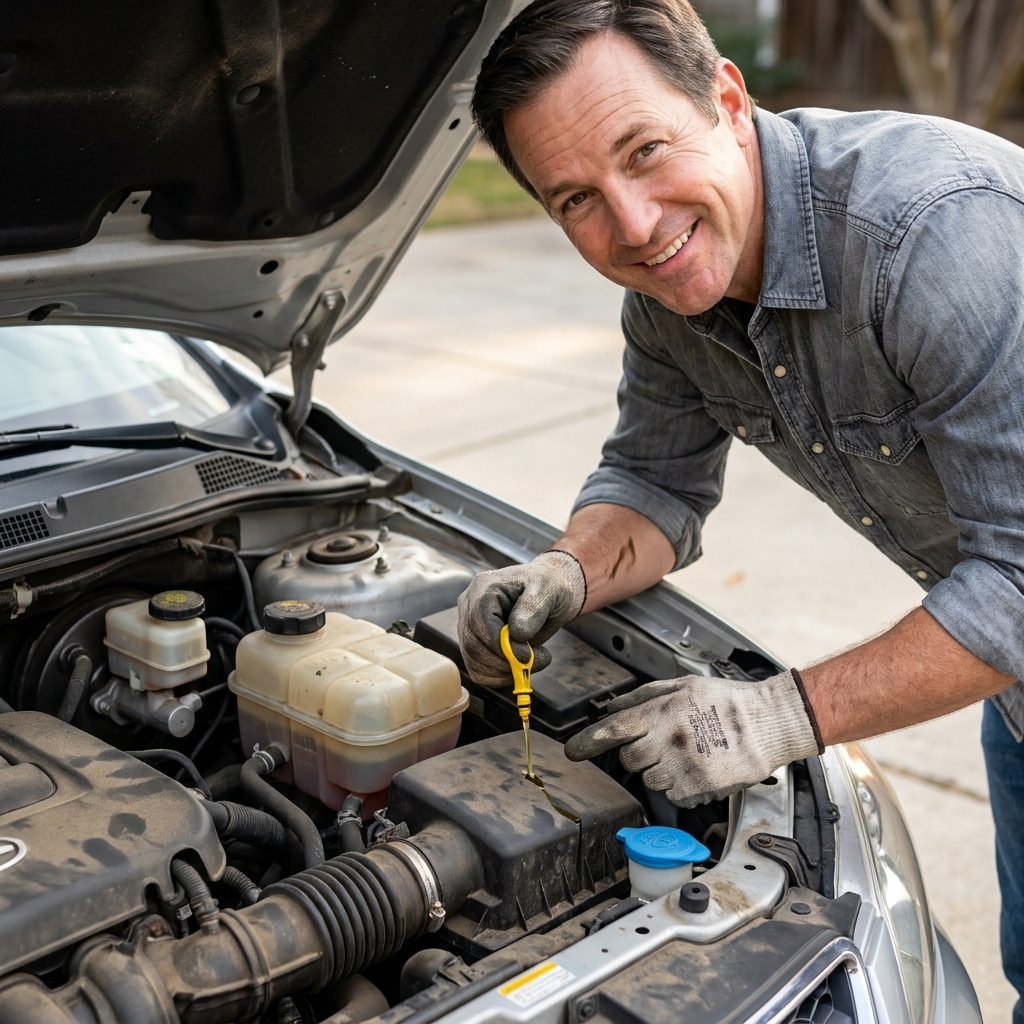
Park on a level surface, engine off. Pop the hood and find the brake master cylinder reservoir (usually on the driver side firewall area).
Step 2: Read MIN and MAX
Most reservoirs are translucent with molded marks. Fluid should sit between MIN and MAX. If it is below MIN, treat it as a warning sign, not just a low-fluid situation.
Step 3: Know why it drops
In many cars, brake fluid slowly drops as brake pads wear. The caliper pistons extend farther, and more fluid stays out in the calipers. So topping off without thinking can be a mistake if you are due for pads soon.
Quick reality check: If your pads are worn and you top the reservoir to MAX, then later install new pads (which push the pistons back), the reservoir can overflow. That is a mess at best and paint damage at worst.
Low fluid is a red flag
- You have to add fluid more than once
- Fluid is suddenly low
- You see wetness at a wheel, brake line, master cylinder, or under the car
- The pedal feels spongy or sinks
If any of those are true, stop and inspect for leaks before you keep driving.
Check fluid condition
People love the “if it’s dark, change it” rule. It is not useless, but it is not the whole story. Fluid can look okay and still be moisture-contaminated.
Quick visual check
- Healthy-ish: clear to light amber
- Questionable: dark brown
- Bad signs: black fluid, visible debris, or any oily sheen
If the fluid looks like used coffee and smells burnt, it is begging for a flush.
Test strips
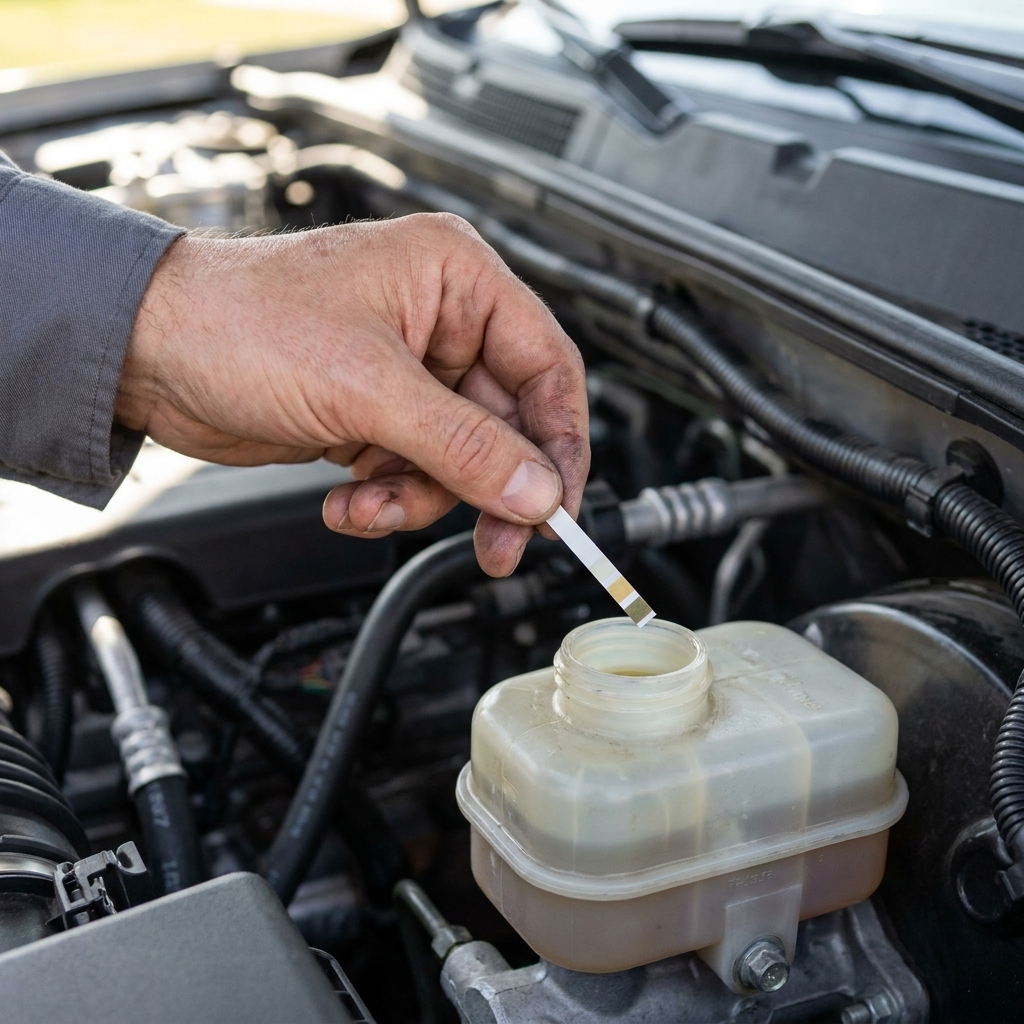
Brake fluid test strips are cheap, quick, and more objective than eyeballing color. Just remember they are an estimate, and different brands read a little differently. Many shops use electronic testers for the same reason: moisture is real even when it is invisible.
A practical driveway rule of thumb:
- 0 to 1% moisture: generally fine
- About 2% moisture: plan a flush soon, especially if you tow, drive mountains, or do lots of stop-and-go
- About 3%+ moisture: flush now
Even before boiling becomes the headline problem, moisture also raises corrosion risk inside expensive parts like calipers, ABS valves, and the master cylinder.
How to use test strips
- Clean the reservoir cap area so dirt cannot fall in.
- Open the cap carefully.
- Dip the strip into the reservoir fluid for the time specified on the package (often 1 second).
- Wait the specified time for the color change (often 30 to 60 seconds).
- Compare to the chart that came with the strips.
Important: Do not reuse strips, and do not dip them into a catch bottle of old fluid. Test the reservoir fluid, then decide your next move.
Top off brake fluid
Topping off is fine when the fluid is just slightly below MAX and you have confirmed there are no leaks and your pads are not on their last legs.
Step-by-step
- Verify the correct fluid type on the reservoir cap.
- Clean first: wipe the reservoir and cap so no grit falls in.
- Open carefully: keep the rubber diaphragm (if equipped) clean.
- Add small amounts using a clean funnel or careful pour straight from the bottle.
- Stop at MAX, not above it.
- Close the cap tightly and wipe any drips.
Pro tip from a guy who hates waste: Buy the smallest bottle you need. Once opened, brake fluid starts absorbing moisture. A half-used bottle rolling around your shelf for two years is basically a future problem.
When to flush
Some manufacturers specify a time interval. A lot of real-world guidance lands around 2 to 3 years, but it is not universal. Your owner’s manual gets the final vote, and a moisture test can justify doing it sooner.
Plan a flush if:
- Your test strip reads about 3% moisture or higher
- The pedal is spongy and you have ruled out other issues
- You replaced a caliper, hose, master cylinder, ABS component, or opened the hydraulic system
- The fluid is very dark or contaminated
- You regularly drive in mountains, tow, or do track days
DIY flush methods
A “flush” means pushing old fluid out and replacing it with fresh fluid throughout the system. At home, the two most realistic are:
- Two-person pedal bleed (classic, inexpensive, effective when done carefully)
- Pressure bleeder (my favorite for consistency, but costs more)
Quick safety reality check: Brakes are not a “close enough” system. If you are not confident in your setup, or you cannot get a firm pedal afterward, stop and get help from a pro.
Before we start: if your vehicle has specific ABS or electronic stability control bleeding procedures that require a scan tool, follow the factory service info. Many routine flushes do not require ABS cycling, but some vehicles do after certain repairs. Some also require an electronic brake service mode if the hydraulic unit or certain components were opened.
Prep first
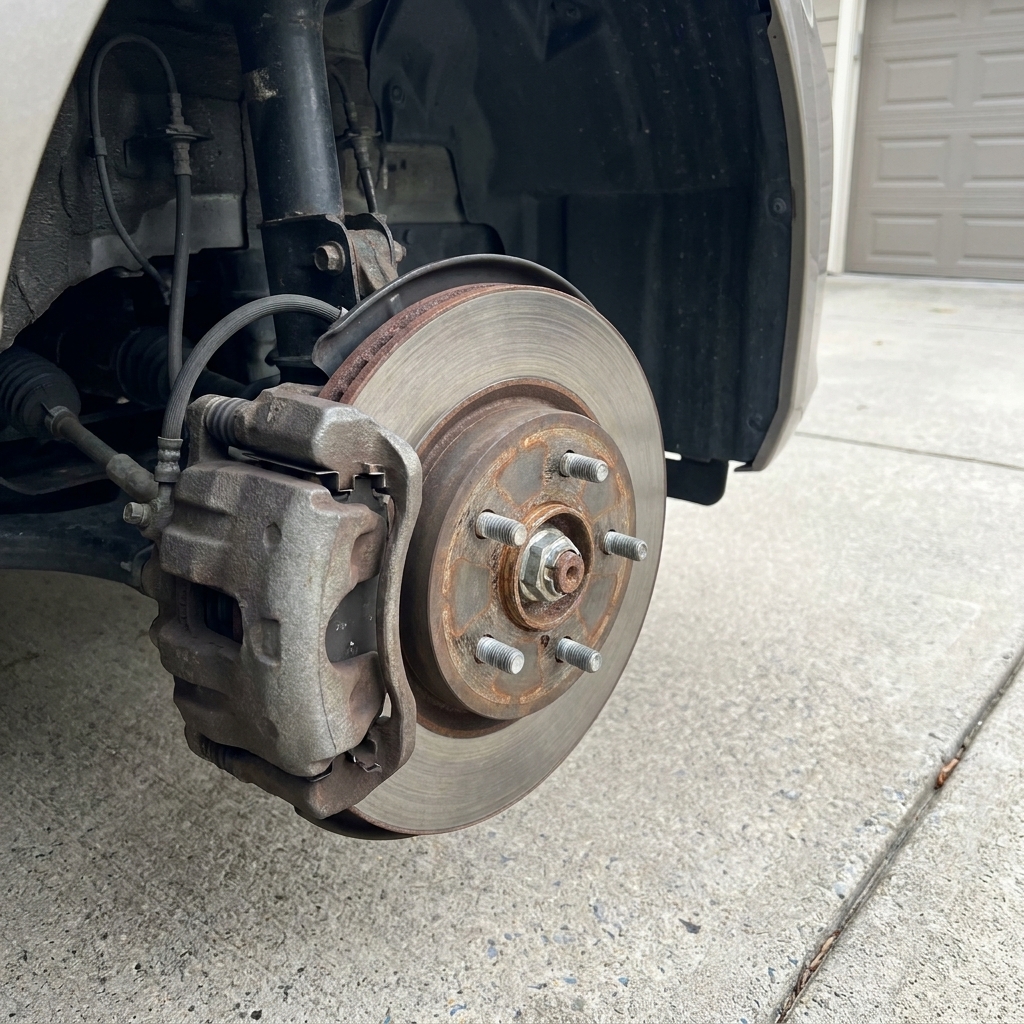
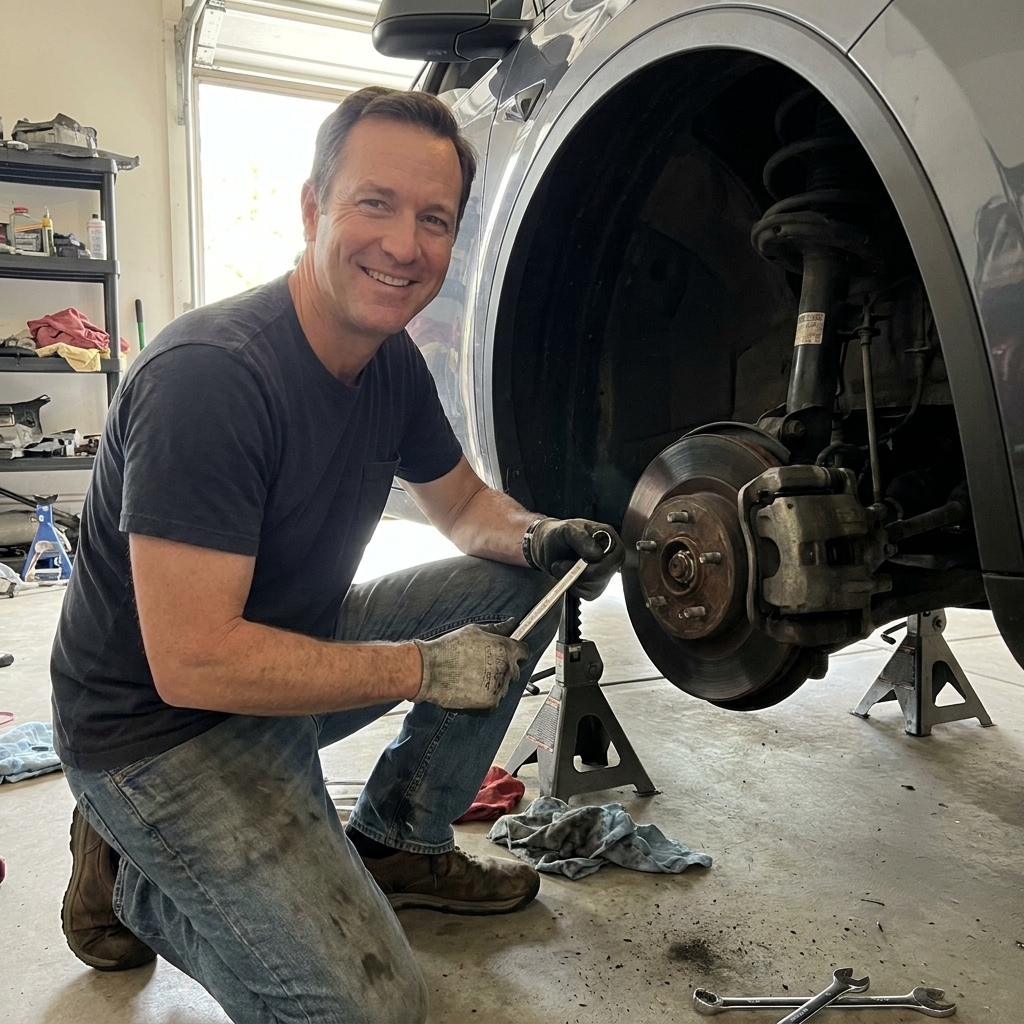
- Chock wheels, use jack stands, and remove wheels for access.
- Locate all four bleeder screws and spray penetrating oil if they look crusty.
- Clean each bleeder area with brake cleaner and a brush so you do not drag dirt into the screw seat.
- Suck old fluid from the reservoir with a turkey baster, but do not let the level drop so low that you uncover the master cylinder feed ports. Leave some fluid so you do not introduce air.
- Refill reservoir with fresh fluid to MAX.
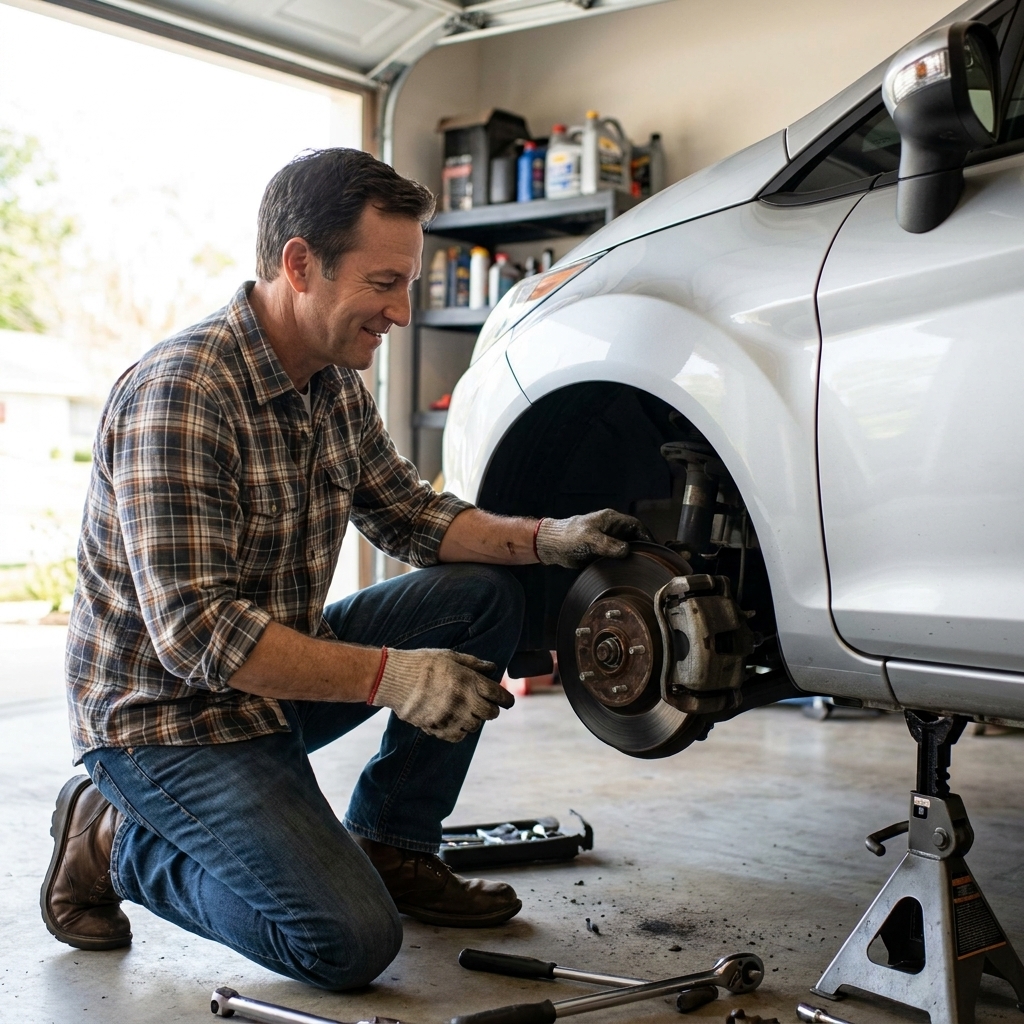
Method 1: Two-person bleed
This is the method most DIYers can do today with basic tools. One person operates the pedal, the other works the bleeder.
Bleeding order
Many vehicles use the “farthest wheel first” pattern: right rear, left rear, right front, left front. Some vehicles vary. If you can find the factory order, use it.
Step-by-step
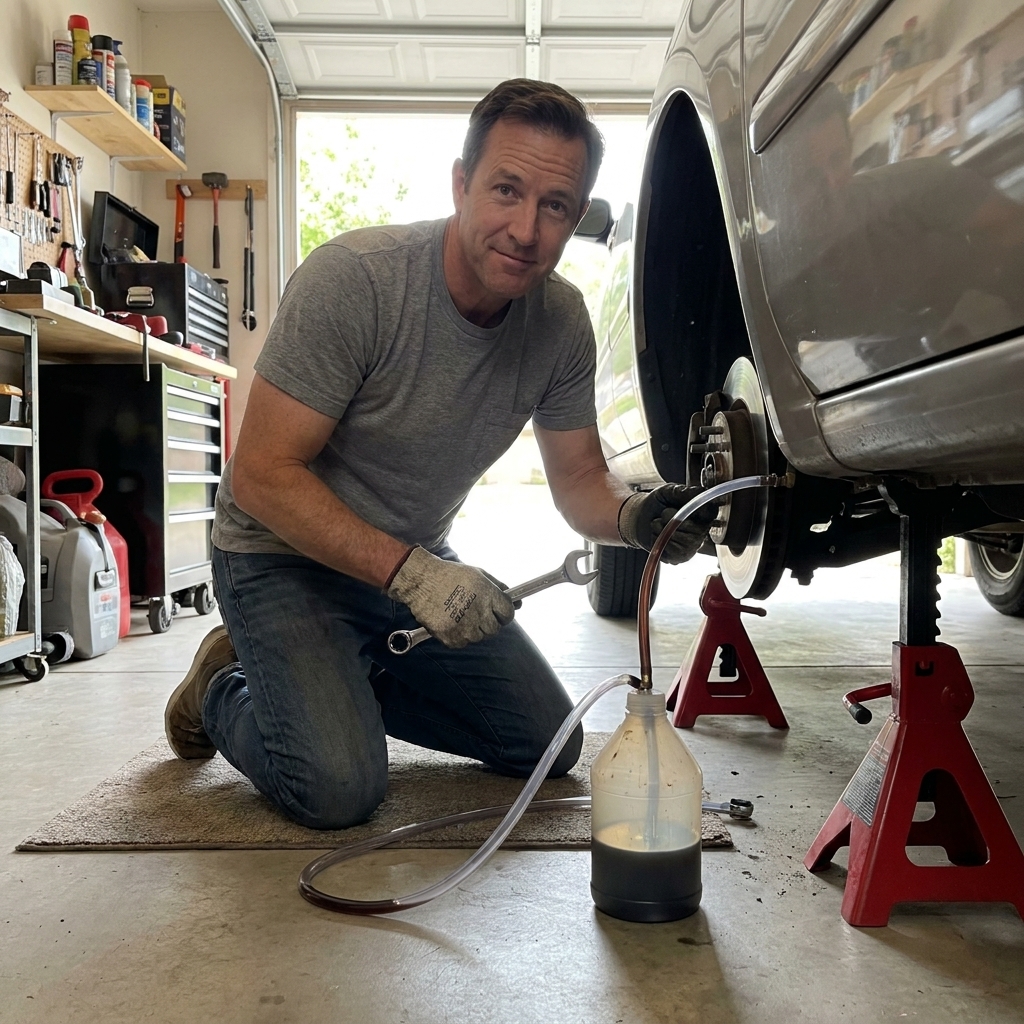
- Push a clear hose onto the bleeder screw and route it into a catch bottle. Keep the hose end submerged in a little old brake fluid in the bottle to reduce backflow.
- Have your helper slowly press the brake pedal and hold.
- Crack the bleeder screw about a quarter turn. Fluid and air will flow.
- When flow slows, close the bleeder screw before your helper releases the pedal.
- Tell helper to release pedal slowly.
- Repeat until the fluid coming out looks clean and bubble-free.
- Top off the reservoir constantly. Do not let it run low. If you suck air into the master cylinder, your day gets longer.
- Move to the next wheel and repeat.
How much fluid?
About 1 quart is common for many cars, but it varies. Big trucks and some systems take more. The smart move is to have 2 quarts on hand so you do not run out mid-flush. The goal is clean, fresh-looking fluid at each corner, not hitting an exact number.
Common mistakes
- Pumping fast: aerates fluid and can damage an old master cylinder by pushing the piston into unused, rough bore area.
- Letting the reservoir run low: introduces air, forces extra bleeding.
- Rounding the bleeder screw: use the correct wrench size and seat it fully.
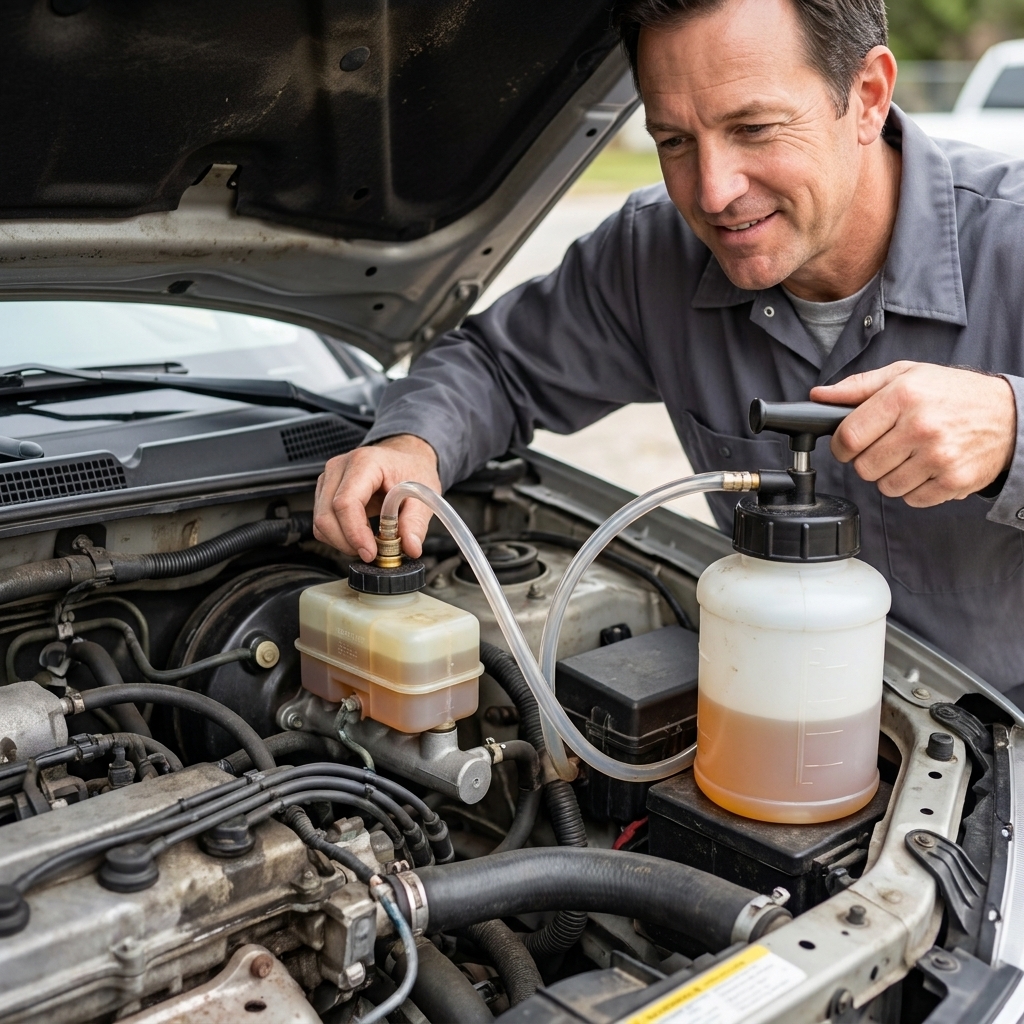
Method 2: Pressure bleeder
A pressure bleeder attaches at the master cylinder reservoir and gently pressurizes the system, pushing fresh fluid through each bleeder screw. You still go wheel-to-wheel, but you do not need a helper riding the pedal.
High-level steps
- Fill the pressure bleeder with fresh fluid (if your model holds fluid) or set it up according to its design.
- Attach the correct reservoir adapter and verify a tight seal.
- Pressurize to the bleeder’s recommended range (often around 10 to 20 psi, but follow your tool instructions).
- Start at the first wheel in the correct order, open the bleeder, and let fluid run until clear.
- Close bleeder, move to the next wheel.
- When finished, depressurize before removing the adapter to avoid a mess.
Why I like it: steady flow, fewer bubbles, and less chance of master cylinder damage from aggressive pedal pumping.
Finishing steps
- Final reservoir level: set to MAX (or just below) with the car level.
- Pedal check: engine off, pedal should feel firm. A tiny amount of movement can be normal, but if it sinks noticeably or feels mushy, investigate. Then start the engine and confirm normal booster assist feel.
- Leak check: inspect each bleeder screw and hose connection for seepage.
- Clean up: rinse any spills with water, then wipe. Brake cleaner is great for oily grime but water is your friend for brake fluid on paint.
- Wheel torque: torque lug nuts to spec.
- Test drive: low-speed stops first in a safe area, then progressively normal driving.
If the pedal still feels spongy, you likely still have air. Re-bleed, confirm tight bleeders, and make sure the reservoir never ran low during the process. If you opened ABS components and cannot get the pedal back, look up your vehicle’s scan-tool bleed procedure.
Dispose of old fluid
Do not pour it down the drain or onto the ground. Put old brake fluid in a sealed, clearly marked container and take it to a local hazardous waste facility or an auto parts store that accepts waste fluids. Keep it separate from used oil unless your local facility explicitly allows mixing.
Troubleshooting
Bleeder screw will not loosen
- Use penetrating oil and let it soak.
- Use a 6-point wrench that fits correctly.
- If it feels like it will snap, stop. Snapped bleeders turn a fluid flush into a caliper replacement.
Fluid on paint
- Blot, then flush with lots of water.
- Do not rub aggressively. You are trying to dilute and remove, not grind it in.
Reservoir looks clean but moisture is high
Believe the moisture test. Moisture is invisible until it becomes a problem.
Can I just suck the reservoir out and refill?
That is a partial exchange. Better than nothing, but it does not replace the fluid in the lines, ABS unit, calipers, and wheel cylinders. If you want the safety benefit, bleed at the wheels.
Brake fluid FAQ
Can I mix DOT 3 and DOT 4?
DOT 3 and DOT 4 are both glycol-based and are generally mix-compatible in the sense that they will not turn into sludge. But mixing is not ideal because the final boiling point and viscosity depend on the blend, and you are guessing instead of following a spec. Best practice is to use the fluid type specified for your vehicle. If you are switching types, do a full flush.
How often should I flush brake fluid?
If your manual specifies an interval, follow it. If it does not, many drivers do well with a flush about every 2 to 3 years, or sooner if moisture testing indicates it.
What if I used the wrong brake fluid?
Best case, reduced performance. Worst case, seal damage and expensive hydraulic component failure. If you suspect the wrong fluid was added, do not gamble. Plan a full flush and consult the service info for your vehicle.
Do I need to bleed ABS separately?
For many routine flushes, no. But after certain repairs or if air enters the ABS module, some vehicles require a scan tool procedure to cycle ABS valves. If you cannot get a firm pedal after normal bleeding, check your vehicle-specific process.
My garage rule
If there is one takeaway: brake fluid is maintenance, not a lifetime fill. Check the level, test the moisture, and flush it before it turns into a soft pedal at the worst possible time. Take it slow, keep everything clean, and never let the reservoir run dry. You do that, and this job becomes one of the most satisfying “I can’t believe I used to pay for that” wins in DIY car care.