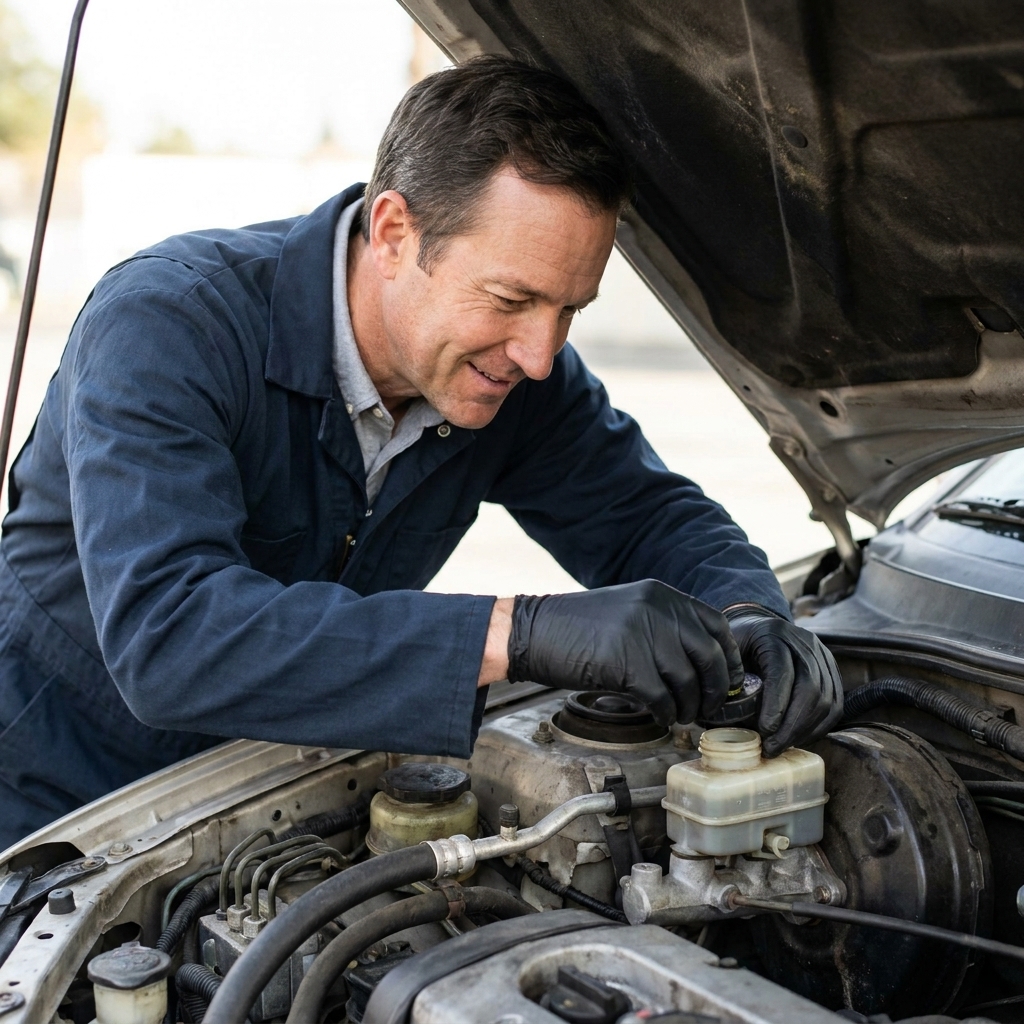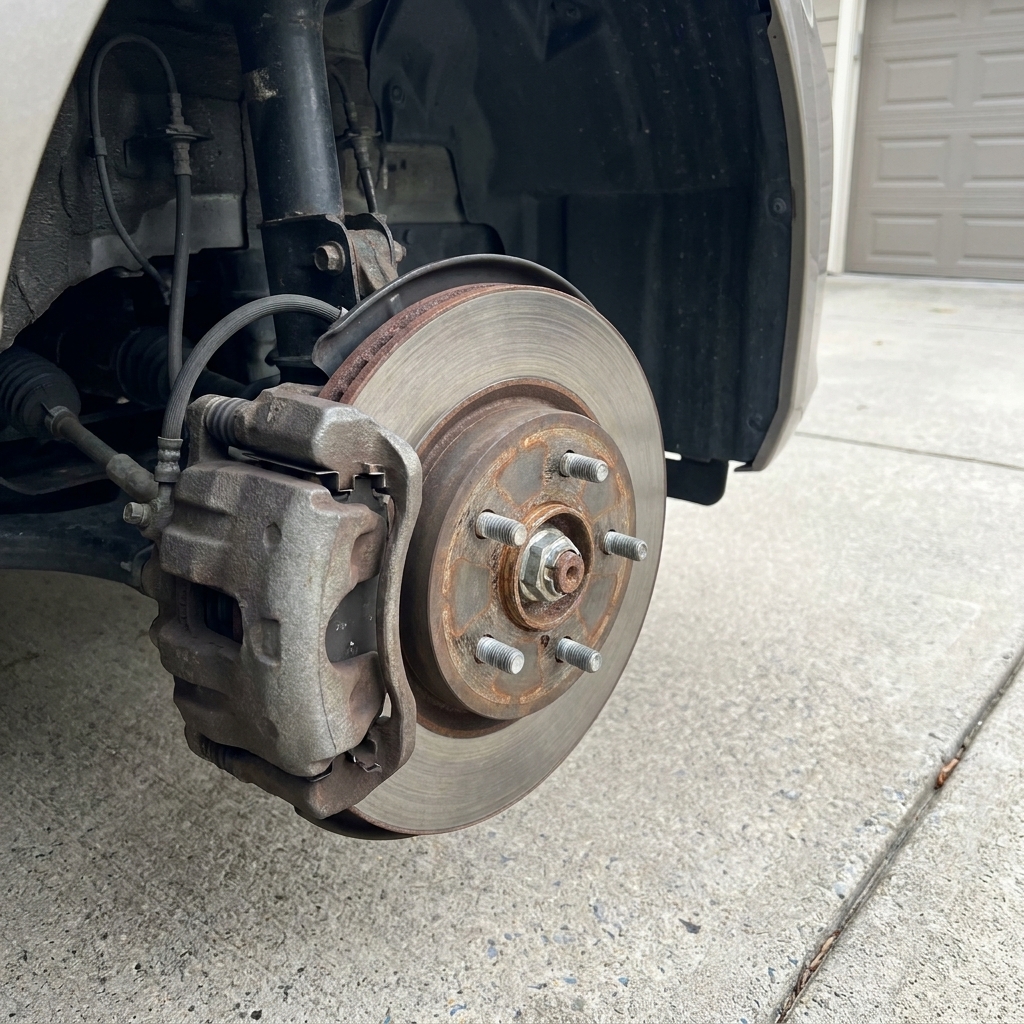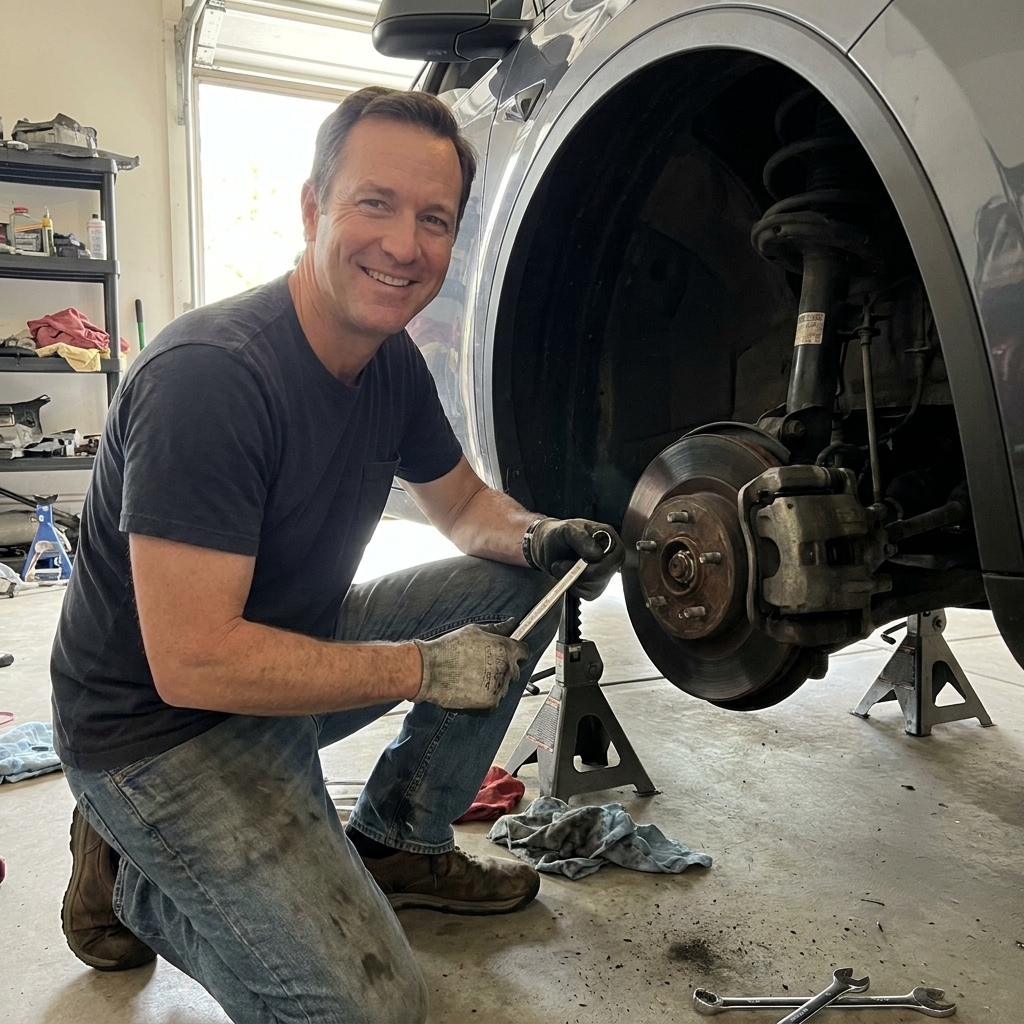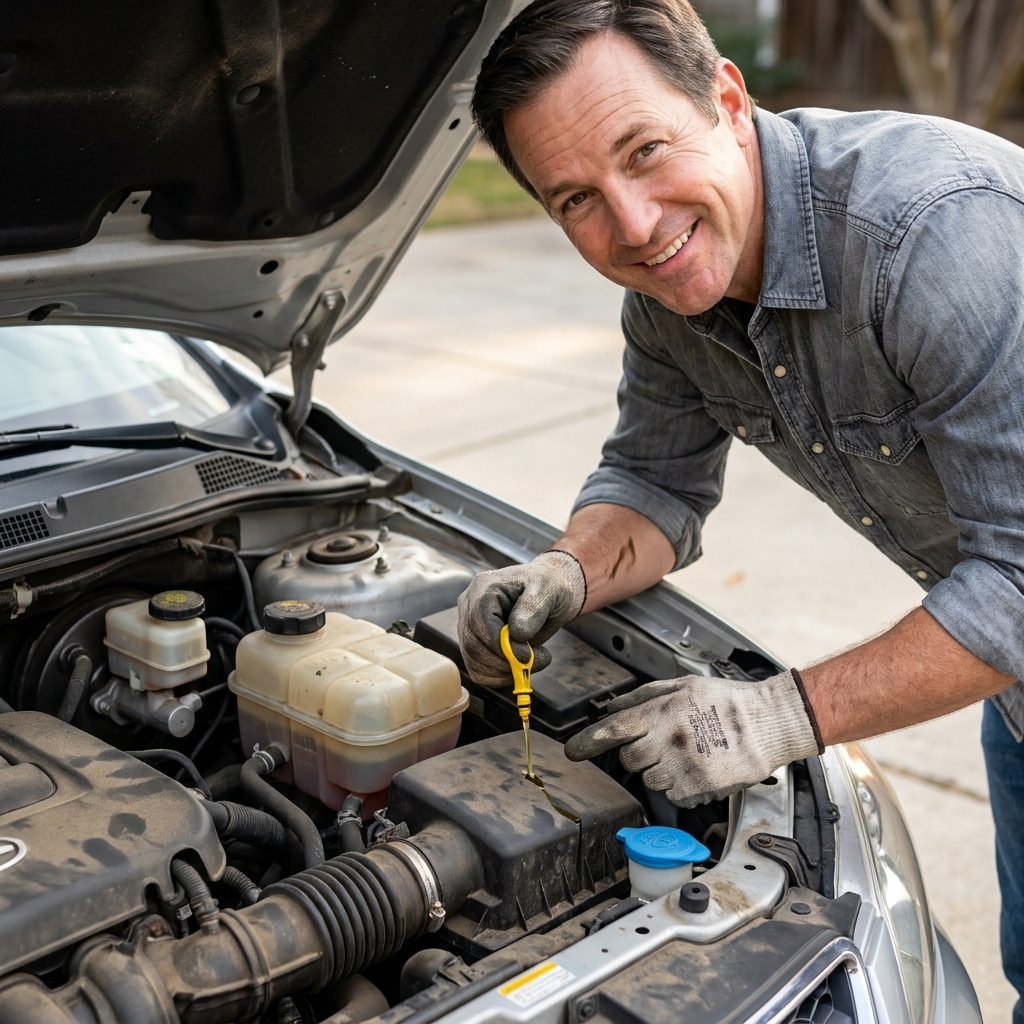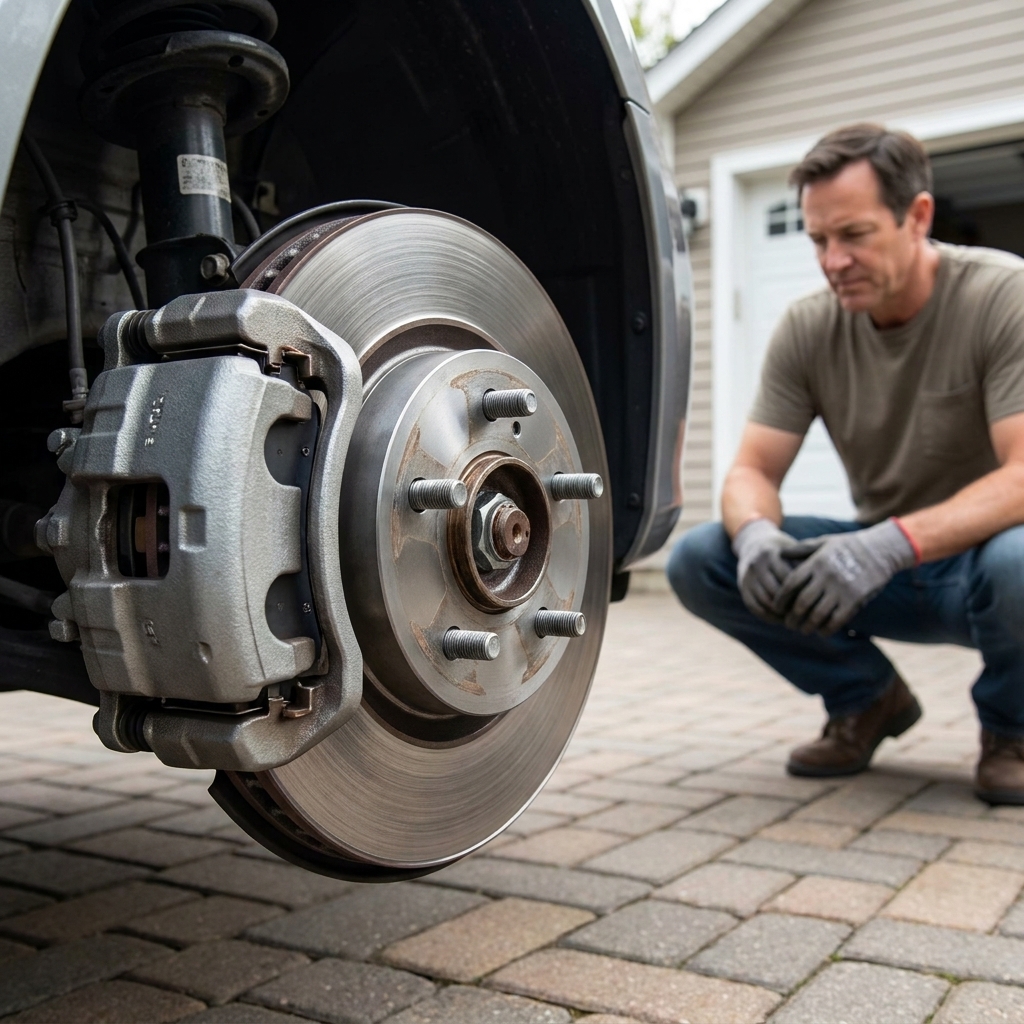
If your brake pedal feels spongy, sinks farther than it used to, or you just replaced calipers, hoses, or fluid, you probably have air trapped in the hydraulic system. Air compresses. Brake fluid is effectively incompressible compared with air. That one fact is why a tiny bubble can turn a confident pedal into a scary one.
The good news is you do not need a buddy in the driver’s seat to fix it. With the right setup and a methodical approach, you can bleed your brakes by yourself and get that firm, predictable pedal back.
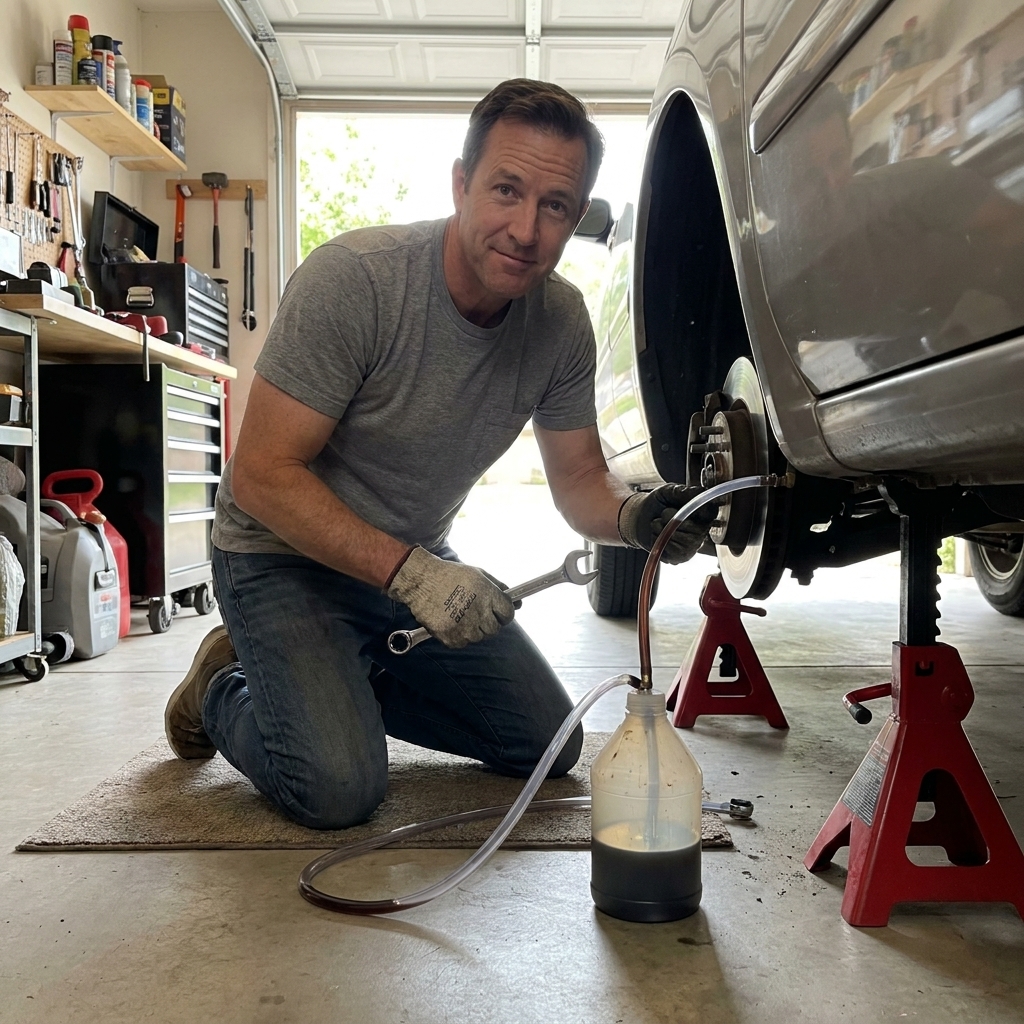
Before you start: safety and the one rule you cannot break
I’m going to be blunt because this is brakes. If you are not 100% sure about any step, stop and get help from someone experienced or a reputable shop. Mistakes here can cost more than money.
Brake fluid basics
- Use the correct fluid (DOT 3, DOT 4, DOT 5.1, etc.) as specified on the reservoir cap or owner’s manual. Do not guess.
- Know what DOT 5 means. DOT 5 is silicone-based and generally should not be mixed with DOT 3, DOT 4, or DOT 5.1 (which are glycol-based). Most modern cars do not use DOT 5. If you are not absolutely sure your system calls for DOT 5, do not use it.
- Protect paint. Brake fluid eats paint. Cover fenders with an old towel and flush spills quickly with plenty of water.
- Do not let the master cylinder run dry. This is the golden rule. If the reservoir empties, you can pull air into the master cylinder and ABS unit and turn a simple job into a headache.
Lift safely
- Work on a flat surface.
- Chock the wheels.
- Use jack stands, not just a jack.
- Keep your keys out of the ignition unless the procedure calls for them.
Tools and supplies
You can bleed brakes solo with a basic hose and bottle, or you can make life easier with a dedicated one-person tool. Here’s what I keep within arm’s reach.
Must-haves
- Correct brake fluid (plan on about 1 to 2 quarts for a full flush on many vehicles, but capacity varies a lot, so check your specs and buy extra)
- Box-end wrench for bleeder screws (common sizes: 8mm, 10mm)
- Clear vinyl tubing that fits snugly on the bleeder nipple
- Catch bottle (a clean jar works) and a way to keep the hose submerged in fluid
- Penetrating oil for crusty bleeders
- Gloves, eye protection, rags
Nice-to-haves (highly recommended)
- One-person bleeder bottle with a check valve
- Handheld vacuum bleeder (Mityvac-style)
- Torque wrench for wheel lug nuts and caliper hardware if you touched it
- Brake bleeder wrench (small flare-style) to reduce rounding risk
- Turkey baster or fluid syringe to remove old fluid from the reservoir during a flush
Quick reservoir tip: If you are flushing old fluid, suck most of the dark fluid out of the reservoir first (do not uncover ports or run it empty), refill with fresh fluid, then start bleeding. Keep the reservoir cap diaphragm and area around the cap clean so you are not feeding dirt into the system.
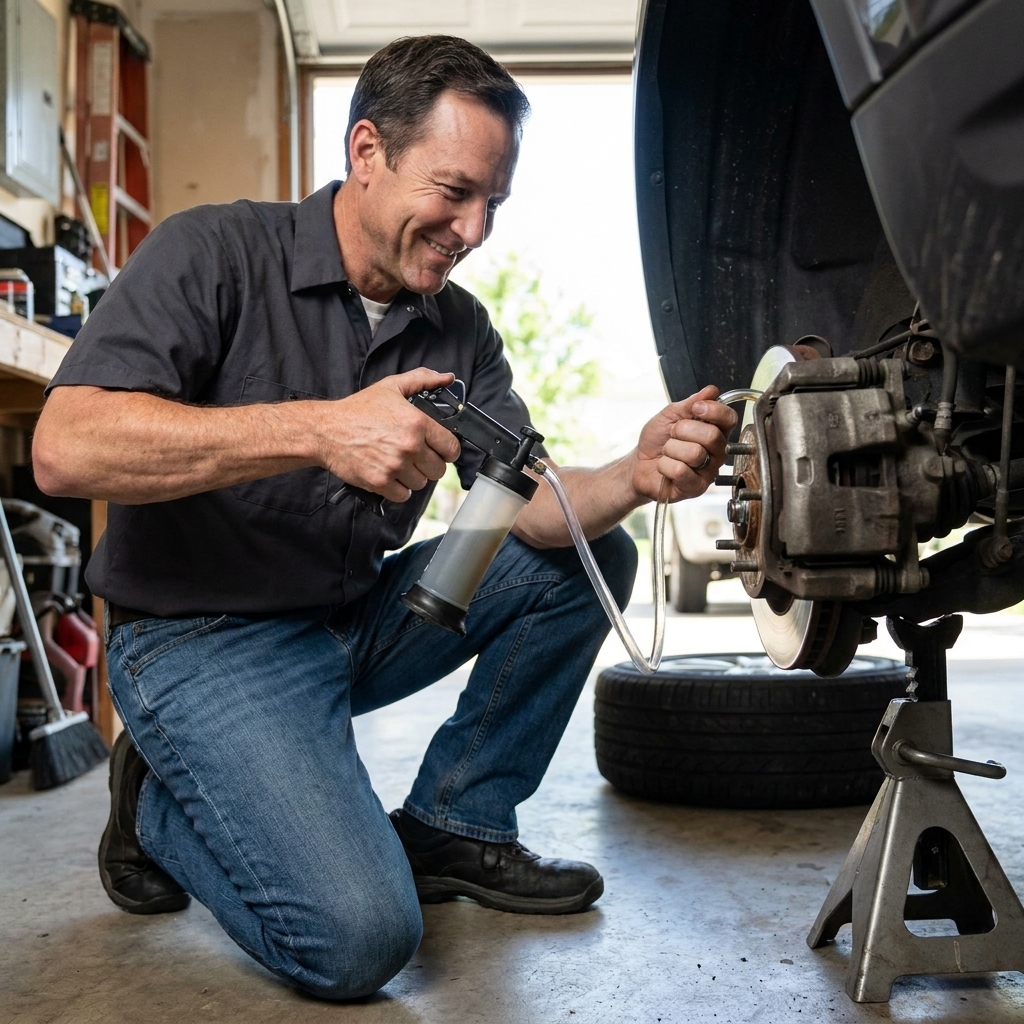
Which wheel do you start with?
Many vehicles bleed from the wheel farthest from the master cylinder to the closest. That is a common rule of thumb, but it is not the rule on every car. Some brake systems use diagonal-split circuits where hydraulic design matters more than physical distance.
Best practice: follow factory service information or a trusted repair manual for your exact year, make, and model.
If you cannot access a service manual, the common sequence on many left-hand-drive vehicles is:
- Right rear
- Left rear
- Right front
- Left front
Again, that’s common, not universal.
Pick the right method
- Opened a bleeder or swapped pads and just want to freshen fluid: Gravity bleed or a check-valve bottle is often enough.
- Replaced a caliper, hose, or a line: Check-valve bottle or vacuum bleeding usually gets you there faster.
- Replaced the master cylinder: Bench bleed it first, then bleed the wheels. Skipping bench bleeding can make you chase air forever.
- Reservoir ran dry or ABS air suspected: You may need an ABS bleed procedure with a scan tool.
Method 1: Gravity bleeding
Gravity bleeding is the low-tech approach. You open a bleeder screw and let fluid drip until bubbles stop. It is not always enough for big air pockets, but it’s a great first pass after a fluid change or minor line work.
Steps
- Top off the reservoir to the MAX line.
- Put a clear hose on the bleeder screw and route it into a catch bottle. Add a little clean brake fluid into the bottle so the hose end stays submerged.
- Crack the bleeder open about a quarter turn. Fluid should start to drip.
- Watch for bubbles in the hose. Let it drip until bubbles stop and fluid looks clean.
- Close the bleeder snugly (do not over-tighten).
- Check and refill the reservoir. Do this constantly.
- Move to the next wheel in the proper order.
Tips
- If fluid will not drip, the bleeder may be clogged. Remove it carefully and clean the tiny passage, or replace the bleeder screw.
- Keep the hose end submerged. This helps prevent air from sneaking back.
Method 2: Check-valve bottle
This is the classic solo solution: a hose and a bottle with a one-way check valve. It lets you pump the brake pedal yourself without sucking air back into the caliper or wheel cylinder.
Steps
- Engine off. You want manual pedal feel, not boosted feel, while bleeding.
- Top off the reservoir.
- Attach the check-valve bottle to the bleeder. Make sure the hose is tight.
- Crack the bleeder open about a quarter turn.
- Slowly press the brake pedal down and let it return. Use steady strokes. No rapid pumping like you’re inflating a bike tire.
- Repeat until you see no more bubbles and the fluid looks clean.
- Close the bleeder. If you trust the check valve and it is working, pedal position is less critical. If you are using a basic hose and bottle or you are not sure the valve seals perfectly, close the bleeder with the pedal held down, then release the pedal.
- Refill reservoir and move to the next wheel.
Pedal technique matters
If the pedal goes to the floor during bleeding, do it gently. On older vehicles, pushing a master cylinder piston into areas of the bore it never normally travels can damage worn seals. The fix is simple: use smooth strokes and avoid slamming the pedal down.
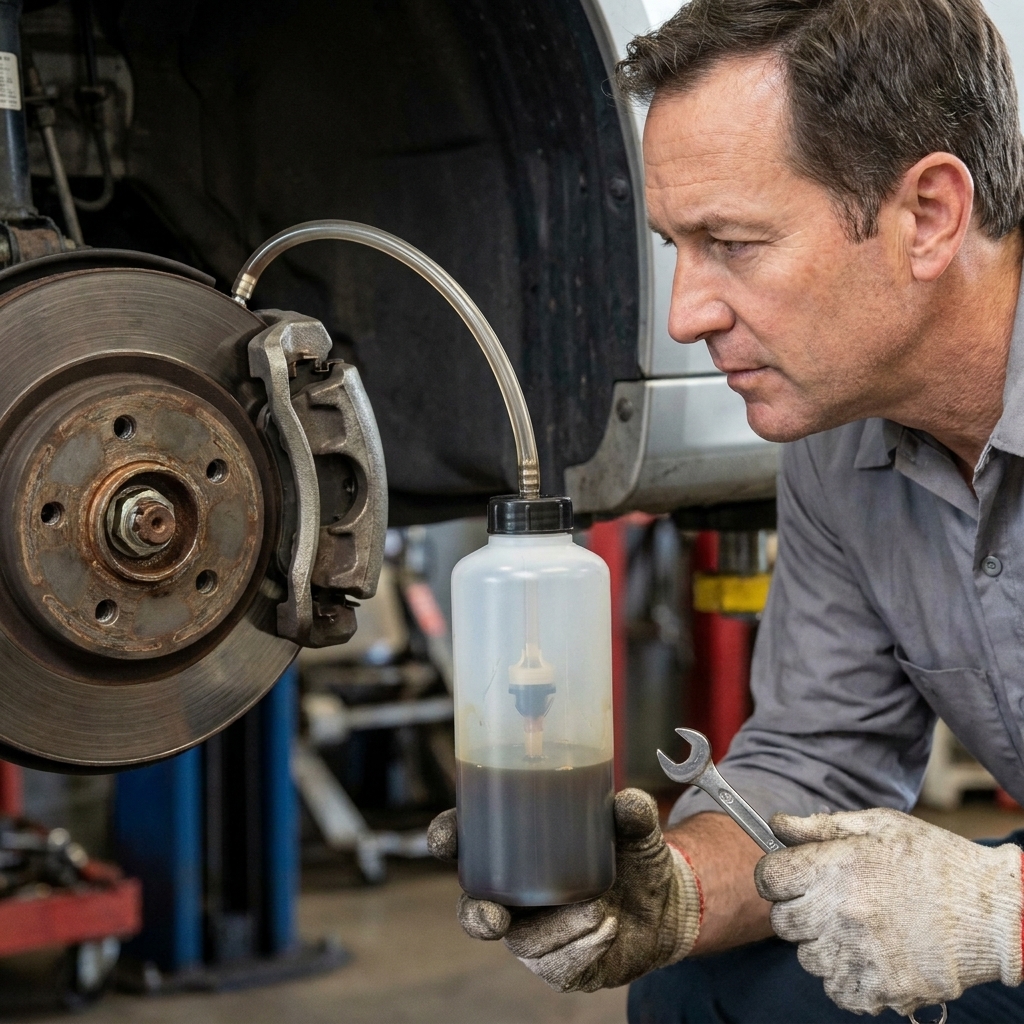
Method 3: Vacuum bleeding
A hand vacuum bleeder pulls fluid through the bleeder screw. It is quick and it keeps you out of the driver’s seat. It can also pull tiny air leaks around the bleeder threads, which may look like bubbles even after the system is fine. That is normal and manageable.
Steps
- Top off the reservoir.
- Connect the vacuum bleeder to the bleeder nipple with a snug-fitting hose.
- Apply vacuum (typically about 15 to 25 inHg, inches of mercury, or per your tool instructions).
- Crack the bleeder open slightly while maintaining vacuum.
- Draw fluid until it runs clear and bubble-free in the hose.
- Close the bleeder, then release vacuum.
- Refill reservoir frequently.
Reducing “fake bubbles”
- Avoid chasing a few tiny bubbles that never end. Often it is air pulled past bleeder threads, not air in the brake line.
- Some DIYers use PTFE tape on bleeder threads to reduce thread seepage. I do not recommend it unless you are very careful. Tape can shred and contaminate components, and some manufacturers advise against adding anything to brake threads. If you do anything at all, keep it strictly on the threads and never near the bleeder port, and stop if you are not confident. In most cases, you can skip this and rely on fluid clarity at the caliper and a firm pedal.
- Keep the vacuum steady. Big fluctuations can aerate the fluid in the hose.
Walkthrough: a solid solo routine
If you want one consistent routine that works with most one-person tools, use this flow. It keeps you organized and prevents the most common mistakes.
1) Prep the bleeders
Spray penetrating oil on each bleeder screw. If one looks heavily corroded, clean around it with a wire brush first so grit does not get dragged into the threads.
Bleeder care: Clean the nipple before you push the hose on, use a snug box-end wrench, and reinstall the little rubber cap after you are done. That cap is not decoration. It keeps the bleeder from packing with dirt and rust.
2) Keep the reservoir topped off
I check it after every 6 to 10 pedal strokes, or every minute with a vacuum bleeder. If you get distracted easily, set a timer. I’m serious.
3) Bleed in the correct order
Start at the correct wheel for your vehicle, then work your way through. Close each bleeder before moving on.
4) Finish with a pedal check
With the engine off, the pedal should feel firm and stop higher than it did when air was in the system. Then start the engine. The pedal will drop slightly as the booster adds assist, but it should still feel solid.
5) Check for leaks
Look at each bleeder screw, hose connection, caliper, and brake line you touched. Any wetness is a problem.
6) Reinstall wheels and torque lug nuts
Tighten lug nuts in a star pattern to the correct torque spec. A wobbly wheel ruins your day fast.
ABS and brake bleeding
On many vehicles, you can bleed normally even with ABS. But if the master cylinder ran dry or air got into the ABS hydraulic control unit, some cars require a scan tool procedure to cycle ABS valves and purge trapped air.
If you have a persistently spongy pedal after proper bleeding, or your reservoir ran empty during the job, you may need an ABS bleed procedure. That is the point where a shop or a capable DIYer with a bidirectional scan tool earns their keep.
Troubleshooting
Spongy pedal after bleeding
- Air still in the system: Re-bleed, confirm the correct order, and make sure the hose connections are airtight.
- Flexible hose swelling: Old rubber hoses can balloon under pressure. Consider replacing if they are original and the pedal is mushy under hard braking.
- Caliper installed on the wrong side: The bleeder screw must be at the top. If it is lower than the hose, you can trap air forever.
- Rear drum brakes out of adjustment: Excess clearance makes the pedal travel farther. Adjust drums properly before chasing ghosts.
Pedal sinks slowly when holding pressure
- Possible internal master cylinder leak: Not always, but it is a classic sign. Inspect for external leaks first, then consider master cylinder diagnosis.
Bleeder screw will not loosen
- Soak with penetrating oil and tap gently on the wrench to shock it loose.
- Use a 6-point box-end wrench. Avoid an open-end wrench that rounds corners.
- If it snaps, you are into caliper or wheel cylinder replacement territory.
Fluid looks foamy
- Rapid pedal pumping or a vacuum tool pulling air around threads can aerate fluid. Slow down, stabilize vacuum, and focus on clear fluid at the caliper, not foam in the catch bottle.
Brake fluid disposal and cleanup
Do not pour old brake fluid down a drain or onto the ground. Store it in a sealed container and take it to a local hazardous waste collection site or an auto parts store that accepts used fluids.
If brake fluid hits paint, flush it immediately with plenty of water. After you have flooded the area, gently blot and clean. Do not grind it in with a dry rag.
Quick FAQ
How do I know when I am done bleeding?
You are done when the fluid coming out is clean, bubble-free, and the pedal feels firm with the engine off. Always do a cautious test drive in a safe area.
Should the engine be on or off while bleeding?
For most DIY bleeding, keep the engine off so you can feel pedal firmness clearly. After bleeding, start the engine to confirm the pedal remains solid with vacuum assist.
Can I bleed brakes without lifting the car?
Sometimes you can reach the bleeders with the wheels on, but it is usually cramped and messy. Safely lifting the vehicle gives you better access and reduces the chance you strip a bleeder.
How often should I flush brake fluid?
A good rule is every 2 to 3 years, sooner if the fluid is dark or you drive in humid conditions. Brake fluid absorbs moisture over time, which lowers boiling point and can corrode components.
Final checks before you hit the road
- Reservoir filled to the correct level and cap tightened
- No leaks at any caliper, line, or bleeder screw
- Pedal firm with engine off
- Pedal solid with engine running
- Wheels torqued to spec
Then do a cautious test: roll forward slowly and confirm the brakes bite and the car stops straight. Build speed gradually, and recheck the fluid level and any signs of seepage when you get back.
If something feels wrong, trust your gut and recheck your work. Brakes are not the place to “send it and see.” Get it right, and you will feel that satisfying, confident pedal the first time you roll out of the driveway.