I grew up holding a flashlight while my grandfather explained brakes like they were common sense. Later, as a shop mechanic, I watched people get charged big money for work that, on a good day, is careful unbolting and clean reassembly. On a bad day, it is rust, seized hardware, and surprises. Either way, if you can follow directions, work safely, and keep track of hardware, you can change your own brake pads and rotors.
This guide walks you through a typical disc brake pad and rotor replacement. Some cars vary a lot, especially newer rear brakes, so always cross-check with your service manual for torque specs and any special steps.
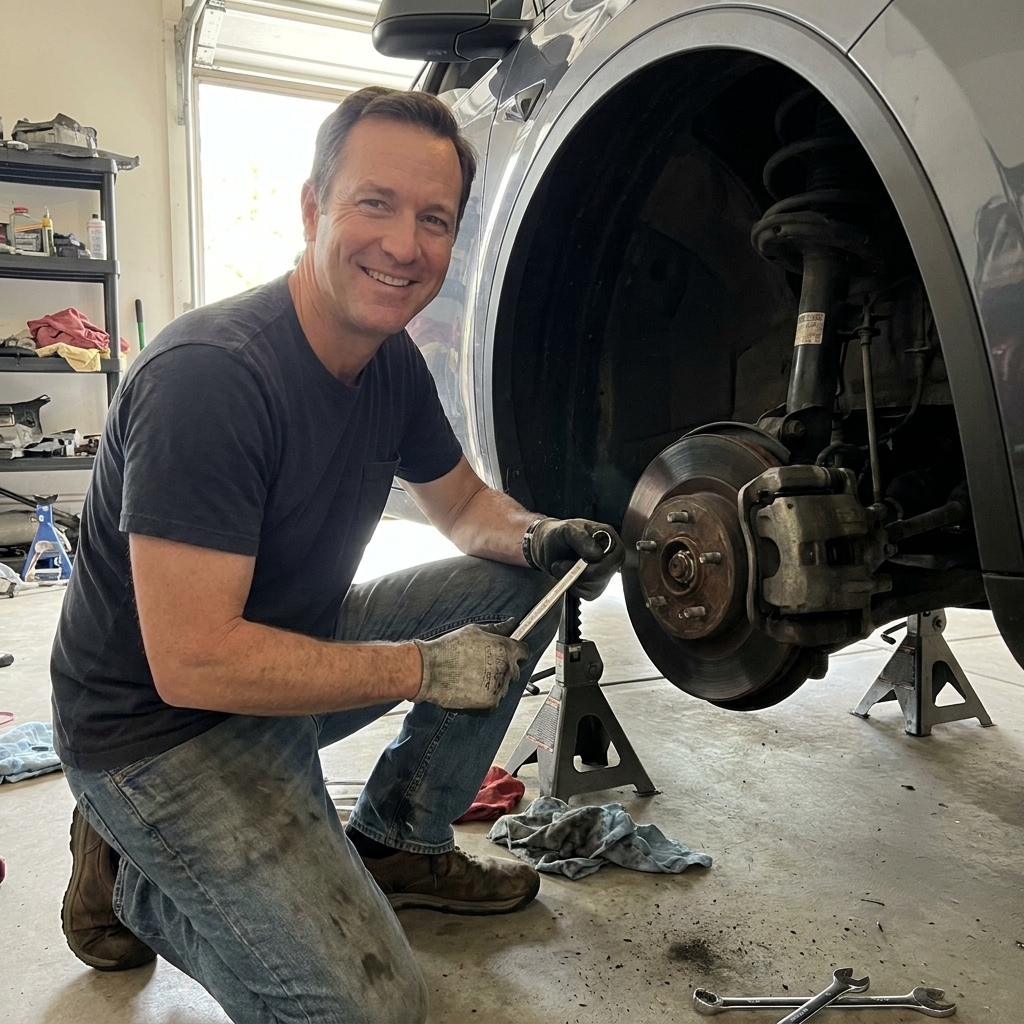
Before you start: Confirm the problem
Brakes wear out gradually, so confirm what is actually going on before you throw parts at it.
- Squealing: Often a wear indicator tab on the pad, but some pads squeal even when not worn.
- Grinding: Usually pads are worn to metal. Stop driving as soon as it’s safe.
- Vibration when braking: Commonly rotor thickness variation or pad deposits. Rotors may need replacement or resurfacing.
- Pulling to one side: Can be uneven braking from a sticking caliper slide, seized piston, contaminated pad, or even a tire issue.
- Soft pedal: Often air in the system or fluid issues, not pad wear.
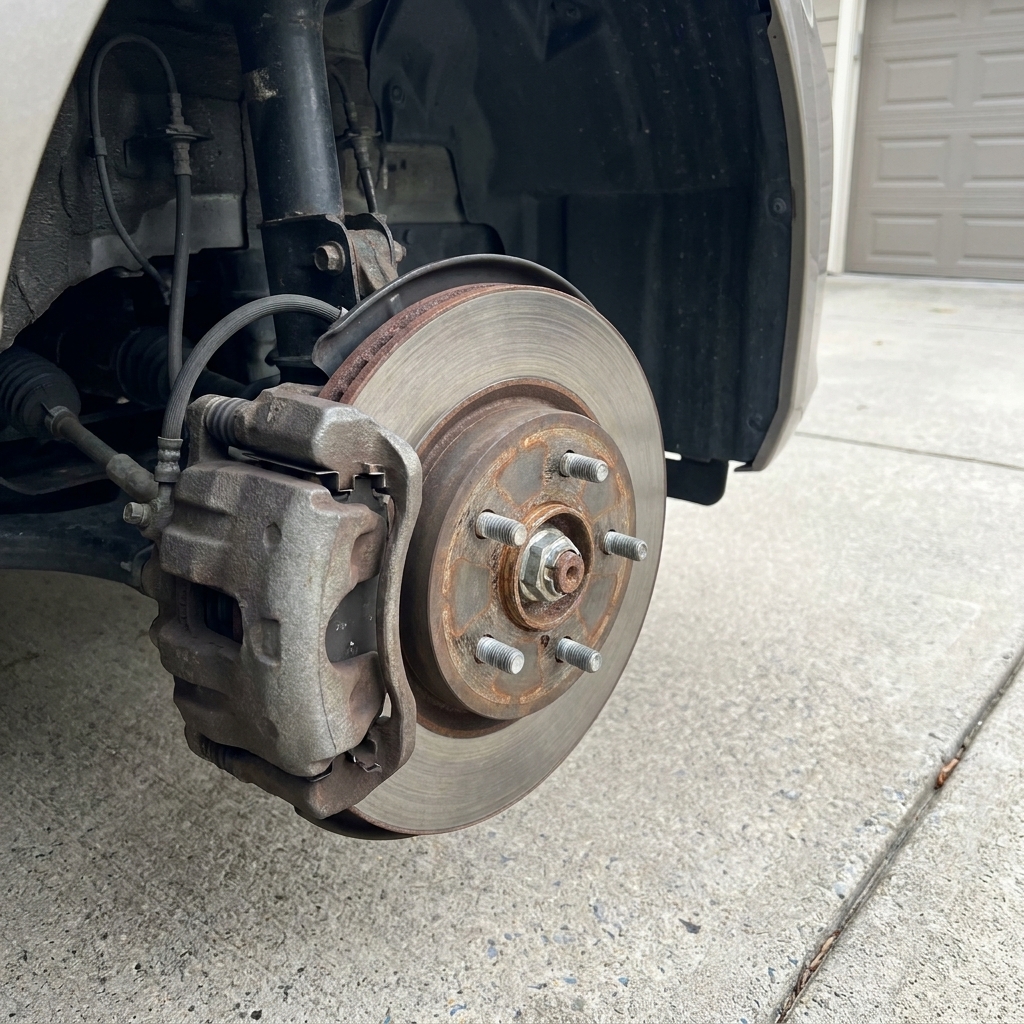
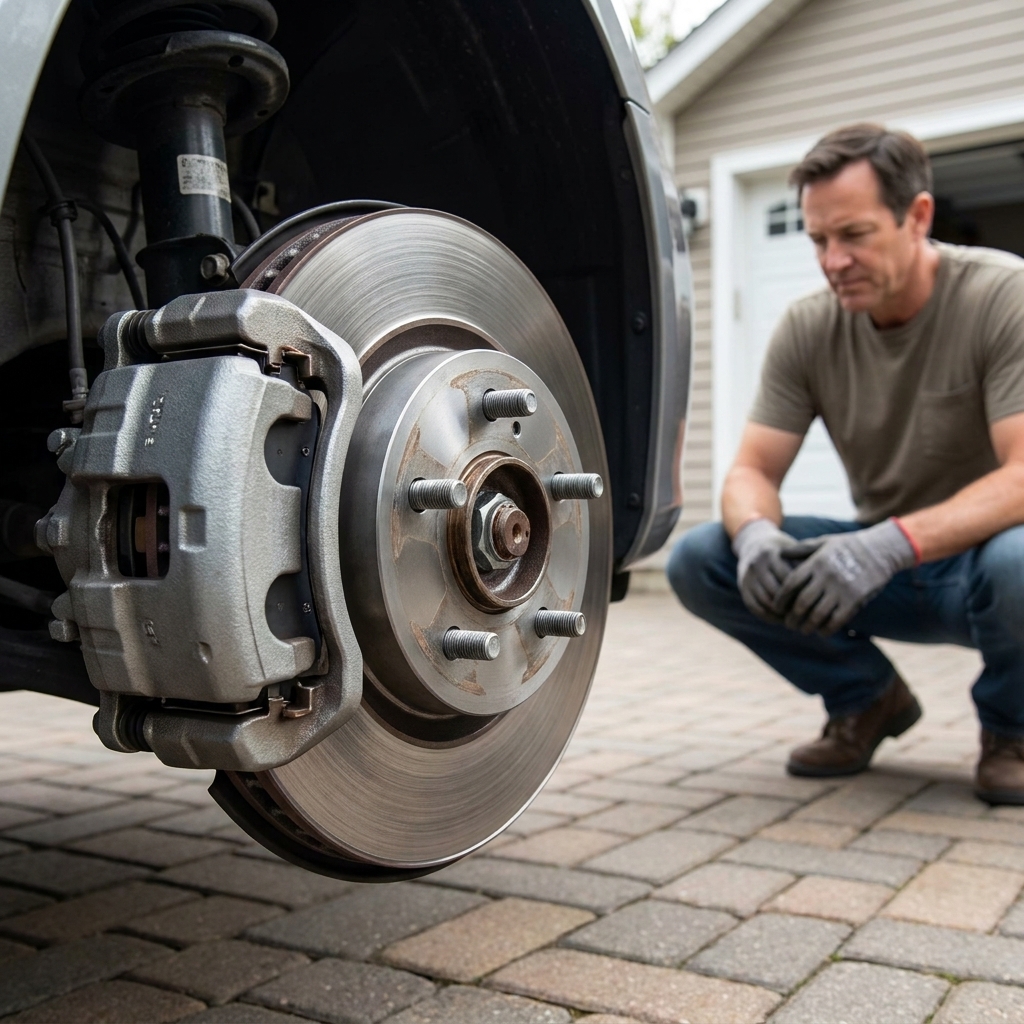
Quick visual check: Look through the wheel spokes. Many shops recommend servicing pads around 2 to 3 mm of friction material, but the real tell is uneven wear or one pad that is much thinner than the other. If your rotors are heavily grooved, heat-spotted (blue), cracked, or below minimum thickness, replace them.
Tools, parts, and supplies
Parts
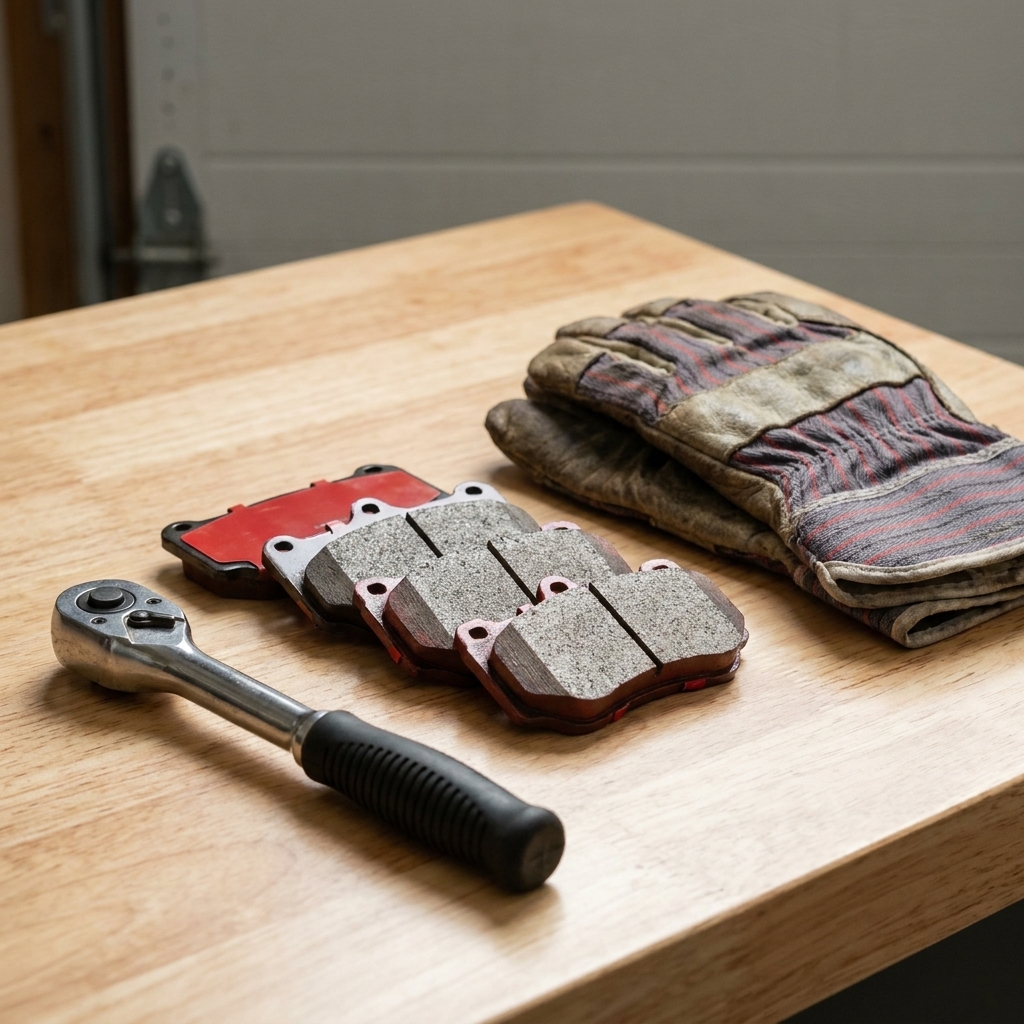
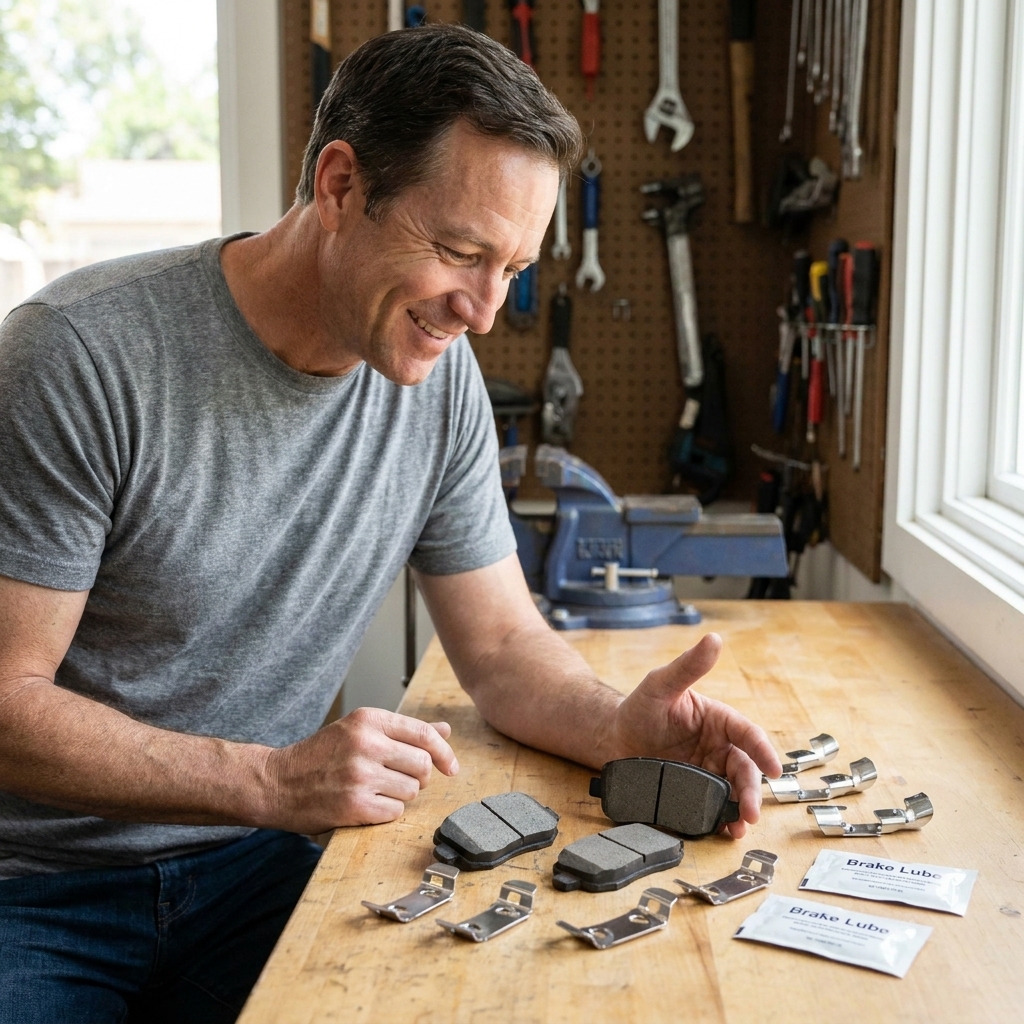
- Brake pads (correct for your exact year, make, model, trim, and brake package)
- Rotors (pair for the axle you are servicing)
- Hardware kit (recommended): pad clips/abutment hardware and sometimes new slide pin boots
- Optional but smart: new caliper bracket bolts if the manual calls them one-time-use
Tools
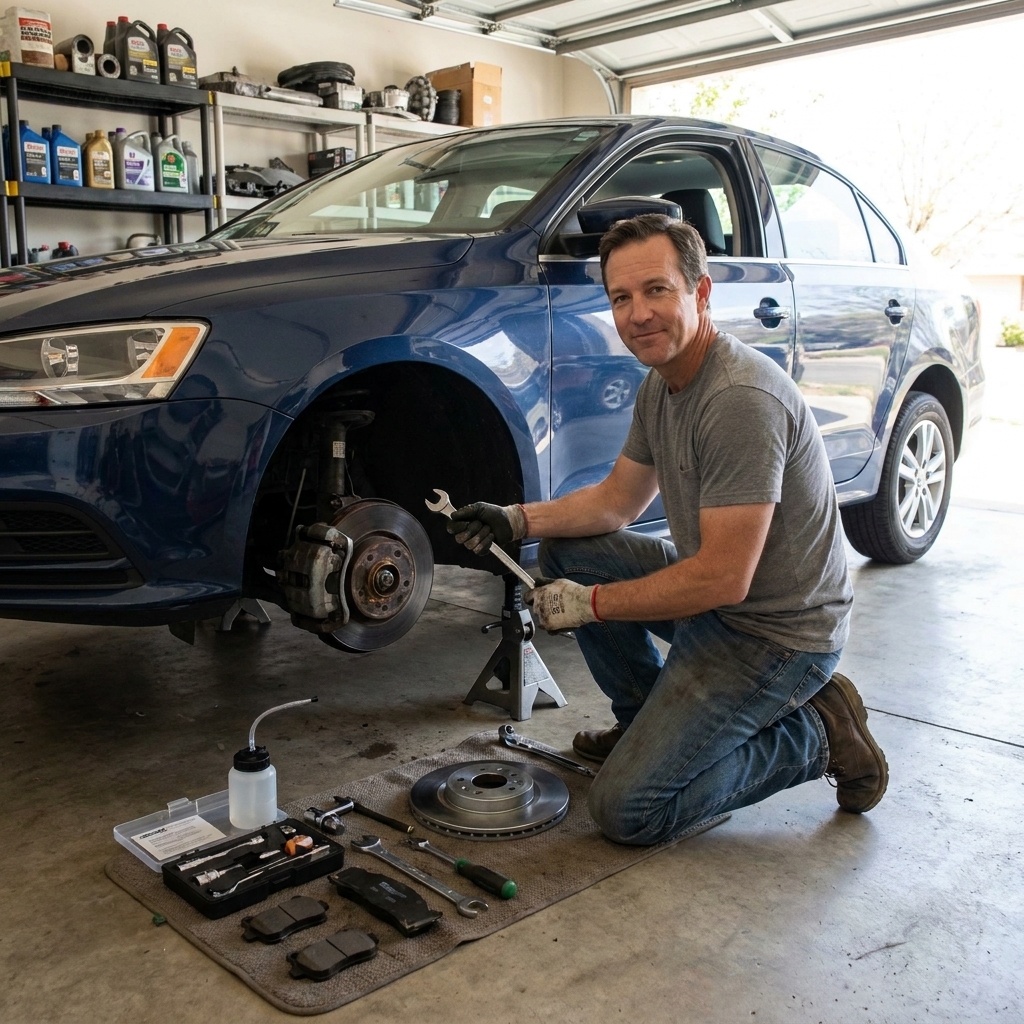
- Jack and jack stands (never rely on the jack alone)
- Wheel chocks
- Lug wrench or impact (hand tools are fine)
- Socket set and breaker bar
- Torque wrench (important for wheels and caliper bracket bolts)
- C-clamp or brake piston tool (rear brakes may require a twist-in tool)
- Wire brush (small hand brush)
- Bungee cord or mechanics wire (to hang the caliper)
- Flat screwdriver or small pry bar
- Micrometer or vernier caliper (optional but helpful for rotor thickness)
Chemicals and consumables
- Brake cleaner
- High-temp silicone brake grease (for slide pins and pad ears where appropriate)
- Anti-seize (hub face only, optional)
- Shop towels, gloves, eye protection
Brake fluid: Check the reservoir cap and your manual for the correct DOT spec (commonly DOT 3, DOT 4, or DOT 5.1). Do not mix DOT 5 silicone with glycol-based fluids.
Do not use: WD-40 or general-purpose grease on braking surfaces. Also avoid getting any grease on pad friction material or the rotor face.
Safety first: Set up right
- Work on a flat, solid surface.
- Set the parking brake if you are working on the front brakes. If you are working on the rear brakes, leave the parking brake off unless your manual says otherwise.
- Chock the wheels that stay on the ground.
- Lift the car at the proper jack point, then lower it onto jack stands at solid support points.
- Before you crawl under, give the car a firm shake. If it wobbles, reset it.
- Wear eye protection. Brake dust and rust love eyeballs.
Brake dust note: Do not blow brake dust with compressed air. Use brake cleaner and towels instead.
Step-by-step: Pads and rotors
1) Loosen lugs, lift, remove wheel
Crack the lug nuts loose with the wheel still on the ground. Lift the car, set it on stands, then remove the wheel.
2) Find caliper bolts, check hose
Look at the back of the caliper. Most setups have two caliper slide pin bolts. Before you remove anything, glance at the rubber brake hose. If it is cracked, swollen, or wet with fluid, stop and plan for a hose repair first.
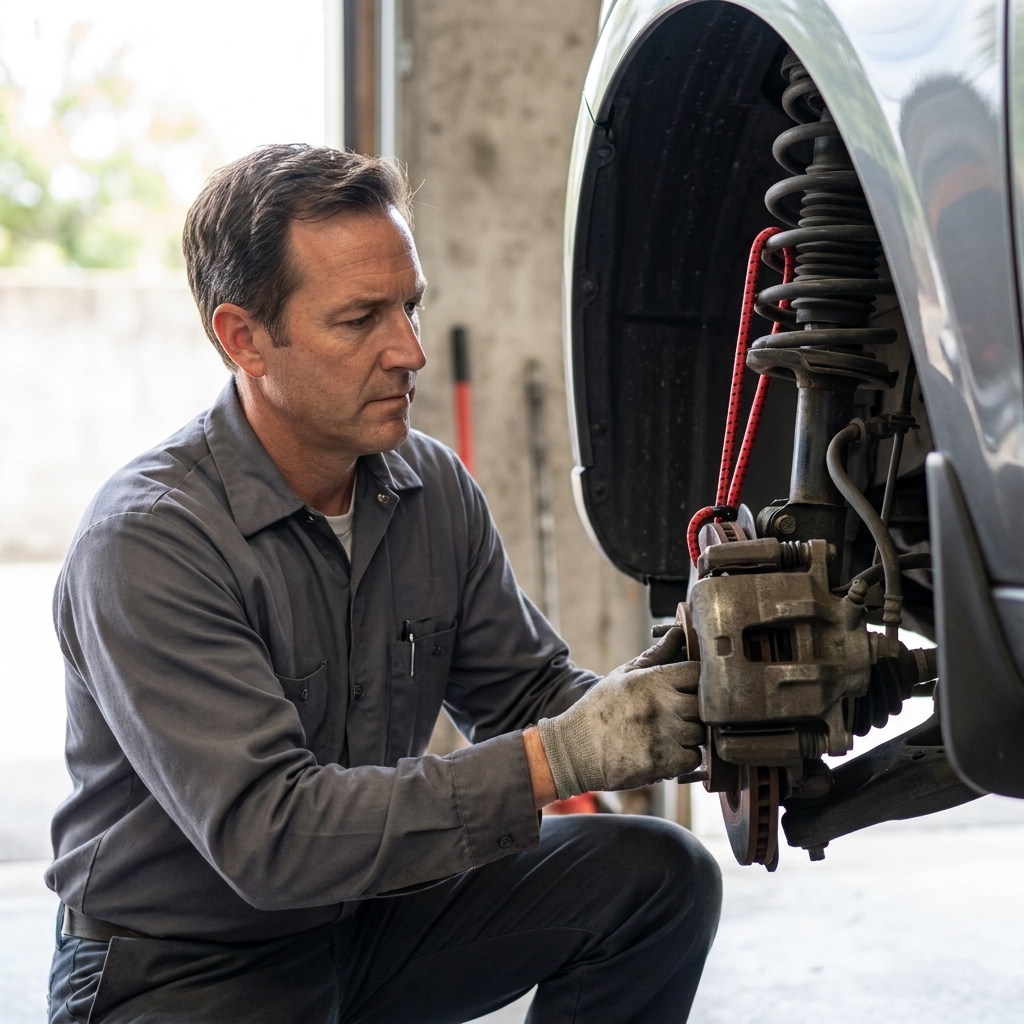
3) Remove caliper and hang it
Remove the caliper slide bolts. Wiggle the caliper off the rotor. If it is stubborn, a gentle pry against the old pad can help retract the piston slightly.
Important: Do not let the caliper hang by the brake hose. Use a bungee cord or wire to support it from the spring or a solid suspension point.
4) Remove pads and hardware
Pull the pads from the caliper bracket. Note how any wear indicators are positioned. Remove the stainless pad abutment clips from the bracket if you have replacements.
Mechanic habit: Lay parts out in order on the floor or a tray. Left and right are often mirrored, and mixing hardware is how headaches happen.
5) Remove caliper bracket
To replace the rotor, you typically remove the caliper bracket. The bracket bolts are often tight, and many come with threadlocker from the factory. Use a breaker bar and the correct socket, seated fully so you do not round anything.
If your service info calls the bracket bolts one-time-use or torque-to-yield, replace them. If the manual calls for threadlocker, clean the threads and apply the correct type and amount before reinstalling.
6) Remove rotor
Some rotors slide right off. Others are rust-welded to the hub like they have been there since the car was born. If it will not budge:
- Remove any small rotor retaining screws (common on some imports). Use the correct bit and press hard.
- Hit the rotor hat (the thick center area) with a hammer, not the braking surface. Rotate and strike evenly.
- If there are threaded push holes in the rotor hat, thread bolts in evenly to press the rotor off.
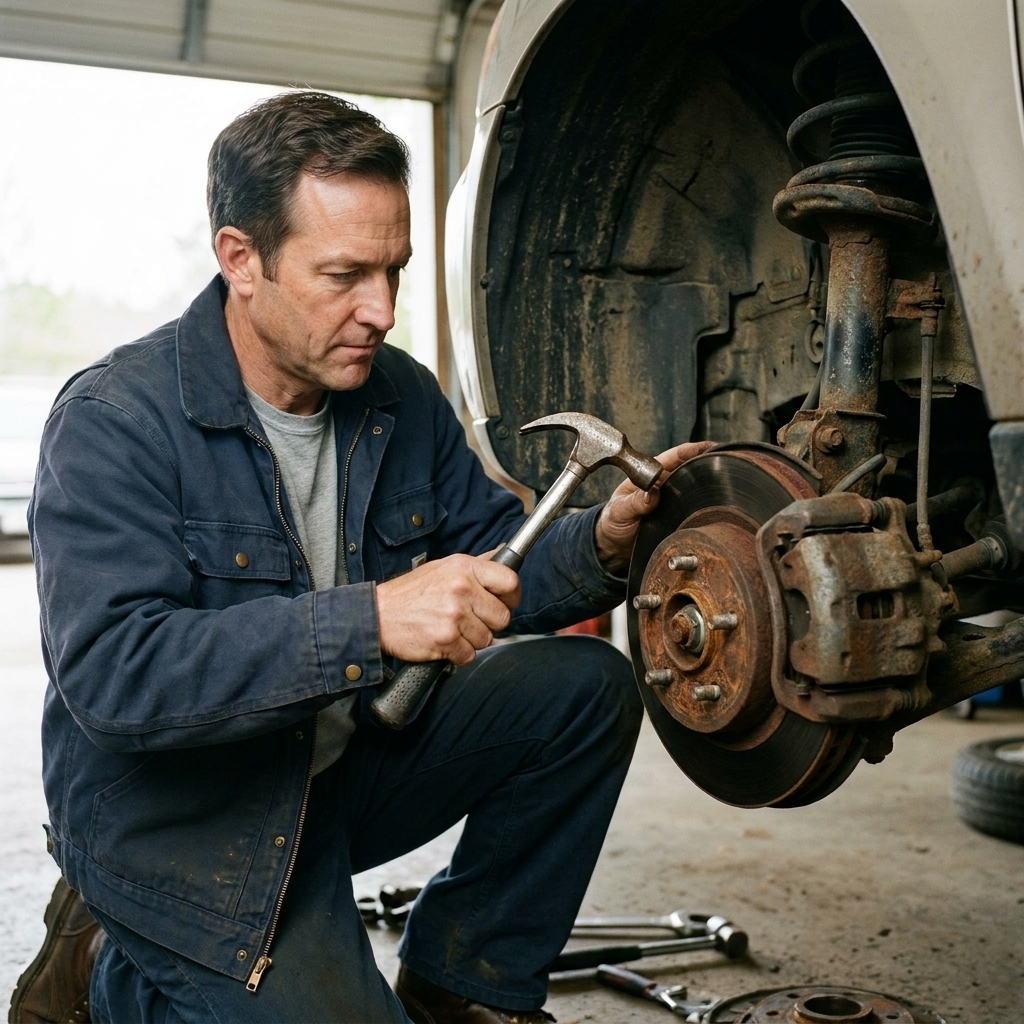
7) Clean and prep hub face
This step is boring and it matters. A rusty, lumpy hub face can cause rotor runout, which can feel like warped brakes later.
- Wire brush the hub face until it is clean and flat.
- Wipe with brake cleaner.
- Optional: apply a very light smear of anti-seize on the hub face to help prevent future sticking. Keep it off the wheel studs and threads, and away from the rotor braking surface.
8) Install new rotor
New rotors often come with an oily coating to prevent rust in the box. Spray both rotor faces with brake cleaner and wipe until clean.
Slide the rotor on. If your car uses rotor screws, reinstall them. If it does not, you can hold the rotor snug with a single lug nut hand-tight while you work. That keeps it from flopping around.
If vibration was the complaint: Find the rotor’s minimum thickness spec (often cast or stamped on the rotor hat as “MIN TH,” or listed in service info). If you are reusing rotors, measure thickness in several spots around the rotor. Big variation is a red flag.
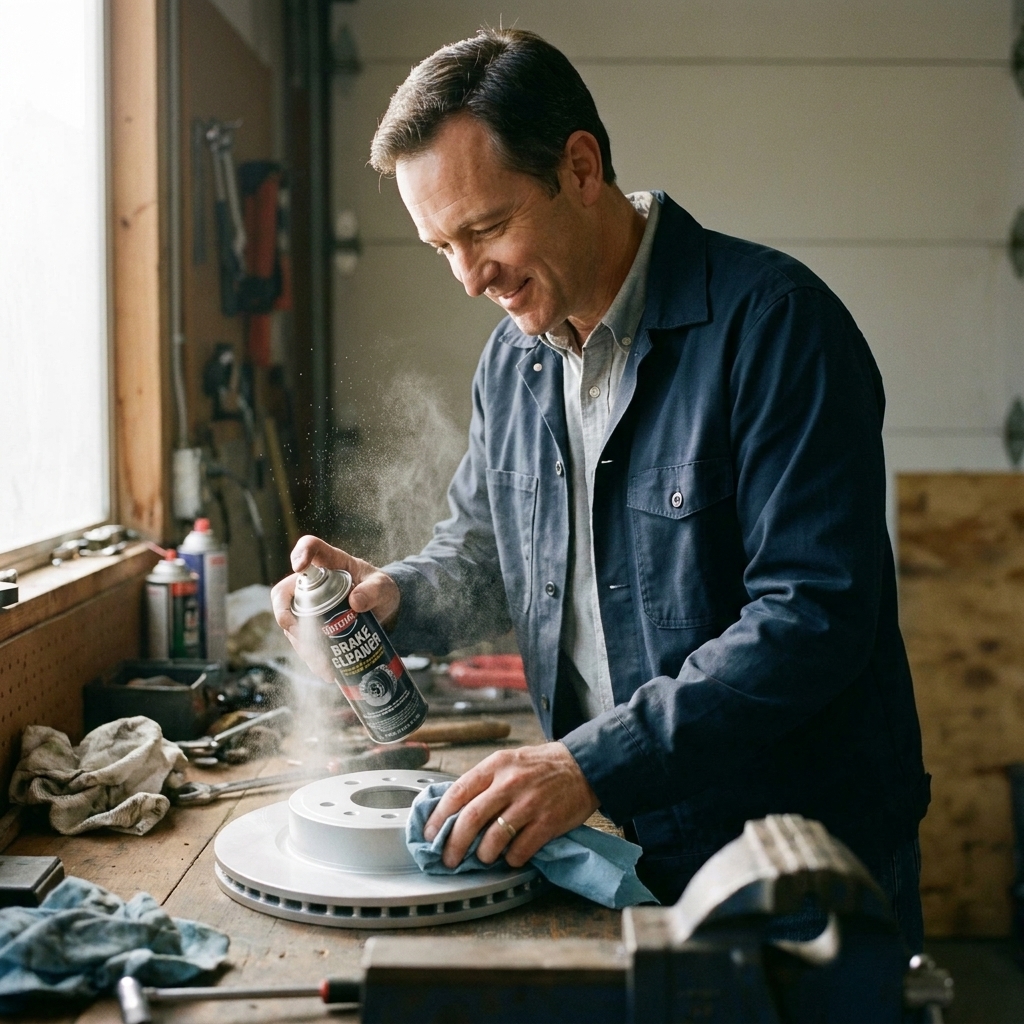
9) Service bracket and slide pins
Brake pads need to move freely. That means the bracket hardware and slide pins need to be clean and properly lubricated.
- Clean the bracket where the pad clips sit using a wire brush.
- Install new abutment clips from your hardware kit.
- Pull the slide pins, wipe old grease off, inspect boots for tears.
- Apply a light coat of high-temp silicone brake grease to the slide pins and reinstall.
Grease goes: on slide pins and sometimes a tiny amount where pad ears contact clips. Grease does not go: on rotor faces or pad friction material.
10) Reinstall bracket and torque bolts
Reinstall the bracket bolts. This is a spot where torque matters. Too loose is dangerous. Too tight can strip threads or snap a bolt.
Use your vehicle’s spec for caliper bracket bolt torque. If you do not have it, get it from a factory service manual or a reputable database. “Good and tight” is not a measurement.
11) Install new pads
Install the new pads into the bracket. If your pads came with shims, install them as directed. If your pad has a wear indicator tab, it usually goes on the inside pad, often at the bottom, but this varies. Match what you removed or follow the pad instructions.
12) Compress the piston
Before the caliper will fit over thicker new pads, the piston needs to be pushed back.
- Front brakes: Usually press straight in with a C-clamp or piston tool.
- Many rear brakes: The piston may need to be turned while pressing in (screw-in style). Use the correct tool.
Electronic parking brake warning: Many newer rear brakes use an electronic parking brake (EPB). These often require putting the system in service mode before you retract the piston, sometimes with a scan tool, sometimes through a dash menu procedure. If you force an EPB caliper, you can damage it. If you are not sure, stop and look up the OEM procedure for your exact vehicle.
Watch the brake fluid reservoir: As you compress pistons, fluid rises. If it looks like it will overflow, remove some fluid with a clean turkey baster dedicated to car use.
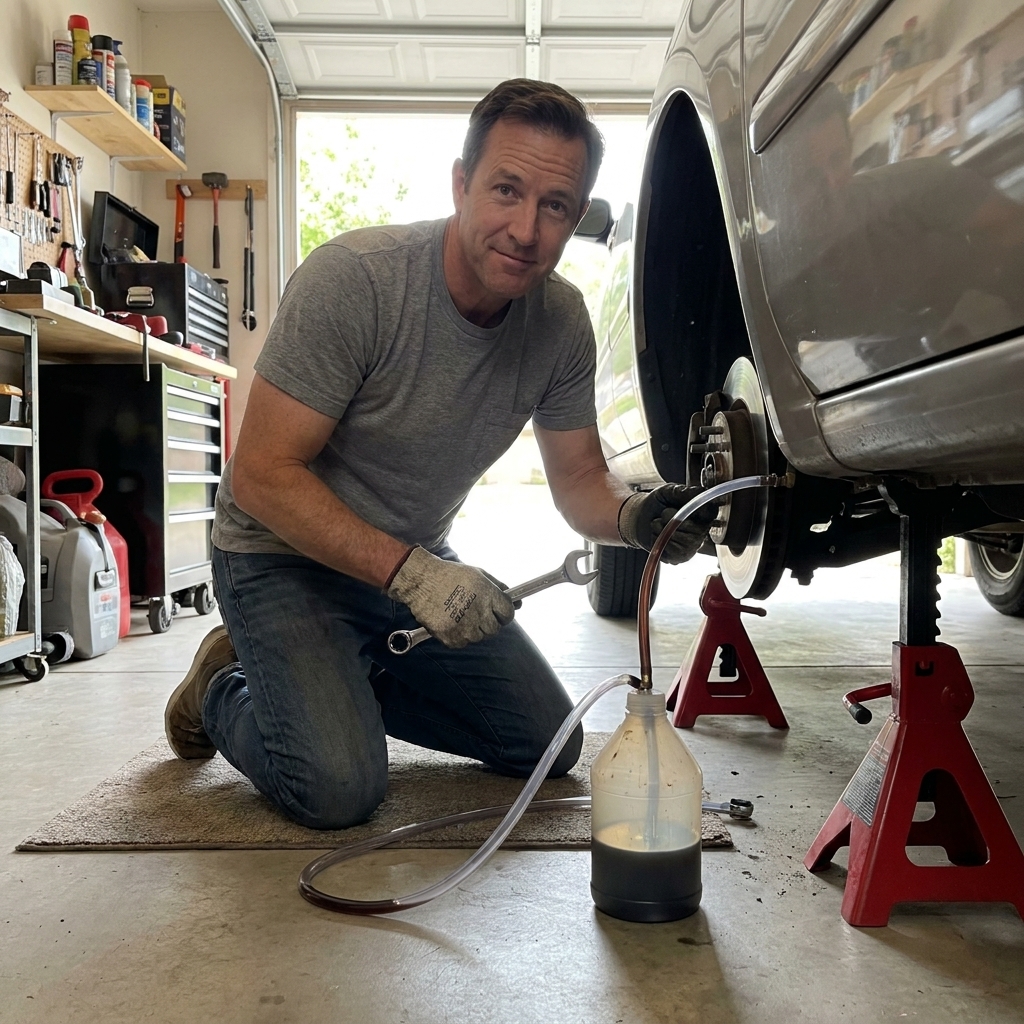
About opening the bleeder: Some OEM procedures have you retract the piston with the bleeder closed, others prefer opening it to avoid pushing old fluid back through the ABS unit. This is situational. Follow the OEM procedure for your vehicle, and if the fluid is old or dark, plan a proper fluid flush soon.
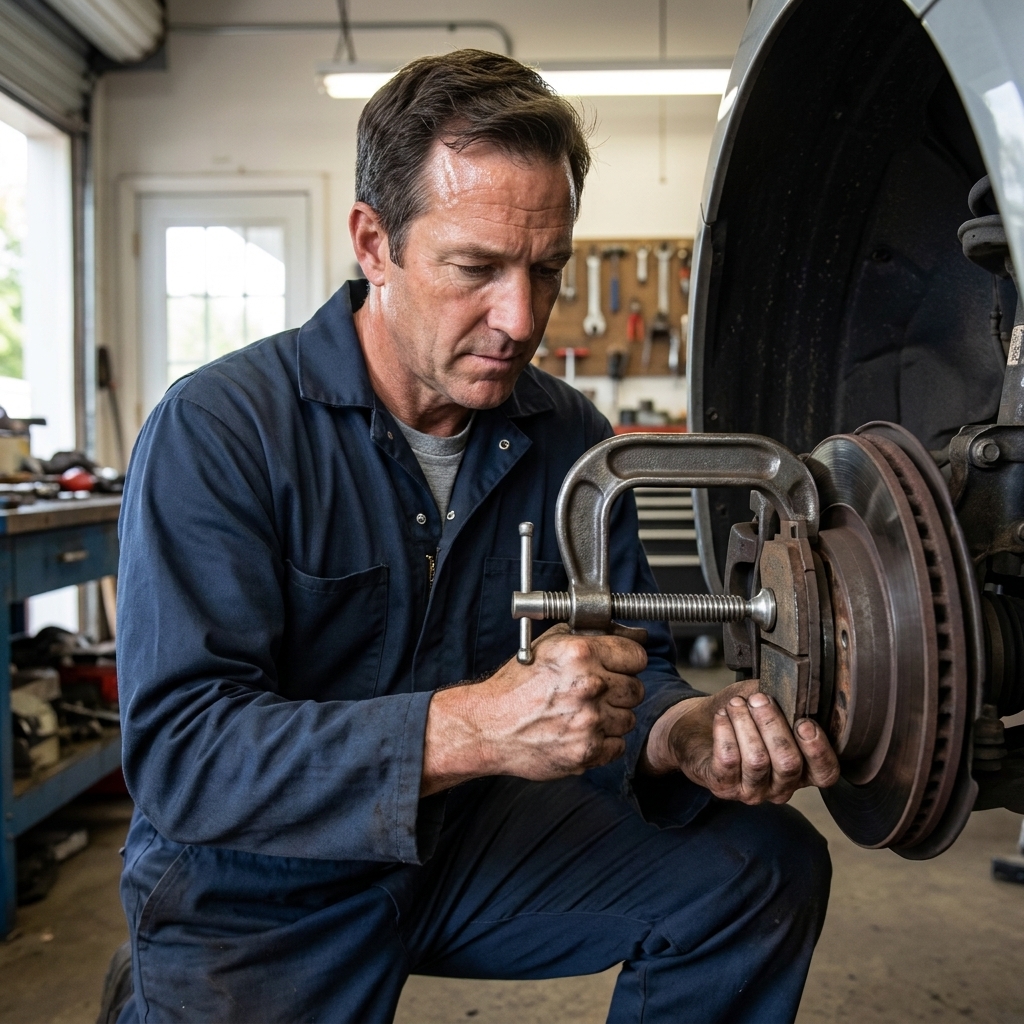
13) Reinstall caliper and torque slides
Set the caliper over the new pads and reinstall the slide bolts. Torque them to spec. If the slide pin spins, hold it with a wrench on the pin’s hex (if equipped) while tightening the bolt.
14) Reinstall wheel and torque lugs
Before the wheel goes on, wipe the wheel mating surface and the rotor hat area so everything sits flat. Put the wheel back on and hand-thread all lug nuts first.
Snug them in a star pattern, lower the car, then torque the lug nuts to spec in a star pattern. If you can, torque in stages (for example: half spec, then full spec). It helps the wheel seat evenly and can reduce the chance of rotor distortion.
My shop rule: If your torque wrench never comes out, your brake job is not done.
Before you drive: Checks
Pump the pedal
With the engine off, slowly pump the brake pedal until it firms up. This seats the caliper pistons against the new pads. If you skip this, the first pedal press can go to the floor, which is a heart-stopper at the end of your driveway.
Check fluid level
Set the brake fluid to the correct level in the reservoir and reinstall the cap.
Quick inspection
- No tools left in the wheel well
- Caliper bolts and bracket bolts tight and torqued
- Brake hose not twisted or rubbing
- No grease or fingerprints on rotor faces (wipe with brake cleaner if needed)
Bedding-in: Make them feel right
Most pad manufacturers recommend a break-in procedure to transfer an even layer of pad material onto the rotor. This helps prevent vibration and improves bite.
A common bedding process (always follow your pad maker if they give one):
- In a safe area, do 6 to 10 medium stops from about 40 mph down to 10 mph, without coming to a complete stop.
- Then do 2 to 3 firmer stops from about 50 mph to 10 mph.
- Afterward, drive for 5 to 10 minutes with minimal braking to cool everything down.
Tip: Do not hold the brake pedal hard at a standstill right after bedding. That can imprint pad material on a hot rotor and cause a shake later.
Common mistakes
- Letting the caliper hang by the hose: Always support it.
- Greasing the wrong spots: Only grease slides and pad contact points, never friction surfaces.
- Skipping hub cleaning: Rust under the rotor can cause pedal pulsation.
- Reusing crusty hardware: New clips are cheap and prevent sticking.
- Forgetting to pump the pedal: Pump until firm before moving the car.
- Guessing torque: Wheels and brackets need correct torque.
- Ignoring EPB service mode: Forcing an electronic parking brake caliper can get expensive fast.
FAQ
Should I replace rotors with pads?
Often, yes. If rotors are below minimum thickness, heavily grooved, cracked, heat-spotted, or you have vibration issues, replace them. If rotors are in good shape and can be resurfaced within spec, resurfacing can be an option, but many modern rotors are inexpensive enough that replacement makes more sense.
Can I do just one side?
Do brakes in axle pairs. Left and right should match so braking is even and predictable.
Why won’t my piston compress?
Common causes are a screw-in rear piston, an EPB system that is not in service mode, a seized caliper, or the parking brake mechanism holding tension (on some designs). If it truly will not move with reasonable force, stop and diagnose. Forcing it can damage the caliper.
My brakes squeal after replacement. Did I mess up?
Not necessarily. Double-check that hardware is installed correctly, pads can slide freely, slide pins are lubricated, and the rotors are clean. Also verify you performed bedding-in. Some pad compounds are simply noisier, especially performance pads.
Do I need to bleed the brakes?
Not usually if you never opened the hydraulic system. You should bleed if you opened a bleeder, replaced a caliper or hose, or if the pedal feels spongy. If your brake fluid is dark, consider a full fluid flush as maintenance, and use the DOT spec listed on the reservoir cap or in the manual.
When to call a pro
DIY is empowering, but brakes are not the place to gamble. Get help if you find:
- Brake fluid leaks
- Seized caliper pistons or slide pins you cannot free safely
- Stripped bolt holes or broken fasteners
- A brake warning light combined with a sinking pedal
- Electronic parking brake service mode requirements you cannot access
- ABS module bleeding procedures required by your vehicle
If you take your time, keep things clean, and torque everything properly, a pad and rotor job is one of the best confidence-builders you can do in your own driveway. Put on some classic rock, pour the coffee, and keep your 10mm socket where you can find it.