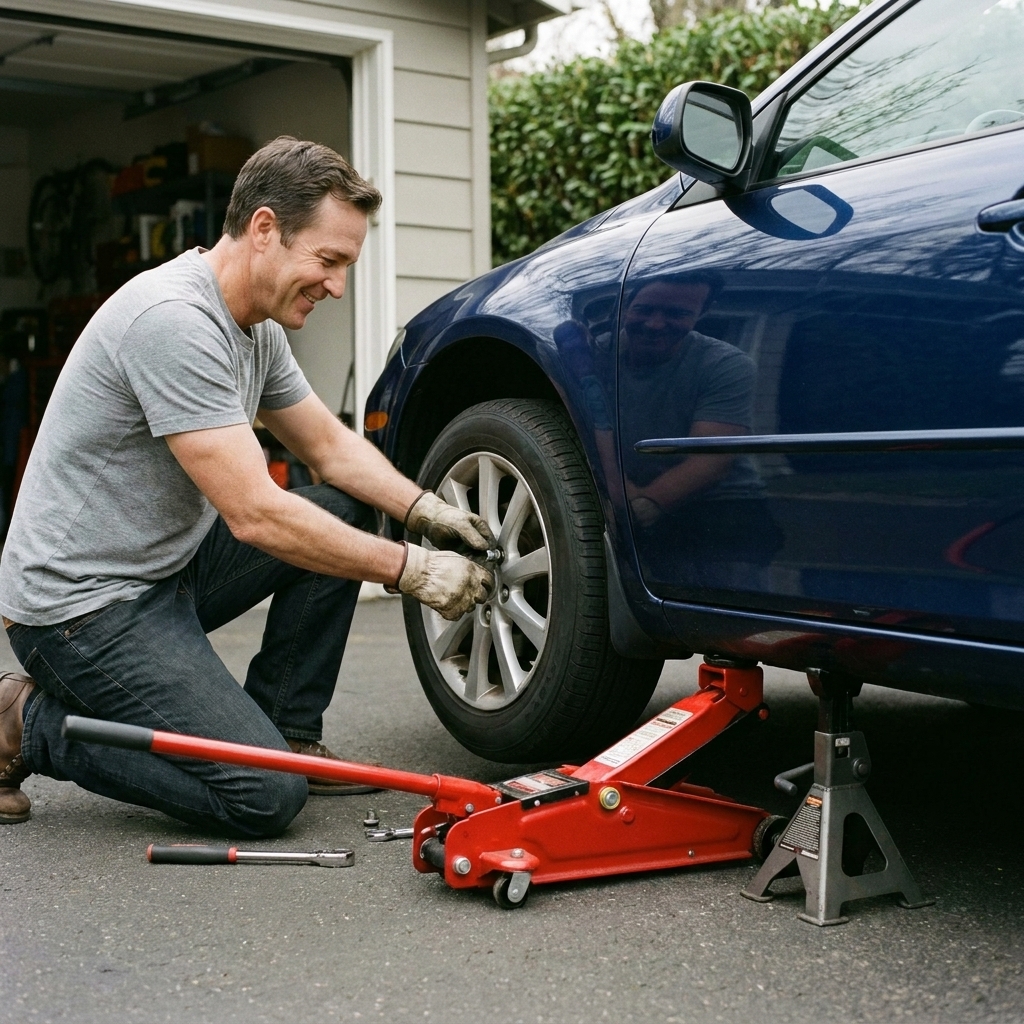
I grew up holding a flashlight in a cold garage while my grandpa taught me one truth that never gets old: tires are expensive, and neglect is even more expensive. The good news is you do not need a lift or a fancy shop setup to rotate your tires and check tread depth at home. You just need a safe plan, the right pattern, and about an hour of patience.
What you need (no lift required)
You can do this with basic driveway tools. If anything on this list is missing, pause and grab it. Tire rotation is simple, but it is not the place to improvise on safety.
- Owner's manual (for jacking points, torque spec, TPMS notes, and any rotation limits)
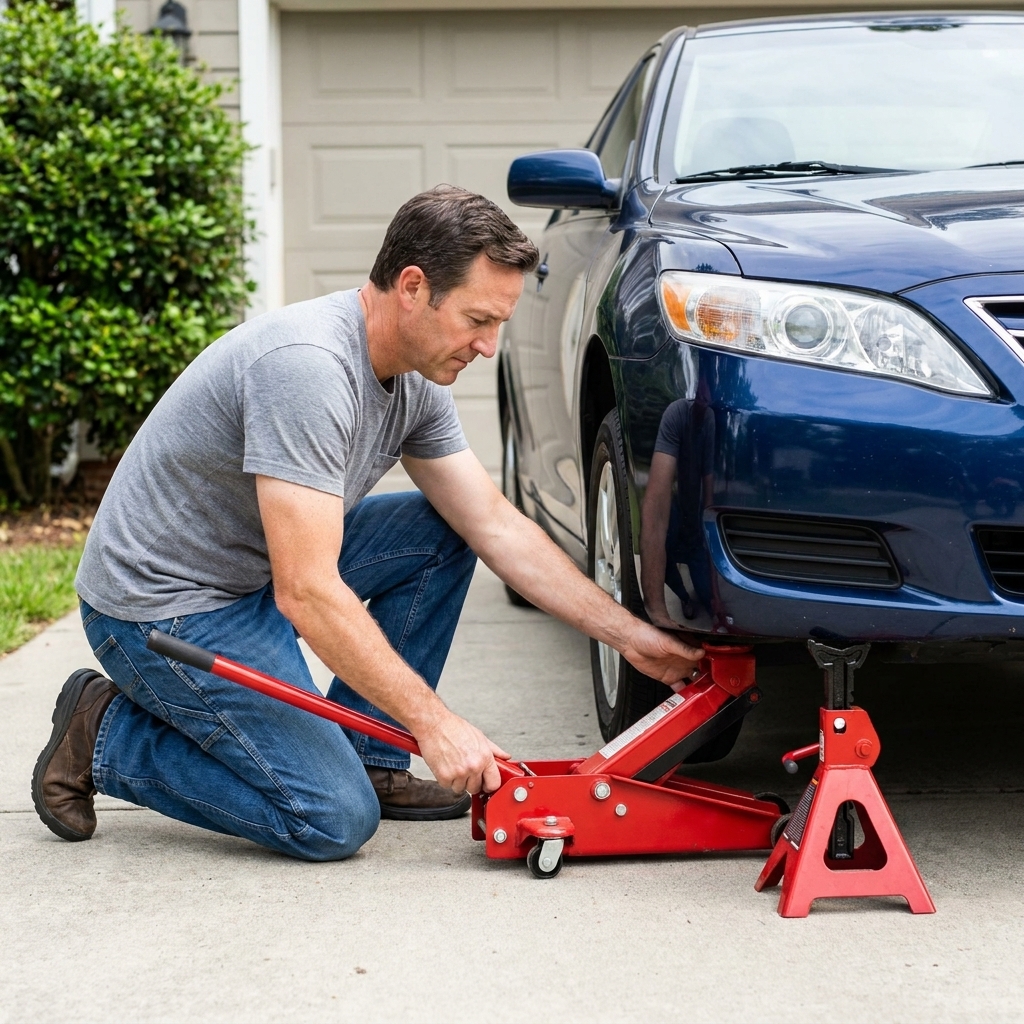
- Floor jack (recommended) or the factory scissor jack (works, just slower)
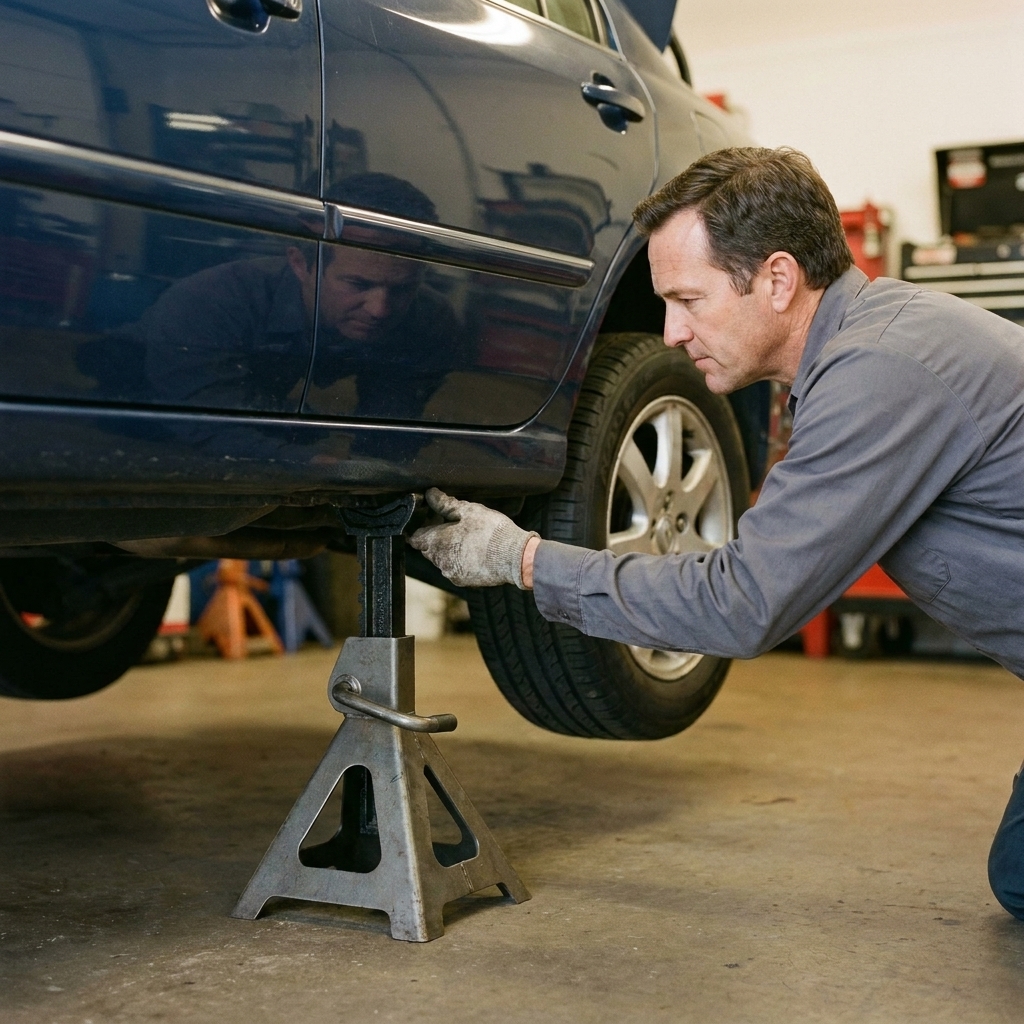
- Two jack stands (four is even better, but two is enough)
- Wheel chocks (or two blocks of wood)
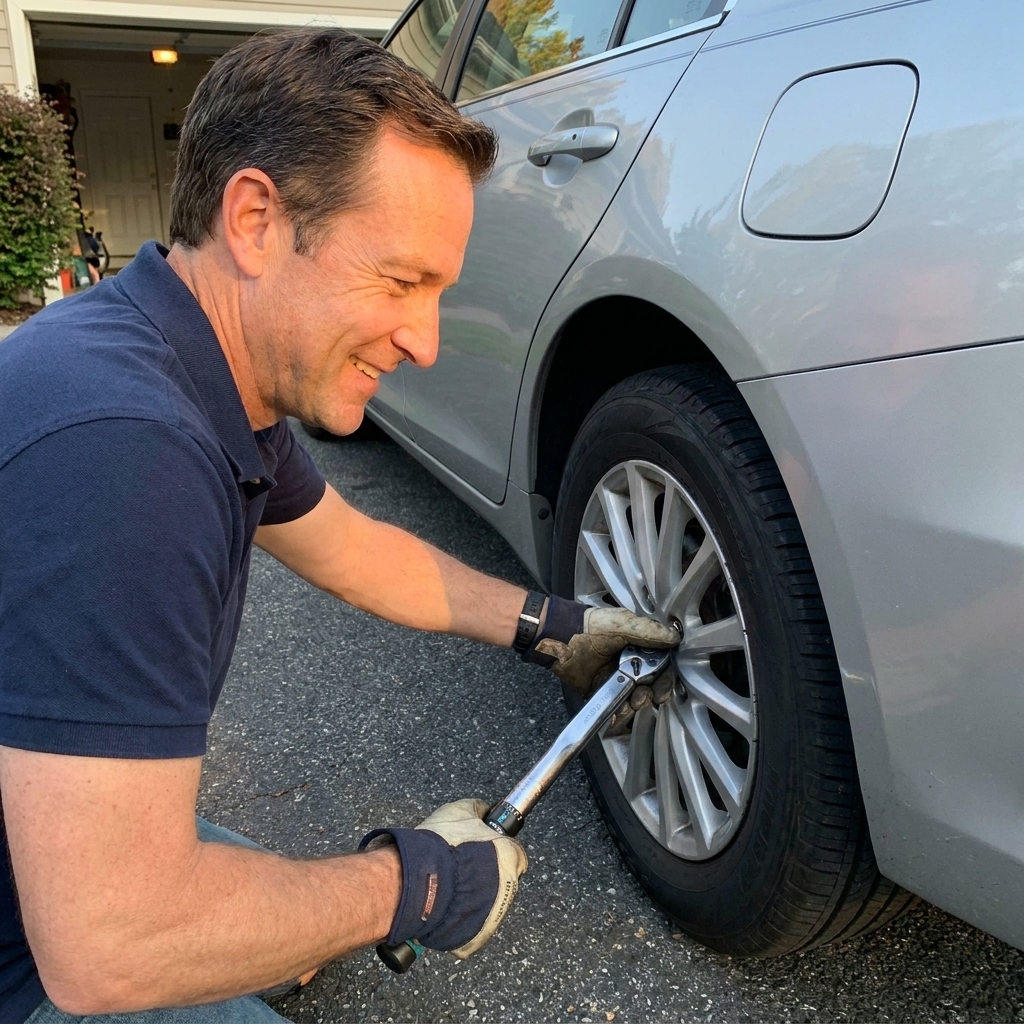
- Lug wrench or breaker bar with the correct socket
- Torque wrench (strongly recommended)
- Tire pressure gauge and access to air
- Tread depth gauge or a coin (quarter or penny)
- Chalk or painter's tape to mark wheel positions
- Gloves and a small wire brush (helpful for dirty hubs)
Quick note on safety: Never work under a vehicle supported only by a jack. Jack stands are not optional.
Before you start: 5-minute safety and setup check
- Park on flat, solid ground. Concrete is ideal. Avoid sloped driveways and soft asphalt on hot days.
- Put the car in Park (or in gear for a manual) and set the parking brake.
- Chock the wheels that will stay on the ground first. If you are lifting the front, chock the rear. If lifting the rear, chock the front.
- Crack the lug nuts loose before the tire leaves the ground. Do not remove them yet, just break them free a quarter turn. Most modern vehicles use standard right-hand threads, but if you are working on something older or unfamiliar and it feels wrong, check the manual before you force it.
- Find the correct jacking points in your owner’s manual. Using the wrong spot can bend pinch welds or damage underbody panels.
Rotation patterns by setup
The correct pattern depends on whether your tires are directional, asymmetric, staggered, or a standard same-size setup. If you are unsure, look at the sidewall and your tire sizes, then confirm in the owner’s manual.
Step 1: Check for directional tires
Directional tires have an arrow or the word ROTATION on the sidewall. If you see that, the tire must keep rolling in the same direction. That usually means front to rear on the same side only. No crisscrossing.
Step 2: Check for asymmetric tires
Asymmetric tires are marked INSIDE and OUTSIDE. They can often be rotated like a normal tire as long as the tire stays mounted correctly on the wheel. If you are swapping left to right on the same wheels, the markings must still end up correct. If they will not, do not swap sides.
Step 3: Check for staggered sizes
If the rear tires are a different size than the front (common on some performance cars), you usually cannot rotate front to rear. You may be able to rotate left to right only if the tires are non-directional, not asymmetric side-specific, and the wheels and tire sizes match side to side. Many staggered setups are effectively rotation-limited, and some wheel offsets or TPMS setups add constraints. Again, the owner’s manual wins.
Standard patterns (same size all around)
- Front-wheel drive (FWD): Front tires go straight back. Rear tires come forward and cross to the opposite side.
- Rear-wheel drive (RWD) and many AWD/4WD: Rear tires go straight forward. Front tires go back and cross to the opposite side.
- Directional tires (any drivetrain): Front to rear on the same side only.
One more real-world caution: some AWD/4WD systems, EVs, and performance models call for no cross-rotation (front to rear only) or have other restrictions to manage tire diameter differences and drivetrain behavior. If your manual specifies a pattern, follow it even if it disagrees with the standard charts.
My rule: if you rotate and the car suddenly pulls or feels odd, stop and double-check direction arrows, inside and outside markings, and positions. A directional tire installed backward can be loud, have worse wet traction, and wear strangely.
How to rotate with a jack and two stands
This method lifts one end at a time. It is stable, predictable, and perfect for a home garage.
1) Mark your starting positions
Use chalk or tape and write: LF (left front), RF, LR, RR. This keeps you from playing the "which wheel was this?" game halfway through.
2) Lift the first end and set it on stands
Jack up the front (or rear) using the correct center jack point if your car has one. Then place jack stands under the left and right support points and lower the car onto the stands gently.
3) Remove wheels and move them to the new corners
Take the wheels off and slide them under the car as a backup safety buffer while you work. Move each wheel to its new corner based on your drivetrain and tire type.
4) Clean and check the mating surfaces
Before you reinstall a wheel, take a second to knock loose rust and grit from the hub face and the wheel’s mounting surface. In rust-belt climates especially, a little crud can keep the wheel from seating fully and cause a vibration later.
5) Hand-thread lug nuts first
Put the wheel on the hub and thread every lug nut by hand a few turns. If a lug nut does not spin on easily, back it off and try again. Cross-threading is a fast way to turn a simple rotation into a miserable weekend.
6) Snug in a star pattern, then torque on the ground
With the car still on stands, snug the lugs in a star pattern (or crisscross). Then raise slightly, remove stands, and lower the vehicle so the tire is on the ground. Now torque the lugs to spec.
- Torque spec: Check the owner’s manual. Many passenger cars land in the 80 to 100 ft-lb range, but do not guess.
- Units matter: Set your torque wrench to the correct unit (ft-lb or N·m) and double-check the scale before you pull.
- Torque method: Star pattern, smooth pull, no bouncing on the wrench.
7) Repeat for the other end
Chock the wheels on the ground, lift the remaining end, and repeat the process.
How to check tread depth
Tread depth helps your tires channel water and resist hydroplaning. Once it gets too low, wet-weather traction can drop quickly. Here are three easy ways to check it.
Option A: Tread depth gauge (best and cheap)
A basic gauge costs about as much as a fancy coffee and gives you a number in 32nds of an inch or millimeters. Check three spots across the tread on each tire: inner edge, center, outer edge. Write them down. A gauge is the only way to get a precise reading.
Option B: The quarter test (quick estimate)
Insert a quarter into the tread groove with Washington’s head down.
- If the tread reaches past the top of his head, you are roughly above 4/32", generally decent for wet roads.
- If you can see the top of his head clearly, you are getting into the zone where rain performance often starts to suffer.
Option C: The penny test (minimum check)
Insert a penny with Lincoln’s head down.
- If you can see the top of Lincoln’s head, you are around 2/32", which is the legal minimum in much of the U.S. and many other jurisdictions. Laws vary, but in real-world driving, that is effectively the end of the tire’s safe service in the wet.

Read wear like a mechanic
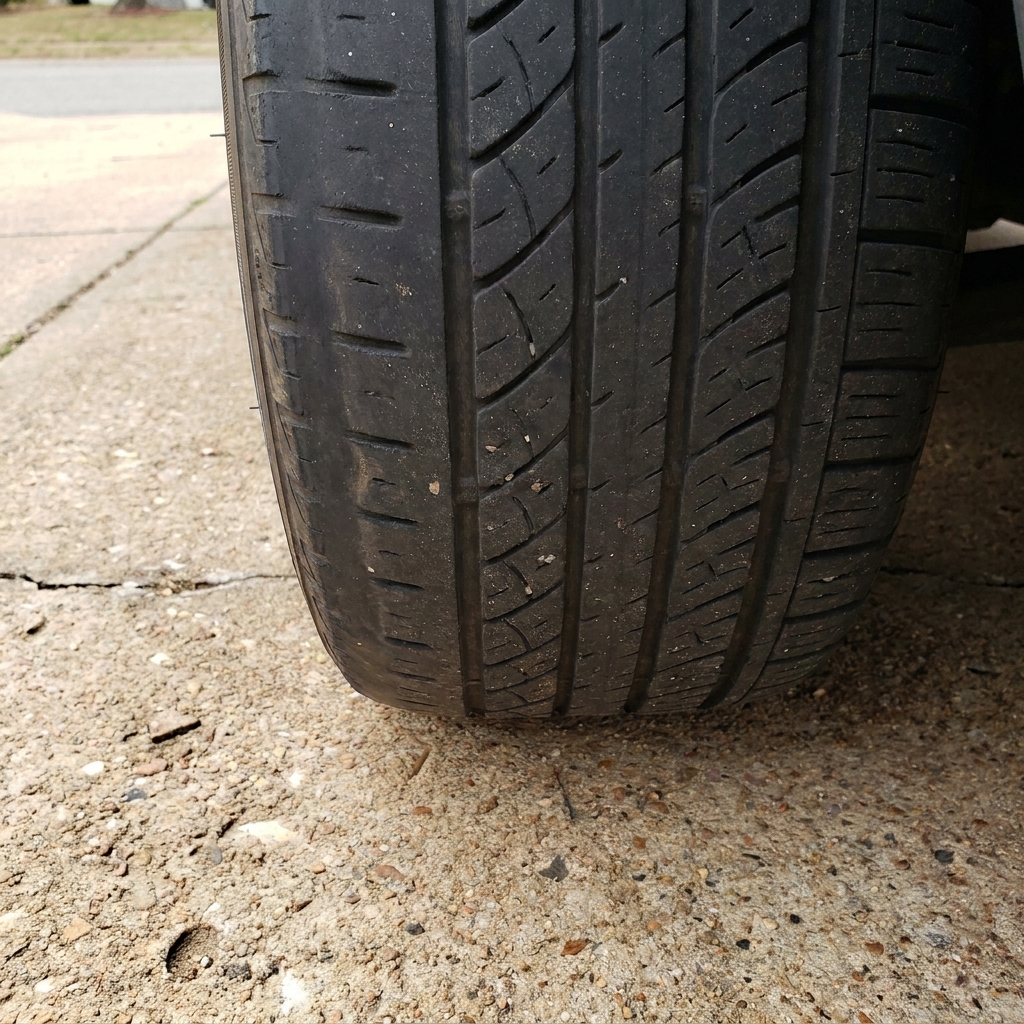
Tread depth is not just about how much rubber is left. It is about how evenly the tire is wearing. Uneven wear is usually a clue that something else needs attention.
- Inside edge worn: Often alignment issues (too much negative camber or toe). Common on lowered cars or vehicles that hit potholes often.
- Outside edge worn: Can be aggressive cornering, underinflation, or alignment.
- Center worn more than edges: Overinflation is a usual suspect.
- Both edges worn: Underinflation or not enough pressure for the load.
- Cupping or scalloped dips: Worn shocks or struts, or an out-of-balance tire.
- Feathering (smooth one way, sharp the other): Toe misalignment.
If you see cords, bubbles, or deep cracks: rotation does not fix that. That tire is done.
Bonus safety check: take a glance at the DOT date code on the sidewall. If the tires are old enough that the rubber is hard and cracking, tread depth alone is not the whole story.
How often to rotate (and when not to)
Most cars do well with a rotation every 5,000 to 7,500 miles, or at every other oil change if that keeps you consistent. If you drive in lots of stop-and-go traffic, carry heavy loads, or run a sporty tire compound, lean toward the shorter interval.
Do not rotate if:
- You have a temporary spare installed
- A tire has a visible defect (bubble, exposed cords)
- Your tires are staggered and your manual says not to
- Your vehicle has a specific requirement (some performance models, AWD systems, and EV setups do)
After the rotation: 6 quick checks
- Set tire pressures to the door-jamb sticker spec (not the tire sidewall max).
- TPMS check: some cars auto-learn after a short drive, some need a relearn procedure in the menu, and some require a tool. If the light stays on, do not guess. Check the manual.
- Re-torque after 25 to 50 miles if you are cautious like me. It is optional when torqued correctly, but it is quick insurance.
- Listen on the first drive for clicking, thumping, or vibration.
- Check steering feel. A small change is normal. A strong pull is not.
- Log the mileage so you remember when the next rotation is due.
FAQ
Can I rotate tires with just the factory scissor jack?
You can, but I do not recommend it if you have any other option. It is slower, less stable, and you still need jack stands for safe work. A basic floor jack is one of the best upgrades for DIY maintenance.
Do I need an alignment after rotating tires?
Not automatically. But if you see uneven wear, the car pulls, or your steering wheel is off-center, get an alignment soon. Rotation moves the problem around. Alignment fixes the cause.
What if my lugs are too tight to loosen?
Use a breaker bar, apply steady pressure, and make sure you are turning the correct direction. If they were installed with an impact gun at full blast, they can be brutal. Avoid jumping on the wrench. If a lug feels like it is stretching or the stud twists, stop and get help.
Is 2/32 inch really the minimum?
It is the legal minimum in much of the U.S. and many other places, but it is not a smart target. For wet climates, many drivers plan replacement around 4/32" for safety.
My take from the shop floor
The difference between tires lasting 30,000 miles and 50,000 miles is often boring stuff: rotation, pressure checks, and catching weird wear early. If you can safely lift one end of your car and you can count to five lug nuts in a star pattern, you can do this. Put on some classic rock, pour the black coffee, and take your time. Your wallet will thank you.